Install MongoDB 3.2 on Windows
MongoDB stores JSON documents in Binary format termed as BSON (Binary JSON). Some of the features of MongoDB are:
![]()
MongoDB is also very popular NoSQL database because we have drivers for all the major programming languages such as Java, PHP, Perl, Python, Ruby, Scala, C, C++ etc.
See Also:
In this tutorial, we will show you how to install MongoDB on Windows.
Step #1 Download MongoDB
Download MongoDB from official MongoDB website. You can also use following command to download MongoDB according to your system.
For Windows 64 bit
# wget https://fastdl.mongodb.org/win32/mongodb-win32-x86_64-3.0.10-signed.msi
For Windows 32 bit
# wget https://fastdl.mongodb.org/win32/mongodb-win32-i386-3.0.10-signed.msi
Note: 32-bit builds are limited to around 2GB of data. In general you should use the 64 bit builds. See here for more information.
Step #2 Install MongoDB
After download Mongodb run the msi executable file. By default Mongodb install in C:\Program FilesD:\mongodb
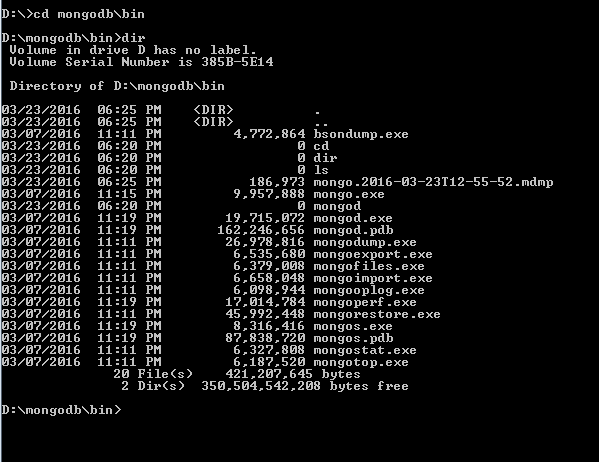
In MongoDB, it contains only 10+ executable files (exe) in the bin folder.
Step #3 Create Configuration File
Create a MongoDB config file, it’s just a text file, for example : d:\mongodb\mongo.config
##store data here
dbpath=D:\mongodb\data

##all output go here
logpath=D:\mongodb\log\mongo.log

##log read and write operations
diaglog=3
Note: MongoDB need a data folder to store its data and log folder to create log files. So create this folder manually. MongoDB won’t create it for you
Step #4 Run MongoDB server
Use below command in windows command prompt to start MongoDB server.
d:\mongodb\bin>mongod --config D:\mongodb\mongo.config
all output going to: D:\mongodb\log\mongo.log
Step #5 Connect to MongoDB
Uses mongo.exe to connect to the started MongoDB server.
d:\mongodb\bin>mongo
MongoDB shell version: 3.2.4
connecting to: test
> //mongodb shell
Step #6 MongoDB as Windows Service
Add MongoDB as Windows Service, so that MongoDB will start automatically following each system restart.
d:\mongodb\bin> mongod --config D:\mongodb\mongo.config --install
A Windows service named “MongoDB” is created.

To start MongoDB Service
# net start MongoDB
To stop MongoDB Service
net stop MongoDB
To remove MongoDB Service
d:\mongodb\bin>mongod --remove
References:
Enjoy it!
