How to Install Munin Monitoring Tool On CentOS/RHEL 7/6/5
Munin Monitoring Tool uses RRDTool and a frame work was written in Perl. Munin is an open source web based networking resource monitoring tool that can be used to monitor all computers on your network. It displays the gathered information from your system as graphs through a web based interface.

In this article, we will help you to setup Munin network monitoring tool.
Step 1: Install EPEL Repository
Munin monitoring tool is available in EPEL repository. Use below command to as per your system.
For CentOS/RHEL 7:
64-Bit:
# rpm -Uvh http://dl.fedoraproject.org/pub/epel/7/x86_64/e/epel-release-7-9.noarch.rpm
For CentOS/RHEL 6:
32-Bit:
# rpm -Uvh http://download.fedoraproject.org/pub/epel/6/i386/epel-release-6-8.noarch.rpm
64-Bit:
# rpm -Uvh http://dl.fedoraproject.org/pub/epel/6/x86_64/epel-release-6-8.noarch.rpm
For CentOS/RHEL 5:
32-Bit:
# rpm -Uvh http://download.fedoraproject.org/pub/epel/5/i386/epel-release-5-4.noarch.rpm
64-Bit:
# rpm -Uvh http://download.fedoraproject.org/pub/epel/5/x86_64/epel-release-5-4.noarch.rpm
Step 2: Install Apache Web Server
Munin requires web server like Apache or Nginx to see its statistics files.
# yum install httpd
After installing Apache, start apache and enable service to start it at boot time.
For CentOS/RHEL 7
# service httpd start
# chkconfig httpd on
CentOS/RHEL 6/5
# systemctl enable httpd.service
# systemctl start httpd.service
Step 3: Install Munin and Munin-Node
Munin is a web based Monitoring tool and installation of Munin is very simple. Run following command to install it.
# yum -y install munin munin-node
Munin installation creates following directories.
Step 4: Configure Munin
After installing munin now we need to configure munin using munin configuration file.
# vim /etc/munin/munin.conf
Uncomment below lines from munin configuration file.
dbdir   /var/lib/munin
htmldir /var/www/html/munin
logdir /var/log/munin
rundir  /var/run/munin
Also set system name in configuration file.
[srv.techoism.com]
address 127.0.0.1
use_node_name yes
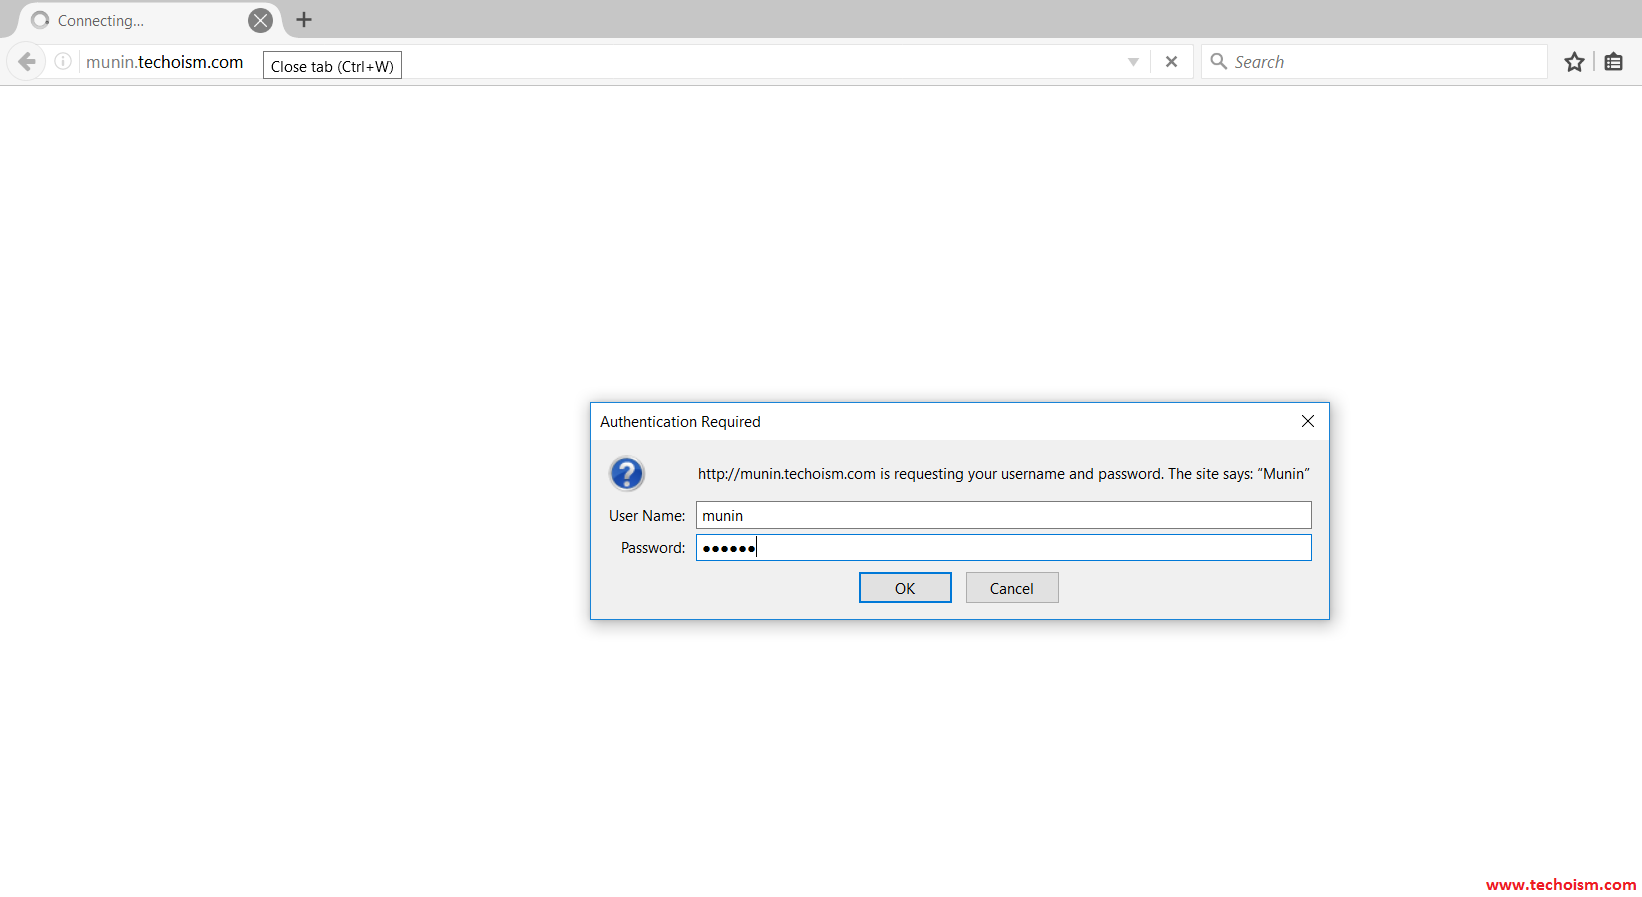
Step 5: Protect Munin with Password
Now you need to protect your munin tool using password. Use below command to set the password.
# htpasswd -c /etc/munin/munin-htpasswd munin
Now start the munin service.
For CentOS/RHEL 7
# service munin-node start
# chkconfig munin-node on
CentOS/RHEL 6/5
# systemctl enable munin-node.service
# systemctl start munin-node.service
Step 6:Create Virtual Host
Creating the virtual host is optional. If you want to create the virtual host then only follow this step else skip the step and move to Step 7.
<VirtualHost *:80>
  ServerAdmin support@techoism.com
  DocumentRoot /var/www/html/munin
  ServerName munin.techoism.com
  ErrorLog /var/log/httpd/munin.techoism.com-error-log
  CustomLog /var/log/httpd/munin.techoism.com-acces-log common
<Directory "/var/www/html/munin">
    AllowOverride All
    Order Allow,Deny
    #Deny from all
    Allow from all
    </Directory>
</VirtualHost>
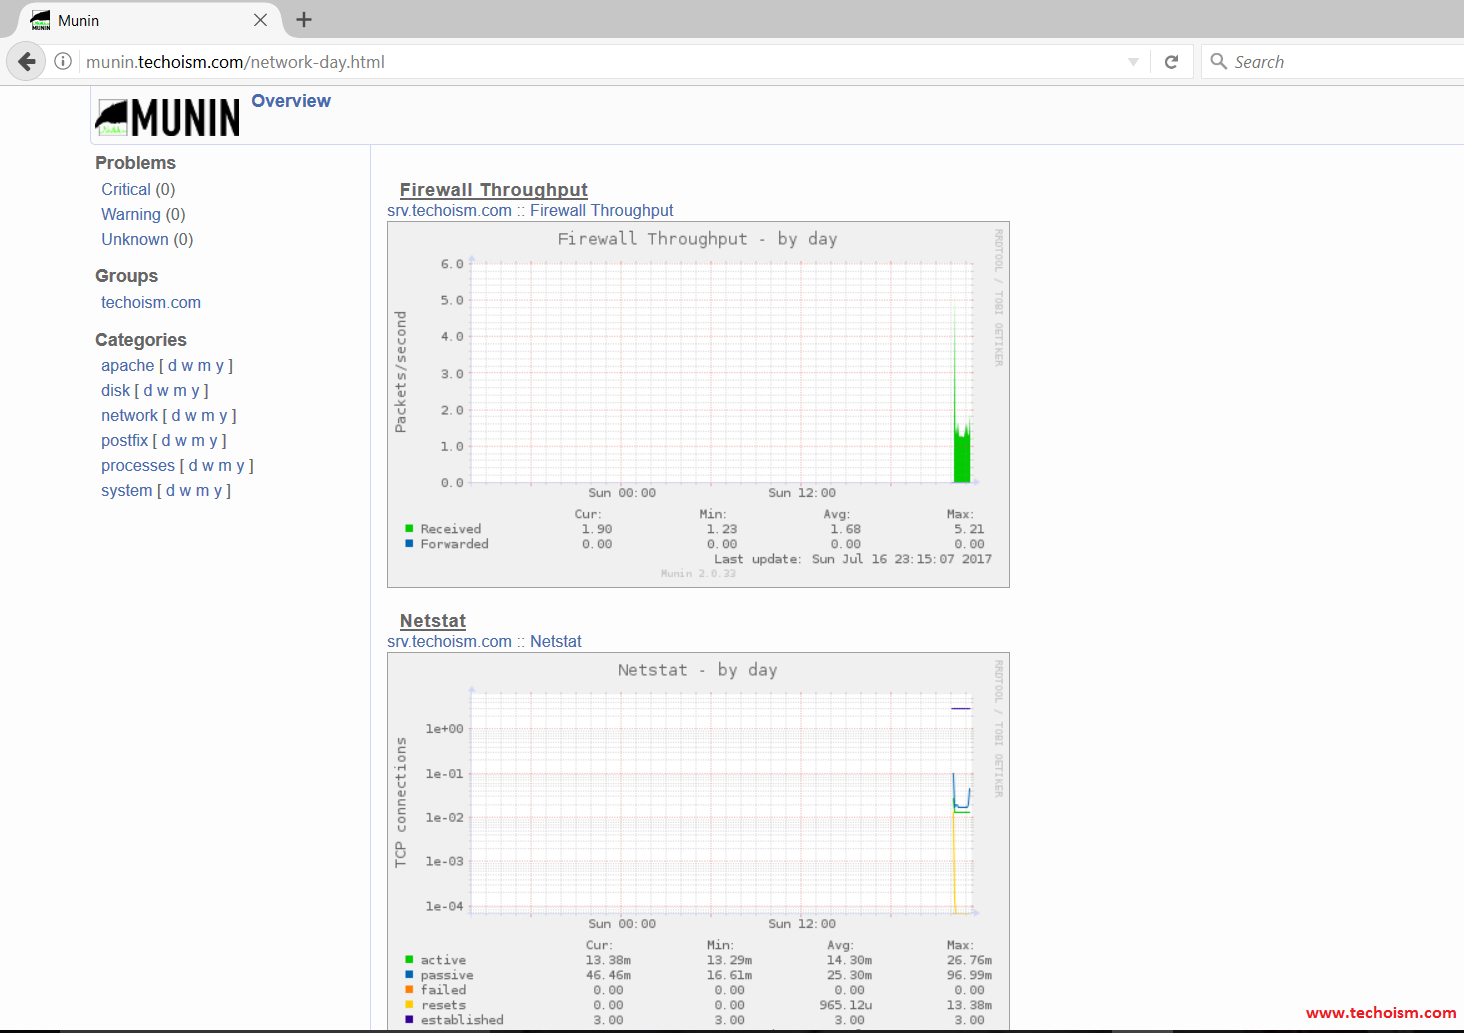
Step 7:Access Munin
Now you can access the munin web interface from your browser.
http://Domain-name/IPAddress/munin
Server statistics as a graph.
We hope that you have successfully installed Munin Network Monitoring tool.
Enjoy it!
