Install ownCloud on CentOS/RHEL 7/6/5
ownCloud is an open source web application for data synchronization and document sharing. It likewise gives alternatives to sync and share across devices—all under your control. ownCloud depends on PHP and a SQLite, MySQL, Oracle or PostgreSQL database, so it can keep running on all platforms that meet these requirements. It gives all possibility of functions that are accessible on business suites.
Following are the list of features available on ownCloud:
Step 1# Add Repositories
First you need to add yum repositories in your system. Use following command to add repositories according your operating system.
CentOS/RHEL 7:
# rpm -Uvh http://dl.fedoraproject.org/pub/epel/7/x86_64/e/epel-release-7-5.noarch.rpm
# rpm -Uvh http://rpms.famillecollet.com/enterprise/remi-release-7.rpm

CentOS/RHEL 6:
# rpm -Uvh http://download.fedoraproject.org/pub/epel/6/x86_64/epel-release-6-8.noarch.rpm
# rpm -Uvh http://rpms.famillecollet.com/enterprise/remi-release-6.rpm

CentOS/RHEL 5:
# rpm -Uvh http://dl.fedoraproject.org/pub/epel/5/x86_64/epel-releas5-4.noarch.rpm
# rpm -Uvh http://rpms.famillecollet.com/enterprise/remi-release-5.rpm
Step 2# Install LAMP
ownCloud is based on PHP and database combination. Database can be any. So install PHP, Apache web server and MySQL server on CentOS/RHEL 7.
Install Apache:
#yum --enablerepo=remi install httpd
Install MySQL:
# yum --enablerepo=remi install mysql-server
Install PHP:
# yum install php php-mysql php-dom php-mbstring php-mcrypt php-curl php-xml php-xmlrpc php-soap php-gd php-pdo
After installation now you have to start the service using following command:
# systemctl start httpd.service
# systemctl start mysqld.service
# systemctl enable httpd.service
# systemctl enable mysqld.service
Step 3# Download ownCloud Source
Download the latest version of ownCloud from its official site and extract it on your server:
# cd /opt
# wget https://download.owncloud.org/community/owncloud-8.2.2.tar.bz2
Now extract archive file and setup permissions on files and directories.
# bunzip2 owncloud-8.2.2.tar.bz2
# tar xvf owncloud-8.2.2.tar
# mv owncloud /var/www/html
# chown -R apache.apache /var/www/html/owncloud
# chmod -R 755 /var/www/html/owncloud
Step 4# Create MySQL Database
Now create a mysql database and user for ownCloud. Use following set of command to create database and user.
# mysql -u root -p
mysql> CREATE DATABASE owncloud;
mysql> GRANT ALL ON owncloud.* to 'owncloud'@'localhost' IDENTIFIED BY 'secretpassword';
mysql> FLUSH PRIVILEGES;
mysql> quit
Step 5# Start ownCloud Web Installer
Open your ownCloud Dashboard from your favorite browser.
http://<IP_Address>/owncloud
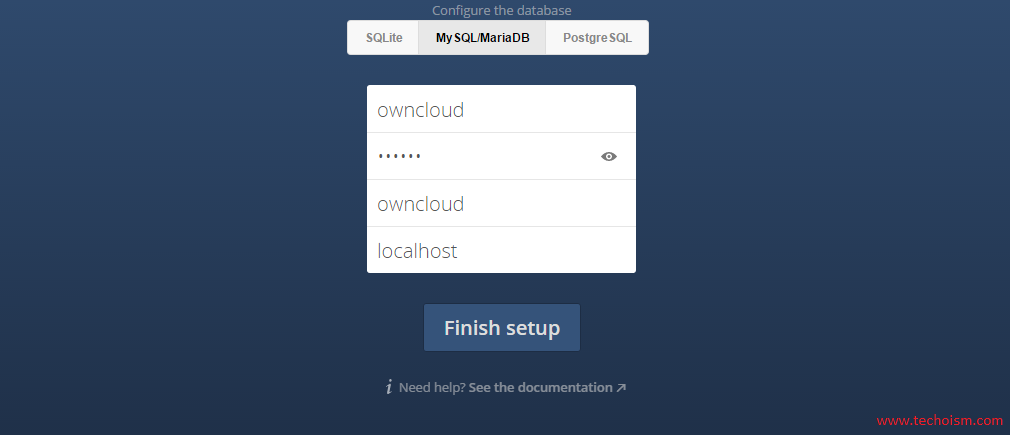
Enter new admin credentials to create admin account and provide location of data folder.

Now input the database details and click on Finish Setup.
After completing setup you will get admin dashboard.
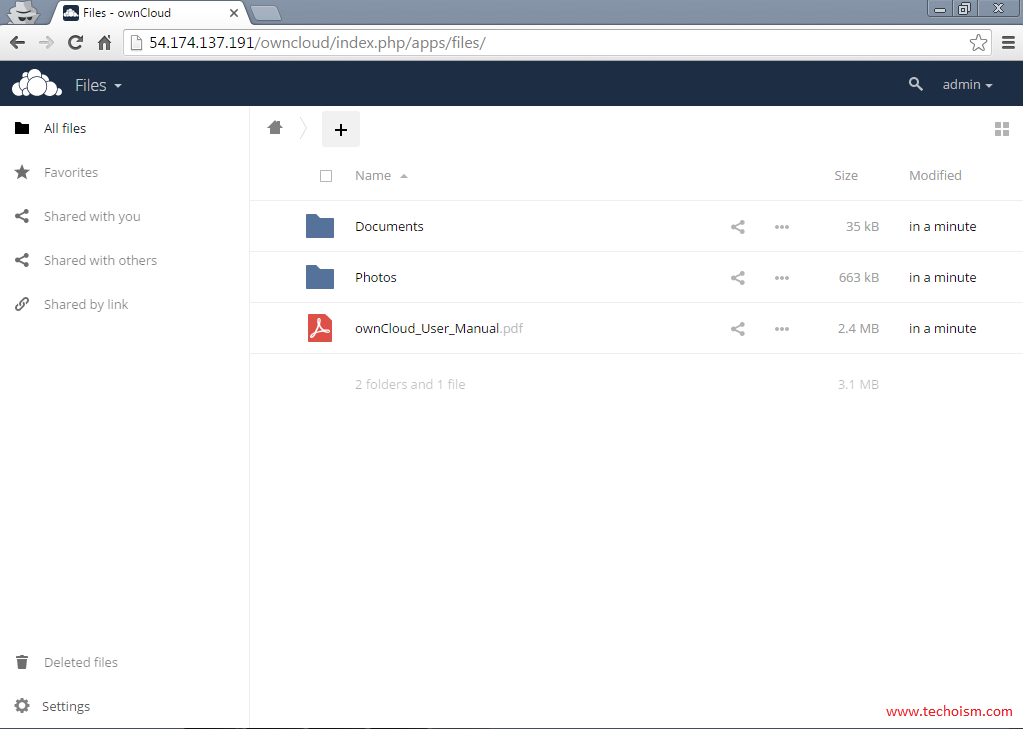
Enjoy it!
