How To Deploy a Rails Application with Apache using Phusion Passenger
A passenger is an open source web application server for Ruby. It handles HTTP requests, manages processes and resources, and enables administration, monitoring, and problem diagnosis. A passenger is very easy to use, makes deploying in production much easier and is scalable.

See Also:
1. How to Enable TLS Version in mod_ssl on Apache Webserver
2. How To Install Apache Maven on Ubuntu 16.04 and 14.04
3. How to Change Default Apache ‘DocumentRoot’ in Linux
4. How to Install WordPress Using Apache on CentOS/RHEL 7/6/5
5. Install LAMP (Apache 2.4, MySQL 5.6, and PHP 7.0) on CentOS/RHEL 7
6. How to Install Ruby 2.4.0 on CentOS/RHEL with RVM
7. How To Install Ruby on Rails on Ubuntu using RVM
This article helps you how you can deploy your ruby rails app with httpd web server. We assume that you have already installed Ruby on your system.
Step 1: Install Required Packages
Firstly, install the required packages using following command.
# yum install httpd httpd-devel curl curl-devel pycurl
Step 2: Install Passenger and Rails
Now, the gem needs to be installed on the system:
# gem install rails
# gem install passenger
Know more (https://en.wikipedia.org/wiki/Phusion_Passenger) about passenger module.
Step 3: Install Passenger Module for Apache
After installing passenger gem we need to installed Apache module on system.
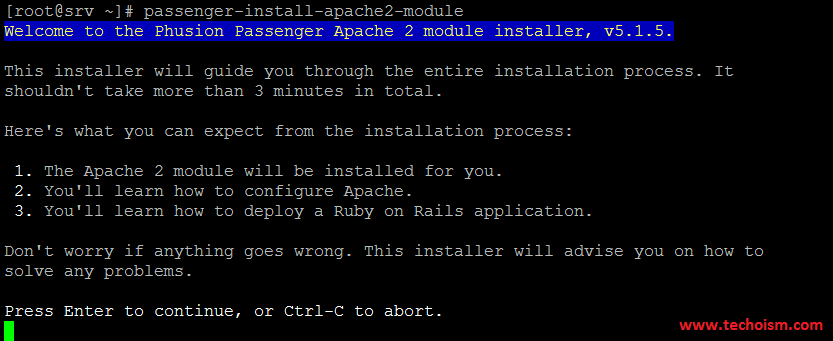
# passenger-install-apache2-module
Press Enter to continue the installation of passenger module for apache.
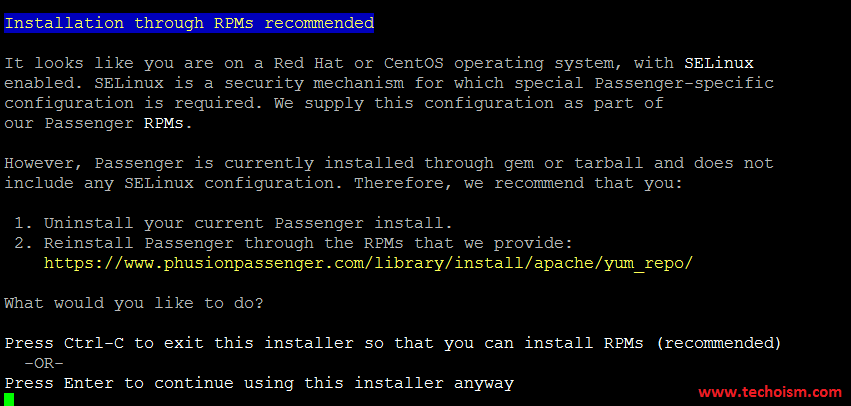
Now it’s check recommended RPMs and press enter.
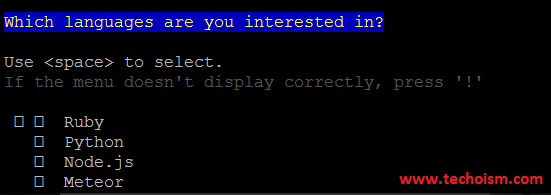
Select the required language and press enter.
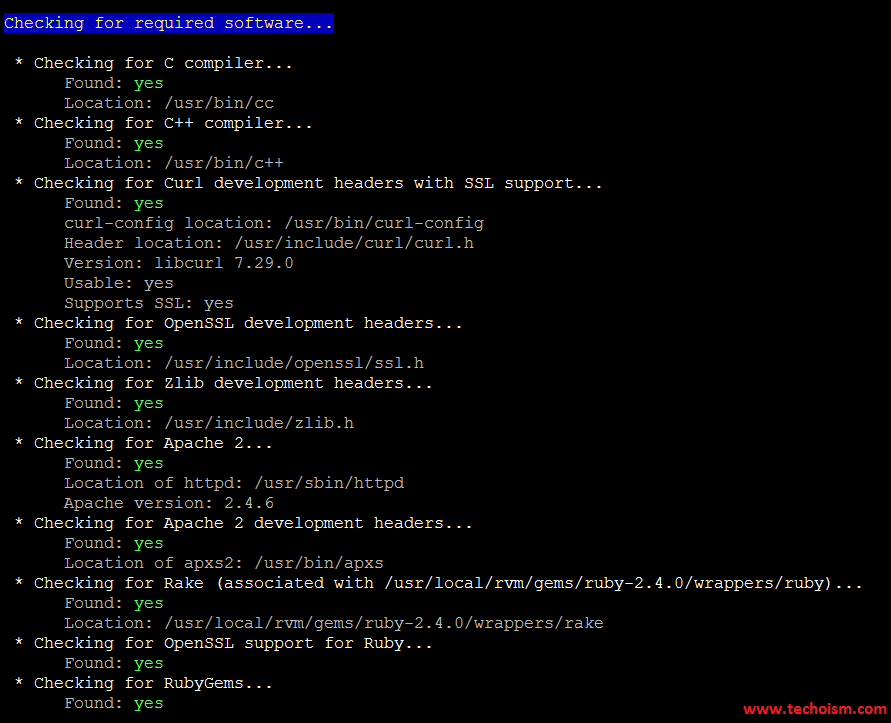
It will check all the required packages.
Press enter to finish setup.
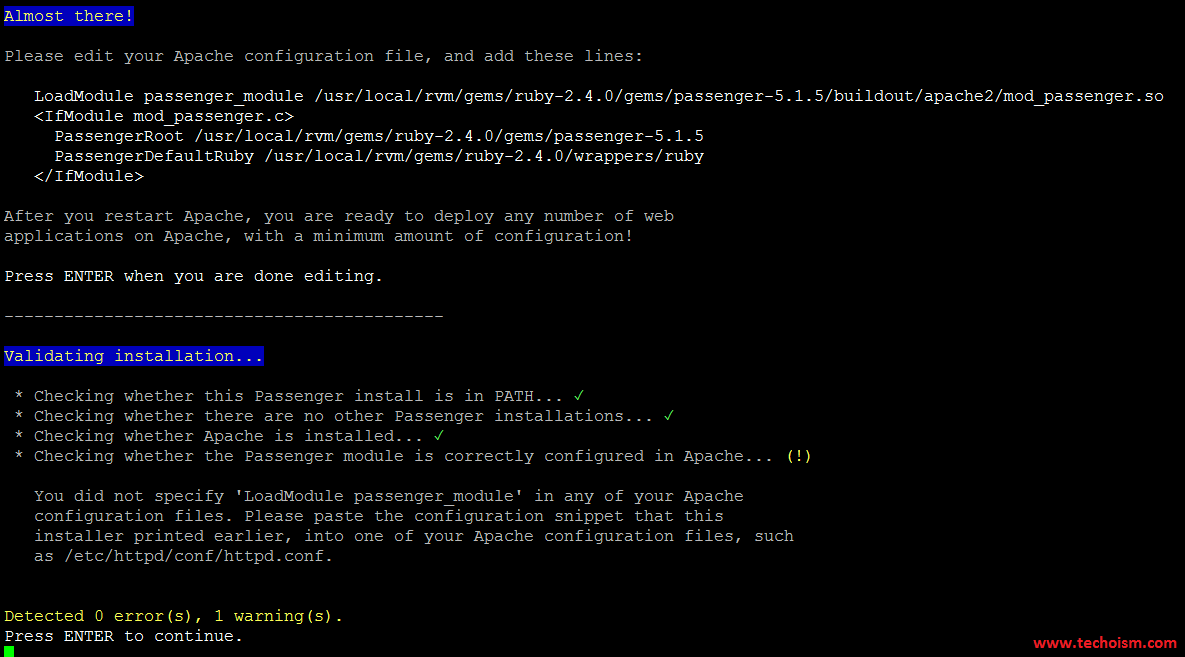
Step 4: Apache Configuration
Now add below lines at the bottom of the apache configuration file.
# vim /etc/httpd/conf/httpd.conf
LoadModule passenger_module /usr/local/rvm/gems/ruby-2.4.0/gems/passenger-5.1.5/buildout/apache2/mod_passenger.so
   <IfModule mod_passenger.c>
     PassengerRoot /usr/local/rvm/gems/ruby-2.4.0/gems/passenger-5.1.5
     PassengerDefaultRuby /usr/local/rvm/gems/ruby-2.4.0/wrappers/ruby
   </IfModule>
After adding above lines in Apache configuration, restart Apache service using the following command.
# service httpd restart
Step 5: Configure Apache VirtualHost
Configure virtualhost in Apache configuration with domain name. Example virtual host configuration will be like below.
<VirtualHost *:80>
    ServerName techoism.com
    DocumentRoot /var/www/html
    PassengerRuby /path-to-ruby
    <Directory /var/www/html>
      Allow from all
      Options -MultiViews
    </Directory>
</VirtualHost>
and reload apache configuration using following command.
# service httpd reload
Enjoy it!
