How To Install and Configure Postfix on Ubuntu
Postfix is a free and very popular open source Mail Transfer Agent which works to send and recieve email. The main job of Postfix is to relay mail locally or to intended destination outside the network. This article will help you to Install and Configure Postfix on Ubuntu system.

Step #1: Install Postfix
The installation process of Postfix on Ubuntu is easy because Postfix packages are in under Ubuntu’s default repositories.
# apt-get install postfix
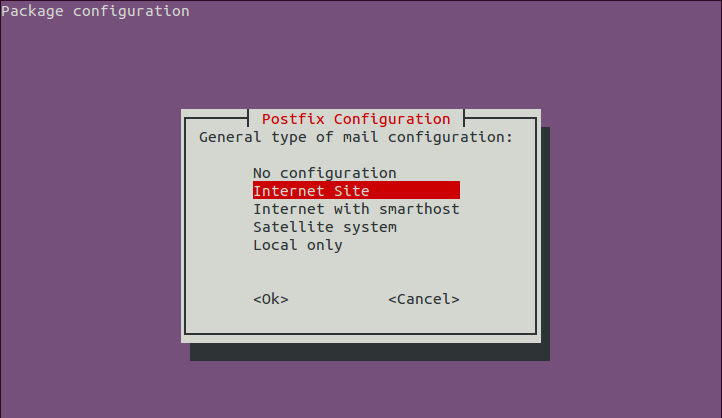
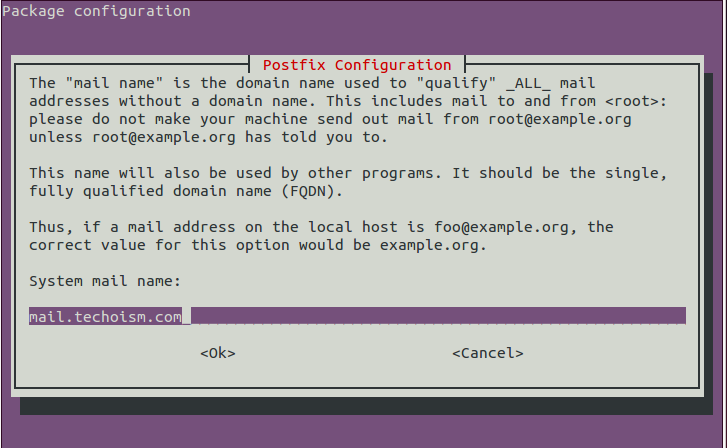
During the installation, you will see a inputs box like below:
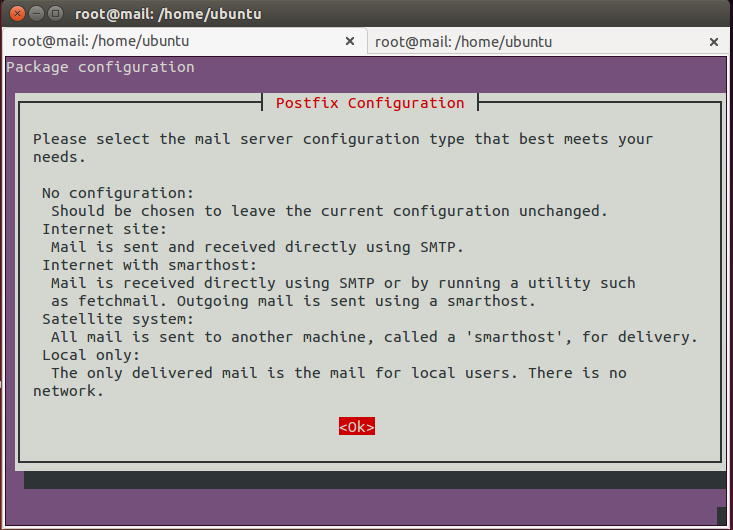
The default option is Internet Site. That’s the recommended option for this tutorial.
Step #2: Configure Postfix
We require to change some basic settings in the main Postfix configuration file for that edit Postfix configuration file /etc/postfix/main.cfand make following changes.
    myhostname = mail.techoism.com
    mydomain = techoism.com
    myorigin = $mydomain
    mydestination = $myhostname, localhost, $mydomain, localhost.localdomain
    mynetworks = 127.0.0.0/8, /32
    relay_domains = $mydestination
    inet_interfaces = all
    inet_protocols = all
    home_mailbox = Maildir/
Step #3: Restart Postfix Service
Now restart Postfix service to read changes of configuration.
# service postfix restart
Step #4:Test your Configuration
You might want to install a “mailutils” package:
# apt-get install mailutils
Now You’ll be using the mail command to test your configuration.
# echo "This is the body of the email" | mail -s "This is the subject line" support@techoism.com
