How To Install Apache Tomcat 9 on CentOS/RHEL 8
Apache Tomcat is an open-source Java HTTP web server developed by the Apache Foundation. Apache Tomcat 9 is the latest version available for the installation of the Tomcat web server. Tomcat is one of the most widely adopted applications and web servers. You can learn more about the Apache Tomcat visit apache official site.
Useful Article:
- HOW TO INSTALL TOMCAT 8 ON CENTOS/RHEL 5/6/7
- HOW TO INSTALL JENKINS ON CENTOS/RHEL
- CONFIGURING A MYSQL DATASOURCE IN APACHE TOMCAT
- HOW TO INSTALL CONFLUENCE ON CENTOS/RHEL
- CONFIGURING A MYSQL FOR CONFLUENCE
This tutorial will help you to install Tomcat 9.0 on CentOS 8.
Step 1: Prerequisites
Install Java:
Tomcat 9 requires Java 8 or later. Make sure you have Java in your system. Use the following command to install OpenJDK on your system If it’s not installed.
# dnf install -y java
Check Java Version:
Then check the installed Java version.
# java -version
Java Path:
Tomcat’s systemd service file requires a Java installation location. So, list the available Java versions on your system using the following command.
# alternatives --list | grep ^java
java auto /usr/lib/jvm/java-1.8.0-openjdk-1.8.0.252.b09-2.el8_1.x86_64/jre/bin/java

Step 2: Create Tomcat Service Account
Many system administrators try to run Tomcat as root which is not a good practice. So, create a separate account to run your Tomcat server on your system.
# useradd -d /opt/tomcat -s /bin/nologin tomcat
Step 3: Install Apache Tomcat
Now we will proceed with the steps of Apache Tomcat installation.
Download Tomcat:
The Apache Tomcat is available on official download pages. To download Apache Tomcat file you can visit Apache tomcat official server to get some latest version or use the following command:
# wget https://mirrors.estointernet.in/apache/tomcat/tomcat-9/v9.0.34/bin/apache-tomcat-9.0.34.tar.gz
Configure Tomcat:
Then extract the archive file and move all the files in tomcat home directory.
# tar -zxvf apache-tomcat-*.tar.gz
# mv apache-tomcat-*/* /opt/tomcat/
Change the ownership of the directory to the tomcat user.
# chown -R tomcat:tomcat /opt/tomcat/
Create Systemd file
Instead of manually starting and stopping the Apache Tomcat server, we can create systemd file to start and stop the Tomcat service for you. Create a tomcat.service file with the following content:
# vim /etc/systemd/system/tomcat.service
[Unit]
Description=Apache Tomcat Web Application Container
Wants=network.target
After=network.target

[Service]
Type=forking

Environment=JAVA_HOME=/usr/lib/jvm/java-1.8.0-openjdk-1.8.0.252.b09-2.el8_1.x86_64/jre

Environment=CATALINA_PID=/opt/tomcat/temp/tomcat.pid
Environment=CATALINA_HOME=/opt/tomcat
Environment='CATALINA_OPTS=-Xms512M -Xmx1G -Djava.net.preferIPv4Stack=true'
Environment='JAVA_OPTS=-Djava.awt.headless=true'

ExecStart=/opt/tomcat/bin/startup.sh
ExecStop=/opt/tomcat/bin/shutdown.sh
SuccessExitStatus=143

User=tomcat
Group=tomcat
UMask=0007
RestartSec=10
Restart=always

[Install]
WantedBy=multi-user.target
Start Apache Tomcat:
To apply the changes reload the systemd daemon service.
# systemctl daemon-reload
Then, enable and start Tomcat service on your system
# systemctl enable tomcat
# systemctl start tomcat
Check Tomcat Status.

Check Tomcat Port:
By default, Tomcat runs on port 8080. Use netstat command to check it.
# netstat -ntulp | grep 8080

Firewall:
Apache Tomcat runs on port 8080 so If you using Firewall than add the rules to access Apache Tomcat from external networks.
# firewall-cmd --permanent --add-port=8080/tcp
# firewall-cmd --reload
Step 4: Setup Tomcat Access
As a matter of course, both Web and Host Manager is open just from localhost. To enable access for Web and Host manager from remote systems, you have to add your network to the permit list in the application-specific context.xml file. Edit the following files to allow your network by adding the IP Address or range of IP Addresses to allow access.
Manager: /opt/tomcat/webapps/manager/META-INF/context.xml
Host Manager: /opt/tomcat/webapps/host-manager/META-INF/context.xml
Host Manager:
Allow Everyone:
.* will allow everyone to have access to the Host manager.
allow="127\.\d+\.\d+\.\d+|::1|0:0:0:0:0:0:0:1|.*" />
Allow Organization Network:
You can also allow only your organization network. For example: To allow the 192.168.1.0/24 network only, you can use the below values.
allow="127\.\d+\.\d+\.\d+|::1|0:0:0:0:0:0:0:1|172.20.*" />

Setup User Accounts:
To access Web and Host Manager we requires username and password. Only the user with the “manager-gui” and “admin-gui” role is allowed to access the Web and Host manager respectively.
# vim /opt/tomcat/conf/tomcat-users.xml
<!-- user manager can access only manager section -->
<role rolename="manager-gui" />
<user username="manager" password="PASSWORD" roles="manager-gui" />

<!-- user admin can access manager and admin section -->
<role rolename="admin-gui" />
<user username="admin" password="PASSWORD" roles="manager-gui,admin-gui" />
- manager-gui: allows access to the HTML GUI and the status pages
- manager-script: allows access to the text interface and the status pages
- manager-jmx: allows access to the JMX proxy and the status pages
- manager-status: allows access to the status pages only
The HTML interface is protected against CSRF but the text and JMX interfaces are not. To maintain the CSRF protection:
Users with the manager-gui role should not be granted either the manager-script or manager-jmx roles.
If the text or jmx interfaces are accessed through a browser (e.g. for testing since these interfaces are intended for tools not humans) then the browser must be closed afterwards to terminate the session.
Restart Tomcat:
After changes in Apache Tomcat configuration restart the Tomcat service.
# systemctl restart tomcat
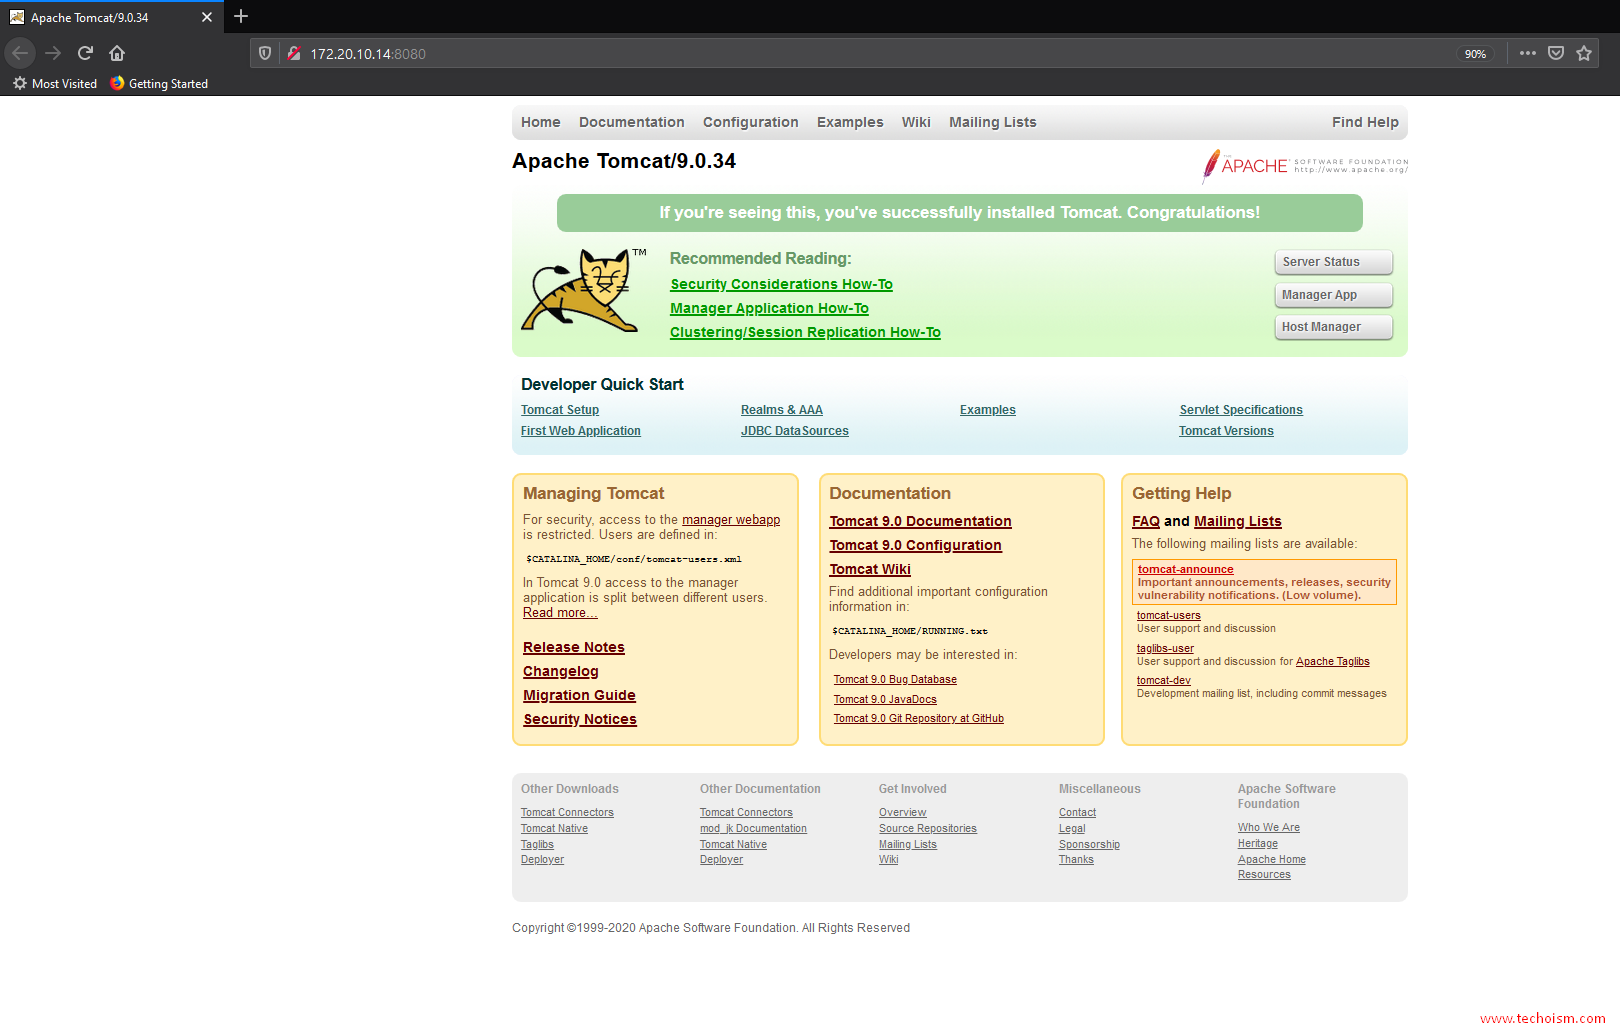
Access Tomcat:
To connect from remote machine use the IP address or the hostname of the system with port:
# http://IPAddress:8080
OR
# http://HostName:8080
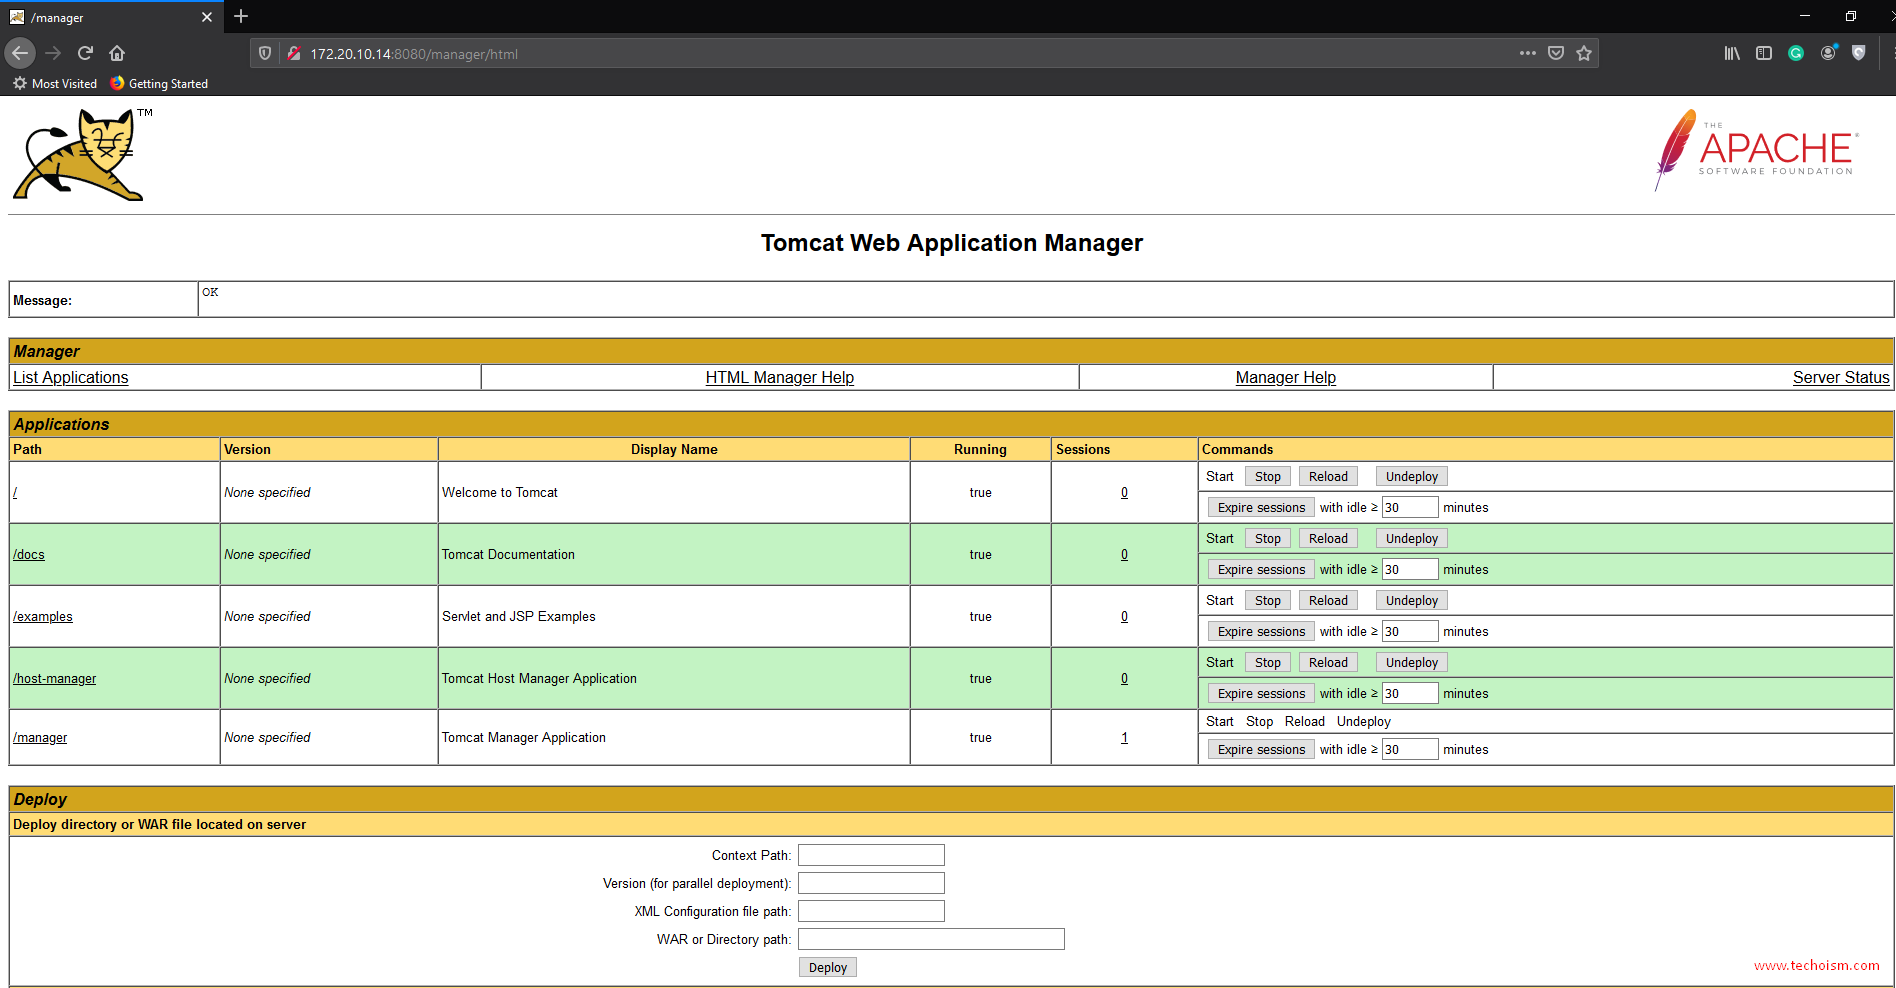
To access Manager App required username and password. In our case we can use manager user and redhat password.
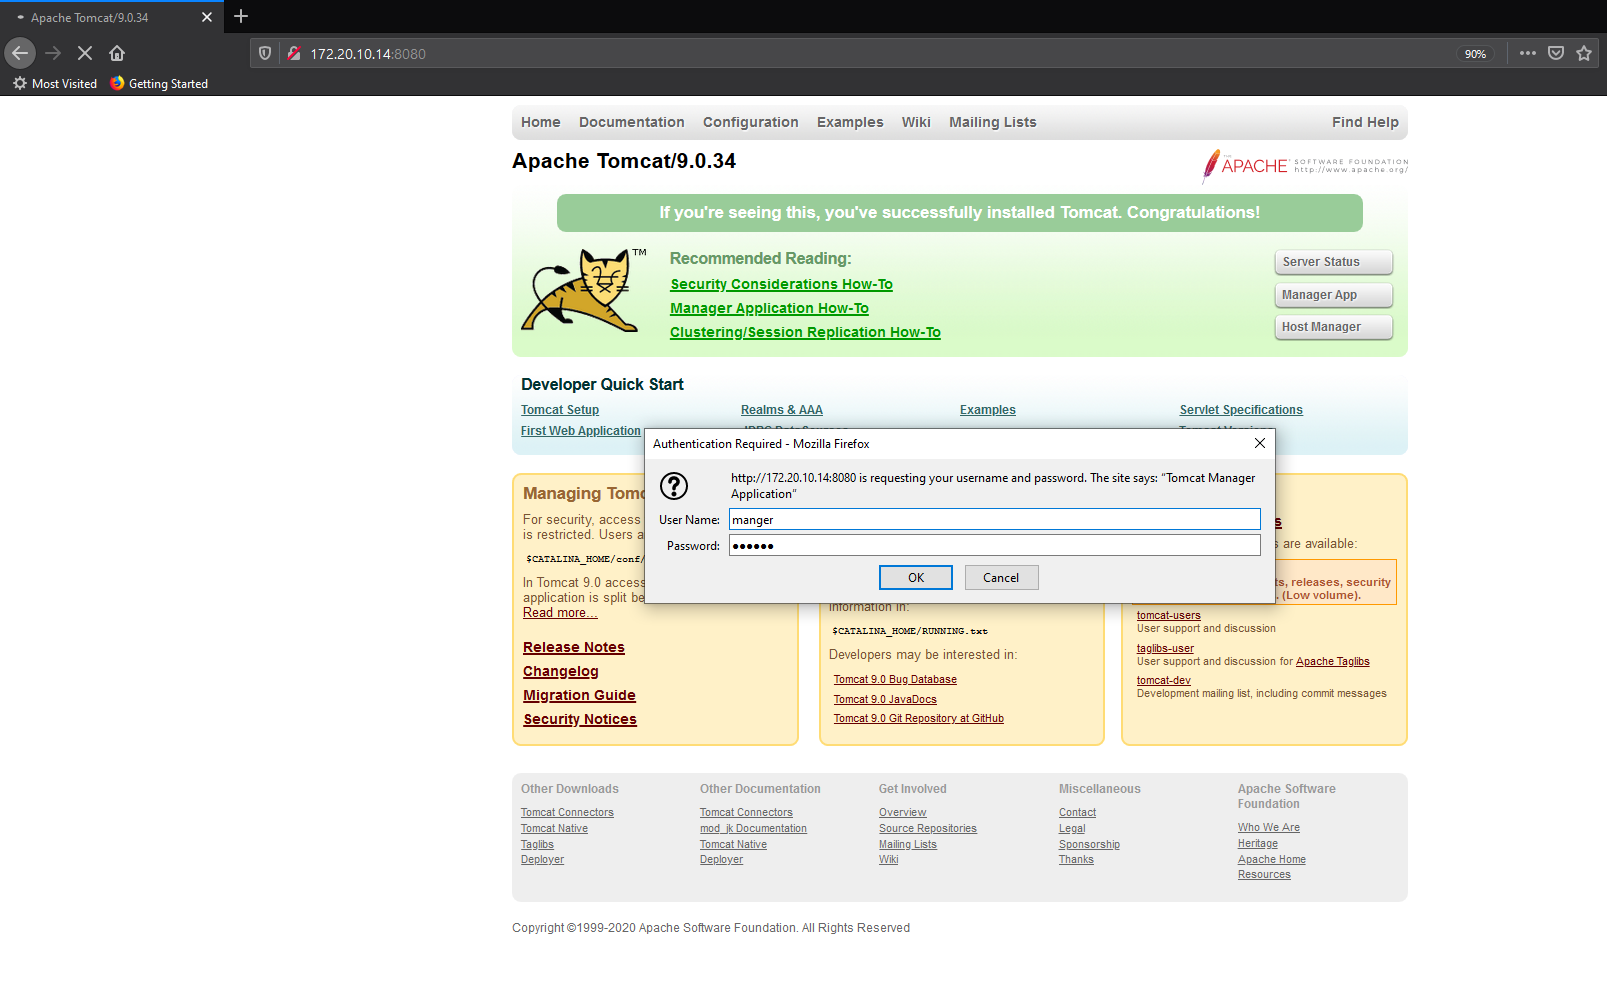
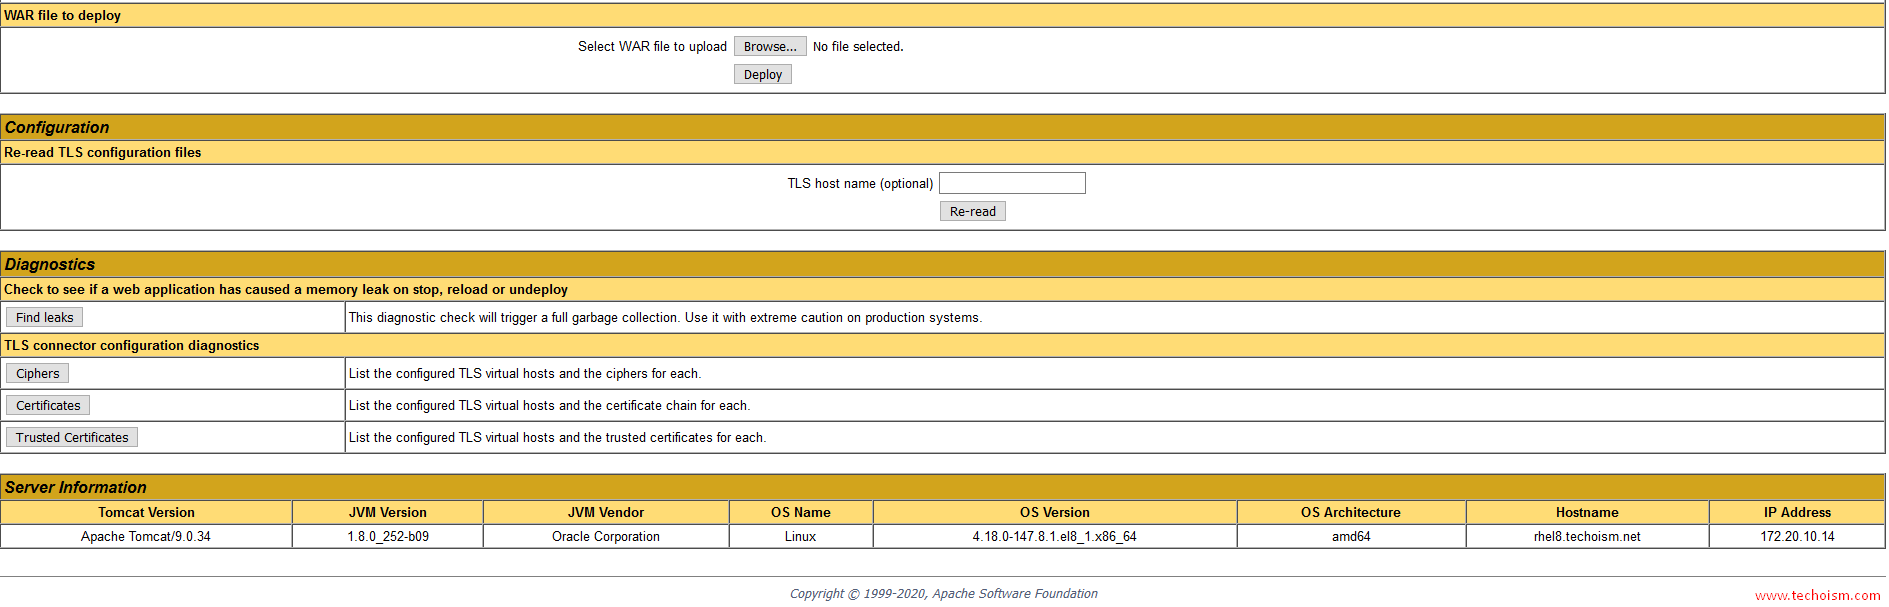
Here, you can deploy an application in a specified context, start, stop, reload, and un-deploy an application.
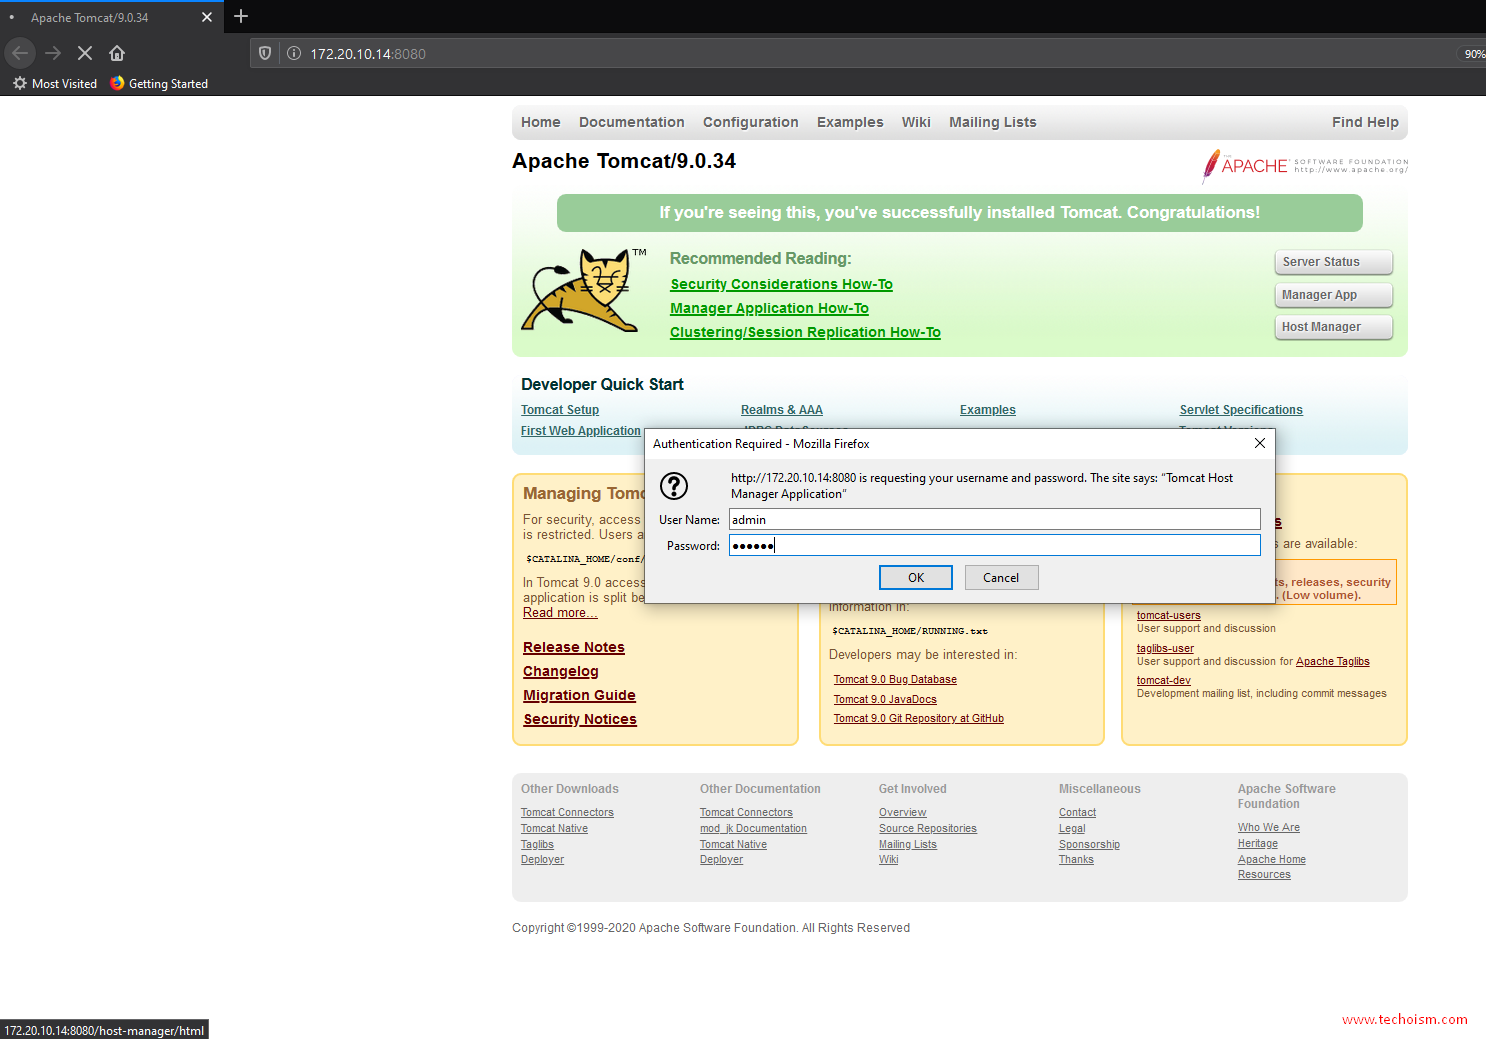
To access Host Manager required username and password. In our case we can use admin user and redhat password.
Here, you can manage Tomcat’s virtual hosts.
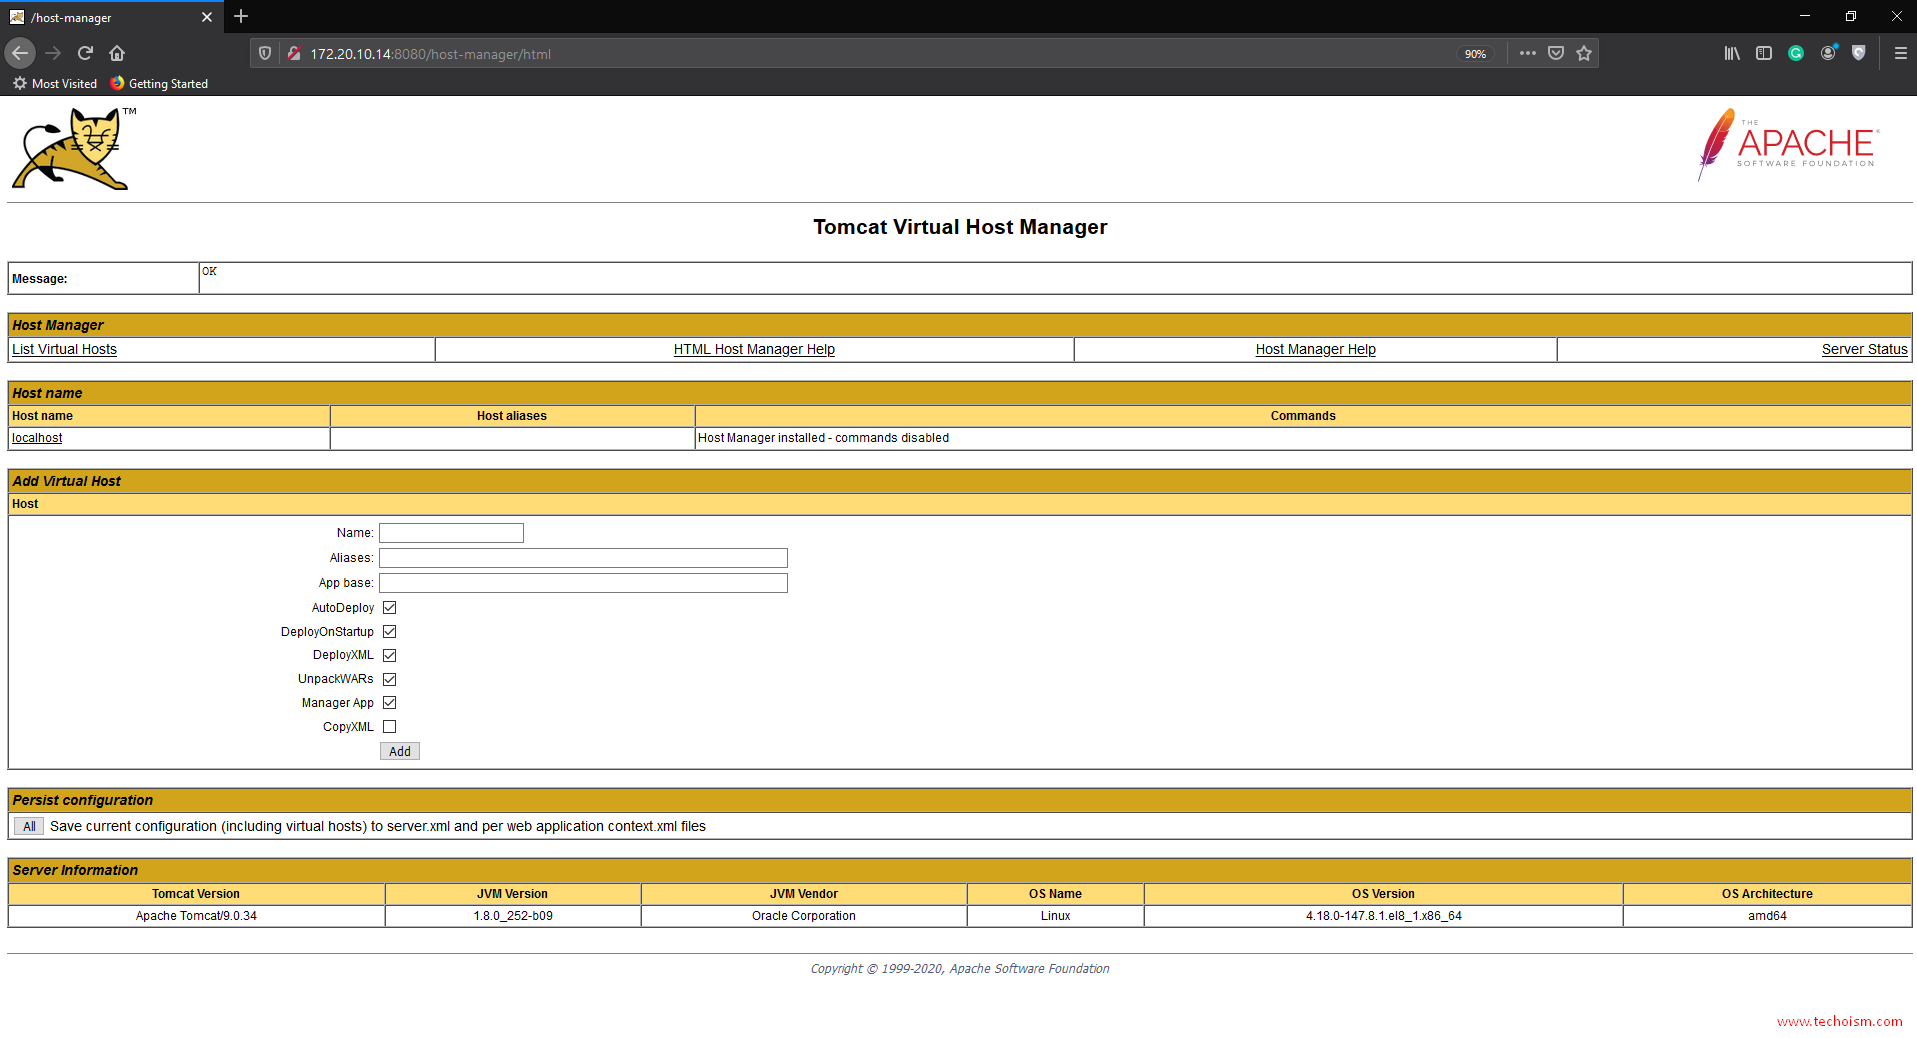
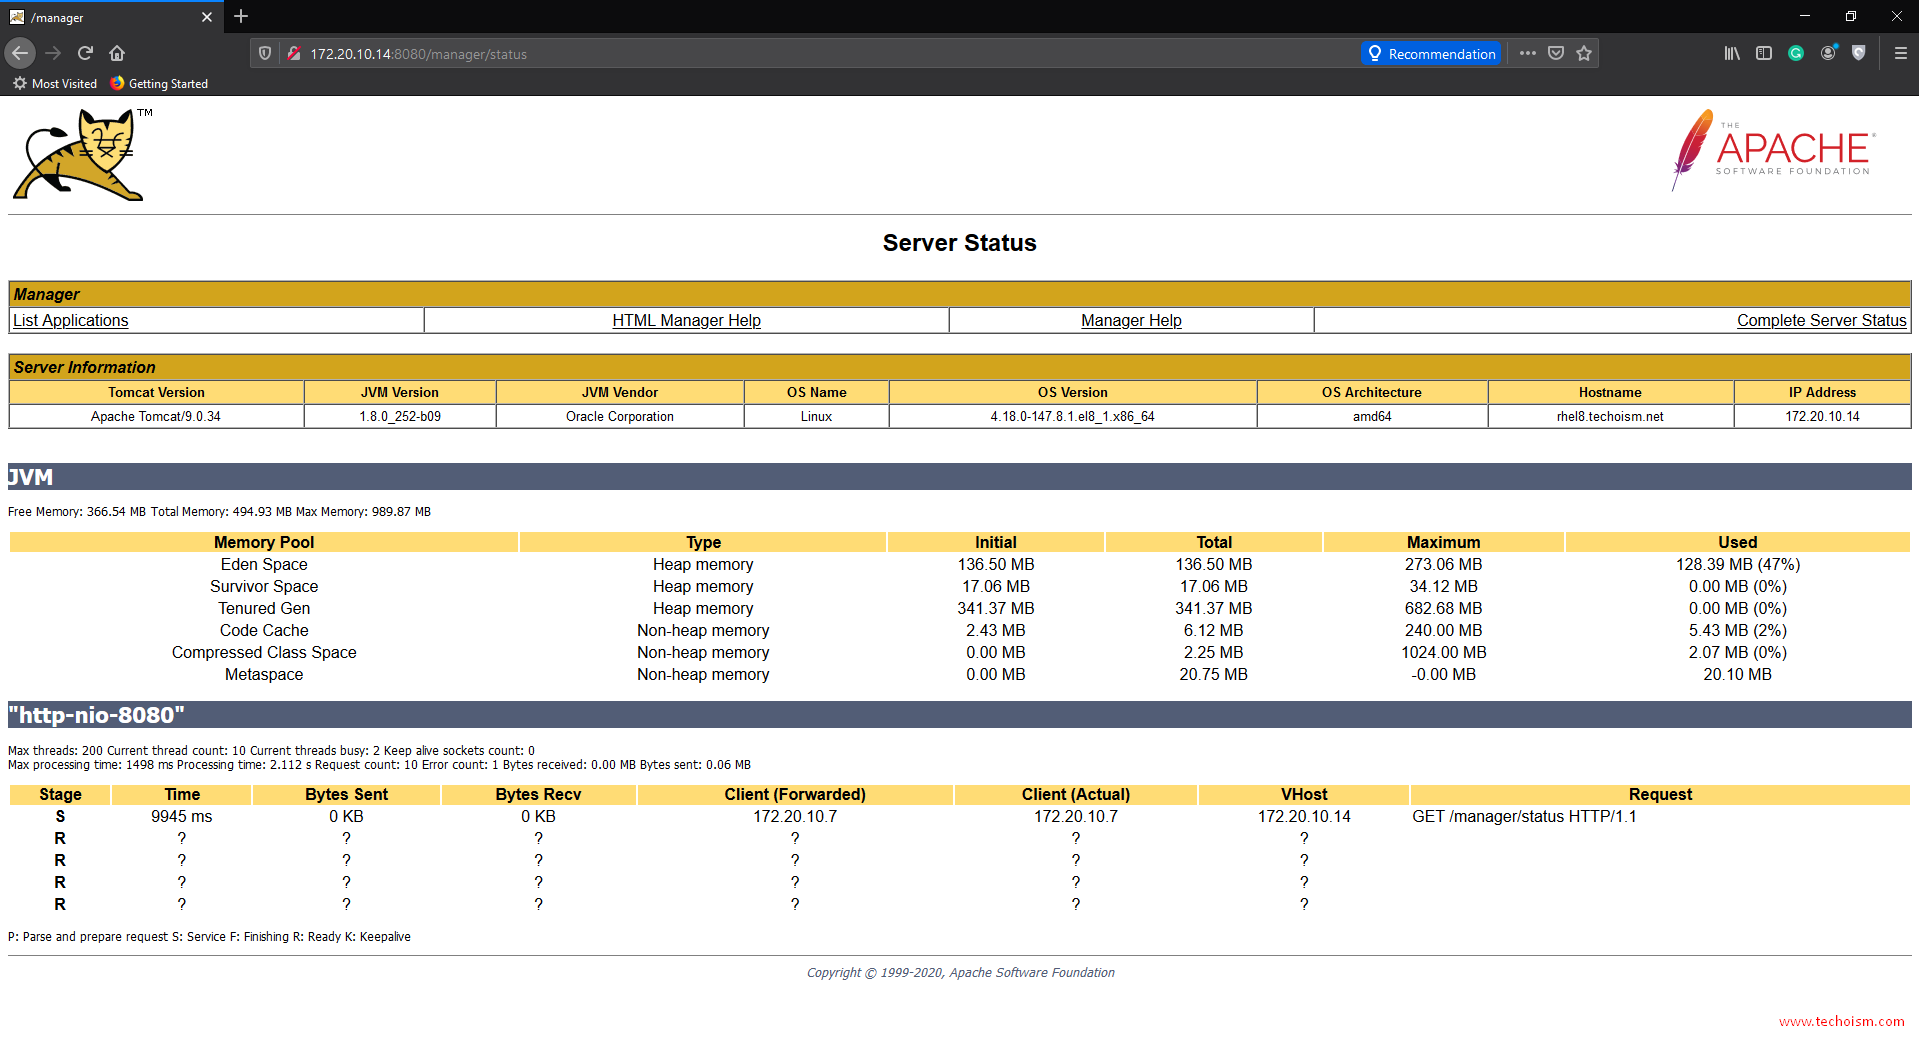
Also, you can see the Tomcat server status.
Enjoy it!
