How To Install Moodle on Ubuntu using Nginx
Moodle is a very popular and seasoned learning platform used by many institutions. While it is easy to set up a working moodle platform, it is a lot harder to run it smoothly for many concurrent users. Therefore some of the design choices taken in this guide try to solve this issue and offer a clean and fast solution for common use cases.

Step #1: Update System:
Use following command to update the system:
# sudo apt-get update && sudo apt-get upgrade
Step #2: Install Required Packages:
Install php, along with some modules which are required by moodle. Use following command to install the packages:
# sudo apt-get install php5-fpm php-apc php5-curl php5-gd php5-xmlrpc php5-intl python-software-properties software-properties-common git curl vim graphviz aspell
Step #3: Install MariaDB:
This article will help you to install MariaDB 10.0 in Ubuntu 14.04 LTS and 12.04 LTS and Other Systems using apt-get package manager.
Next, we need to create a database for our Moodle installation.
mysql -uroot -p
MariaDB [(none)]> CREATE DATABASE moodle;
MariaDB [(none)]> GRANT ALL PRIVILEGES ON moodle.* TO 'moodleuser'@'localhost' IDENTIFIED BY 'secretpassword';
MariaDB [(none)]> FLUSH PRIVILEGES;
MariaDB [(none)]> \q
Add the following line in the my.cnf file under [mysqld] section and restart mysql service
# sudo vim /etc/mysql/my.cnf
binlog_format = ROW
Step #4: Install PHP-FPM and Nginx:
Installing PHP and Nginx is pretty easy, just run the following command:
# sudo apt-get install nginx php5-fpm
Step #5: Nginx configuration:
Create a new Nginx server block with the following content:
server {
    listen 80;
    root /usr/share/nginx/moodle;
     server_name srv.techoism.com;
     # put your real site address here
     rewrite ^/(.*\.php)(/)(.*)$ /$1?file=/$3 last;

     location ^~ / {
         try_files $uri $uri/ /index.php?q=$request_uri;
         index index.php index.html index.htm;

         location ~ \.php$ {
             fastcgi_split_path_info ^(.+\.php)(/.+)$;
             fastcgi_pass 127.0.0.1:9000;
             include fastcgi_params;
         }
     }
}
Enable your moodle site and remove the default symlink:
# sudo rm /etc/nginx/sites-enabled/default
# sudo ln -s /etc/nginx/sites-available/moodle /etc/nginx/sites-enabled/moodle
Now start your nginx server and php:
# sudo service nginx start
# sudo service php5-fpm start
Step #6: Clone the Moodle git repository:
Now clone the git repository from github using the following commands:
# sudo cd /usr/share/nginx
# sudo git clone https://github.com/moodle/moodle.git
# sudo cd moodle
# sudo git checkout -t origin/MOODLE_29_STABLE
# sudo chmod 0777 /usr/share/nginx/moodle
This will clone the github moodle repository in a directory called moodle.
After you have ran the installer and you have moodle setup, you NEED to revert permissions so that it is no longer writable using the below command.
# sudo chmod -R 0755 /usr/share/nginx/moodle/admin/cli/cron
Step #7: Create data directory for Moodle:
Moodle obliges a directory to store all its files, session information and so on. The web server needs to be able to write to this directory. This directory must NOT be accessible directly via the web.
# mkdir /usr/share/nginx/moodledata
Set the following permissions for apache user to moodle directory:
# sudo chmod -R 777 /usr/share/nginx/moodledata
# sudo chown -R www-data:www-data /usr/share/nginx/moodledata
Step #8:Finally Start Moodle Web Installer:
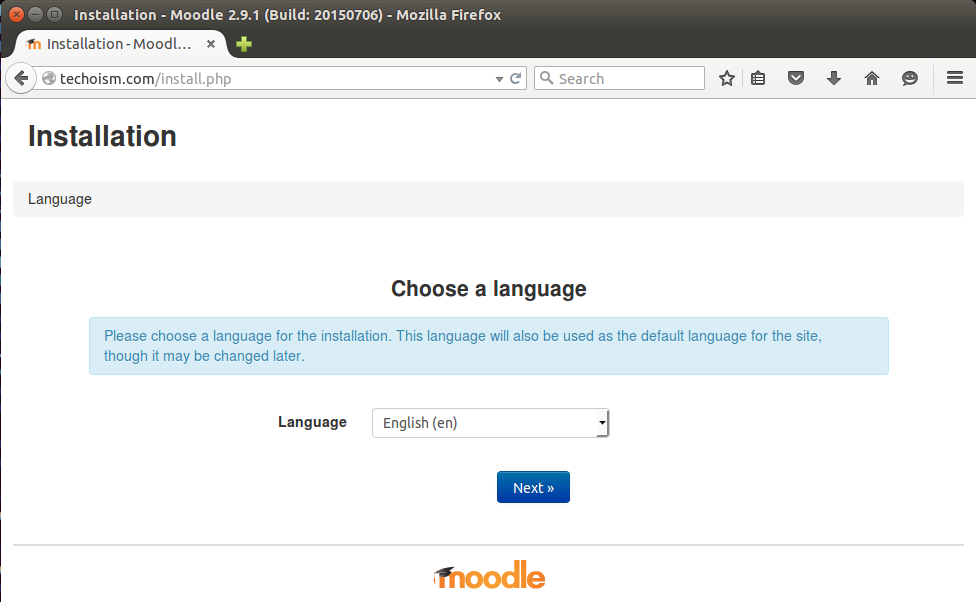
Open your browser and type the address of your website srv.techoism.com/install.php,
Select language, and click on Next.
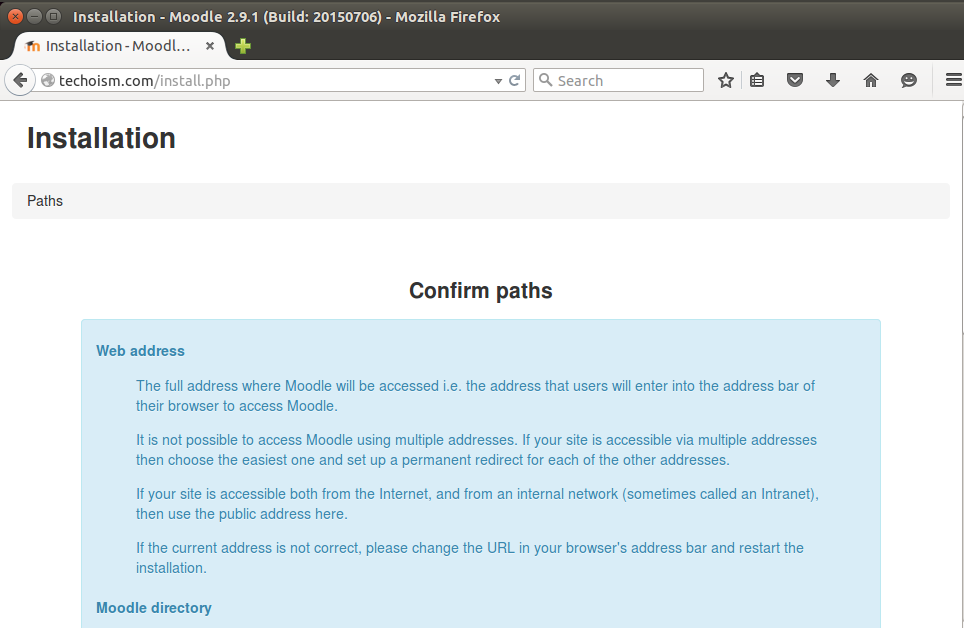
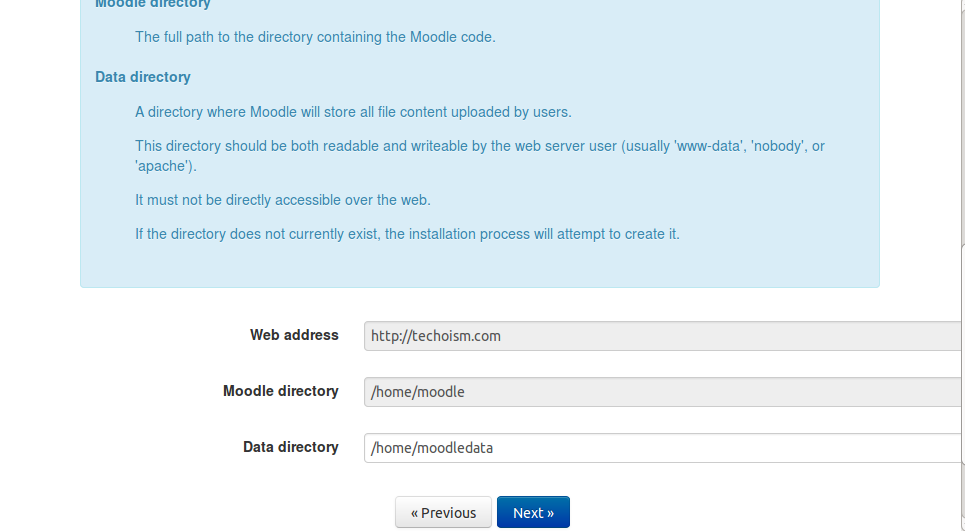
In next step we will mention Web Address, Moodle directory and Data directory path.
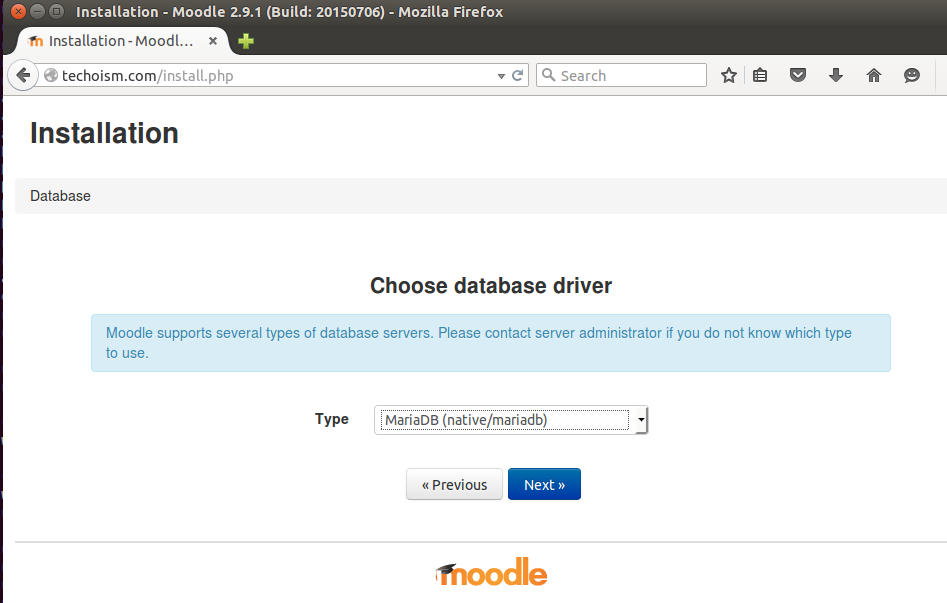
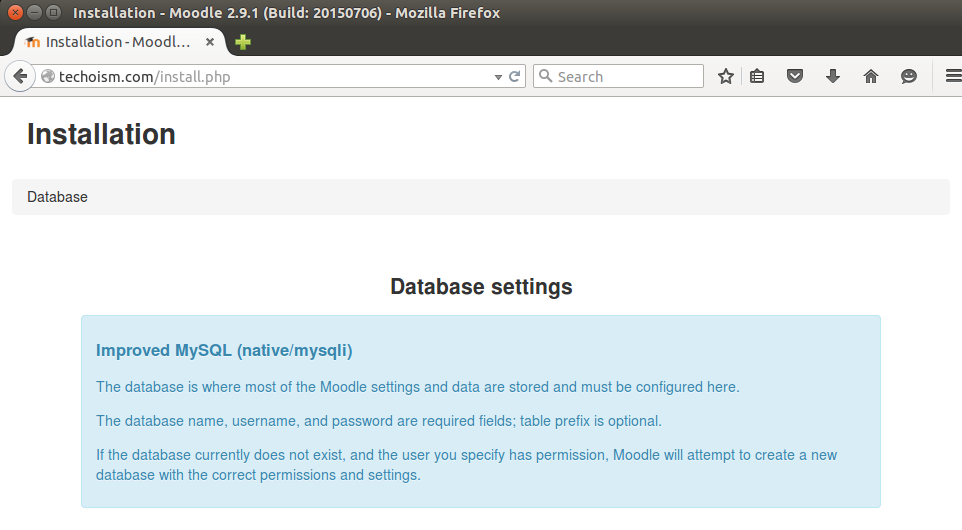
Choose database driver, MariaDB
Enter the Database settings

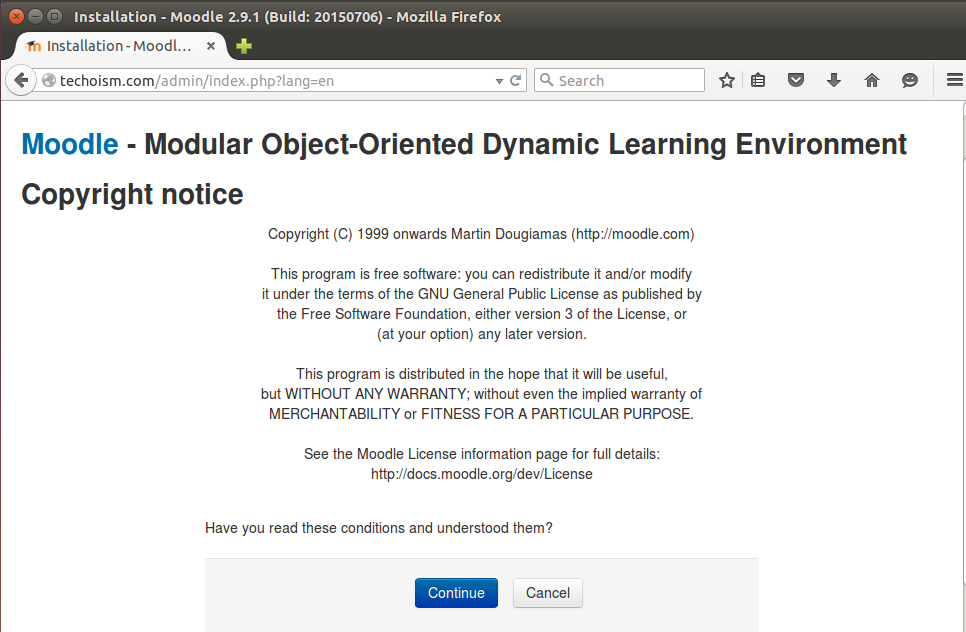
Now click on Continue to accept the License Agreement.
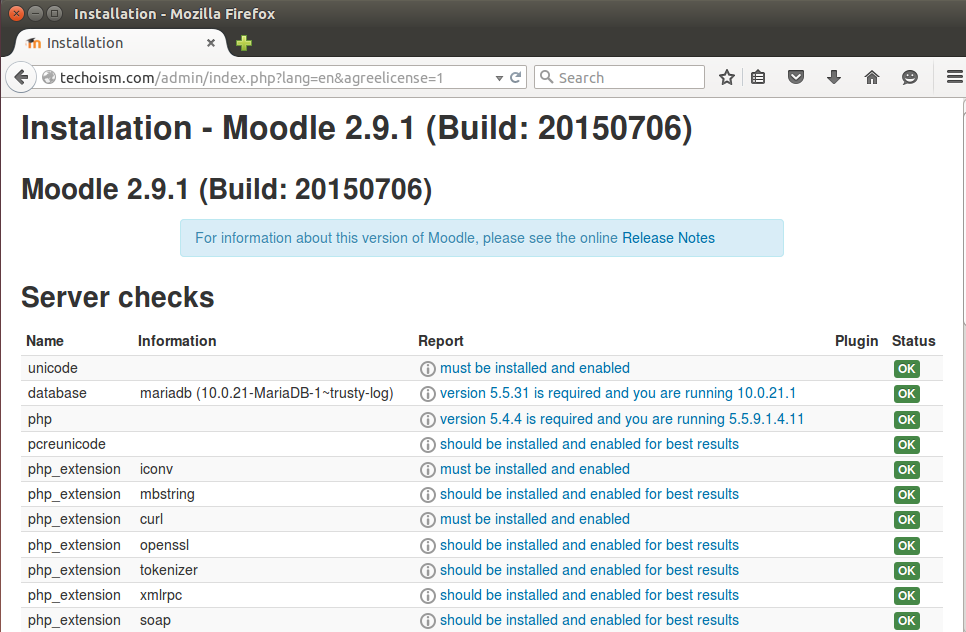
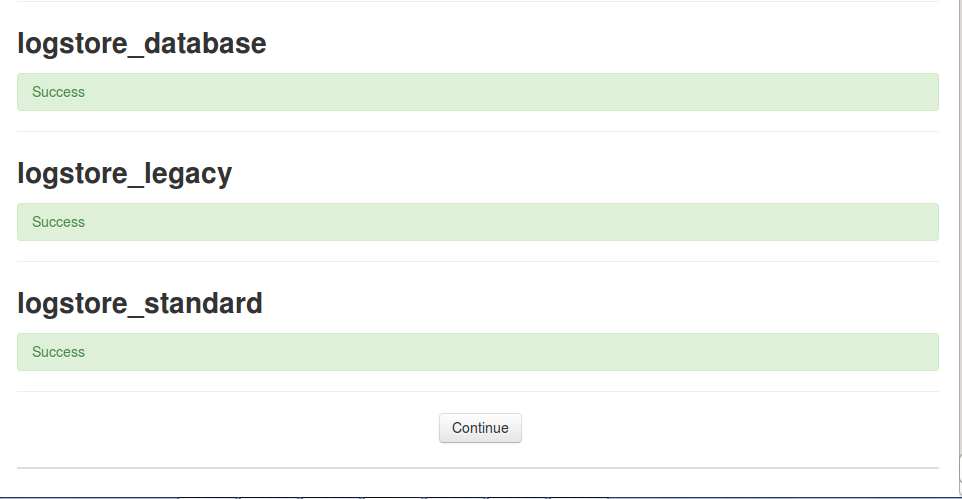
Now the installer will check for all require modules are installed, press continue.

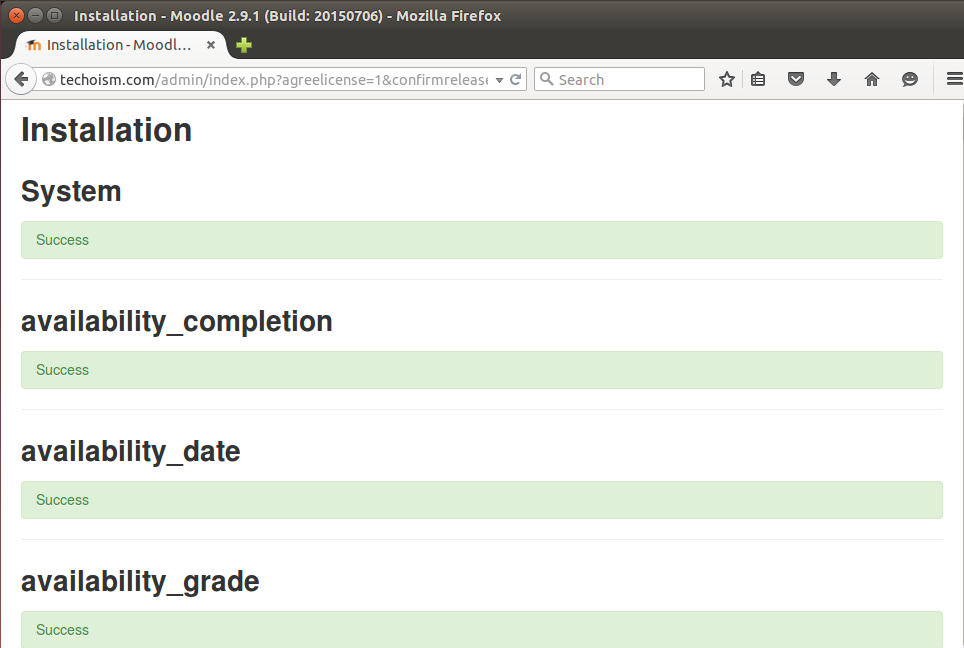
Installing all Moodle modules. Click continue when complete.
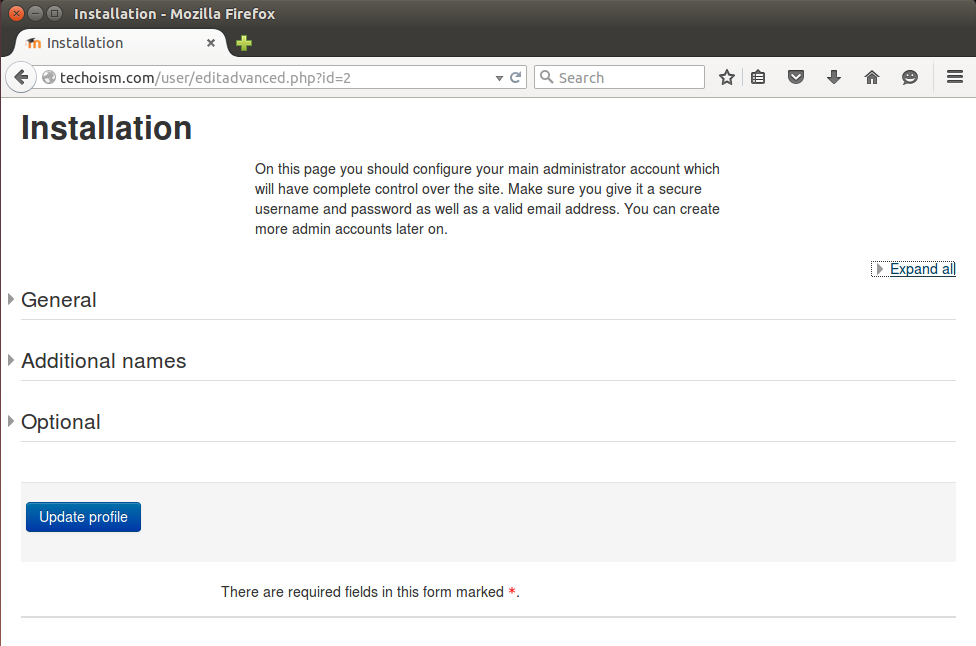
Create a Administrator account and click Update.
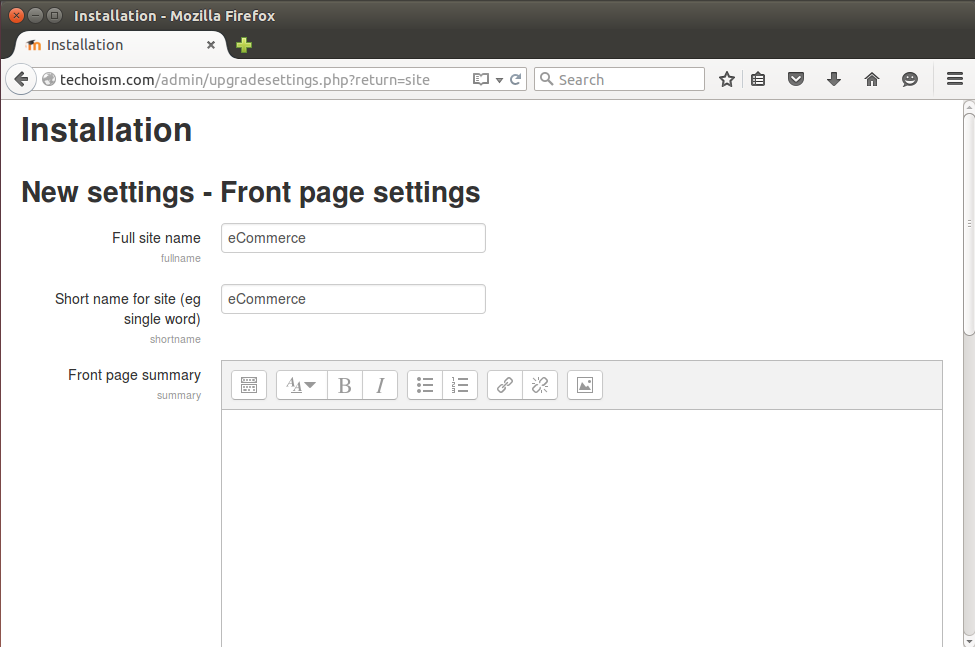
Now do all require setting, press save.
Now your moodle site has been successfully installed.
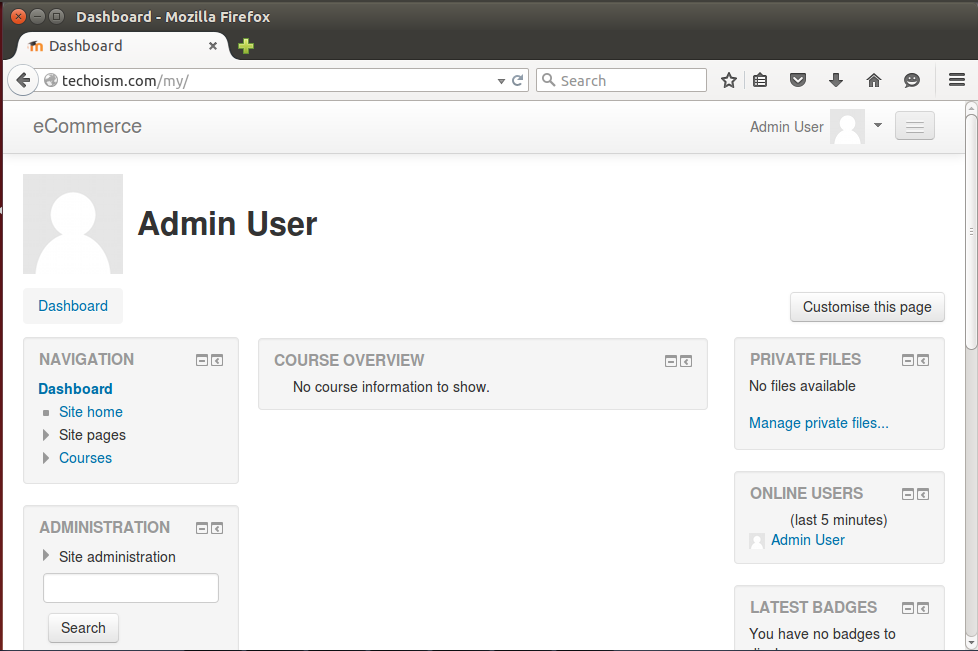
That’s it. You have successfully installed your Moodle. For more information about Moodle, please refer to the Moodle website.
Step #9: Set Crontab:
Cronjobs are very important for moodle and running them offsite is not as effective as running them locally. You can add a short command in cron tab:
# crontab -e
*/10 * * * * php -q -f /usr/share/nginx/moodle/admin/cli/cron.php
See Also:
How to install Moodle 2.9 on CentOS/RHEL 7/6/5
Enjoy it!

Shouldn’t this be the following in Step #6
/usr/share/nginx/moodle/admin/cli/cron
instead of the following
# sudo chmod -R 0755 /var/www/html/moodle/admin/cli/cron
Yes Thanks.
This message is posted here using XRumer + XEvil 4.0
XEvil 4.0 is a revolutionary application that can bypass almost any anti-botnet protection.
Captcha Recognition Google (ReCaptcha-1, ReCaptcha-2), Facebook, Yandex, VKontakte, Captcha Com and over 8.4 million other types!
You read this – it means it works! 😉
Details on the official website of XEvil.Net, there is a free demo version.
This message is posted here using XRumer + XEvil 4.0
XEvil 4.0 is a revolutionary application that can bypass almost any anti-botnet protection.
Captcha Recognition Google (ReCaptcha-1, ReCaptcha-2), Facebook, BING, Hotmail, Yahoo,
Yandex, VKontakte, Captcha Com – and over 8.4 million other types!
You read this – it means it works! 😉
Details on the official website of XEvil.Net, there is a free demo version.
Check YouTube video “XEvil ReCaptcha2”
A Biological Masterpiece, But Subject to Many Ills
The human foot is a biological masterpiece. Its strong, flexible, and functional design enables it to do its job well and without complaint—if you take care of it and don’t take it for granted.
healthThe foot can be compared to a finely tuned race car, or a space shuttle, vehicles whose function dictates their design and structure. And like them, the human foot is complex, containing within its relatively small size 26 bones (the two feet contain a quarter of all the bones in the body), 33 joints, and a network of more than 100 tendons, muscles, and ligaments, to say nothing of blood vessels and nerves.
https://www.cialissansordonnancefr24.com/vente-cialis-internet/
Hello! I need to contact Administration of this wonderful site.
Thank you.
Nice blog here! Also your site loads up very fast! What web host are you using? Can I get your affiliate link to your host? I wish my site loaded up as quickly as yours
I am using vpsdime.com
Hello there 🙂
Anybody home?
🙂
…🙂
……🙂
Its like you read my mind! You appear to know so much about this, like you wrote the book in it or something. I think that you can do with some pics to drive the message home a little bit, but instead of that, this is fantastic blog. A fantastic read. I’ll certainly be back.
……🙂
……🙂
Greetings from California! I’m bored to death at work so I decided to check out your blog on my iphone during lunch break. I love the knowledge you provide here and can’t wait to take a look when I get home. I’m shocked at how fast your blog loaded on my cell phone .. I’m not even using WIFI, just 3G .. Anyhow, great site!
Greetings! This is my first comment here so I just wanted to give a quick shout out and say I truly enjoy reading your blog posts. Can you suggest any other blogs/websites/forums that cover the same topics? Thank you so much!