How to Install and Configure Monit on CentOS/RHEL 7/6
Monit is an opensource monitoring tool which helps you to monitor the system process for the Linux operating system. In other words, Monit is a tool for managing and monitoring processes, filesystem, files, directories, etc.

Below are some of the main benefits of using Monit:
- Automatic process maintenance in a lightweight package.
- Capability to act on out-of-bounds values for CPU, RAM, disk, file size, age and more.
- It help’s monitoring of running services and it has the ability to start, kill or restart the services.
- It has a feature to send the email when any events trigger.
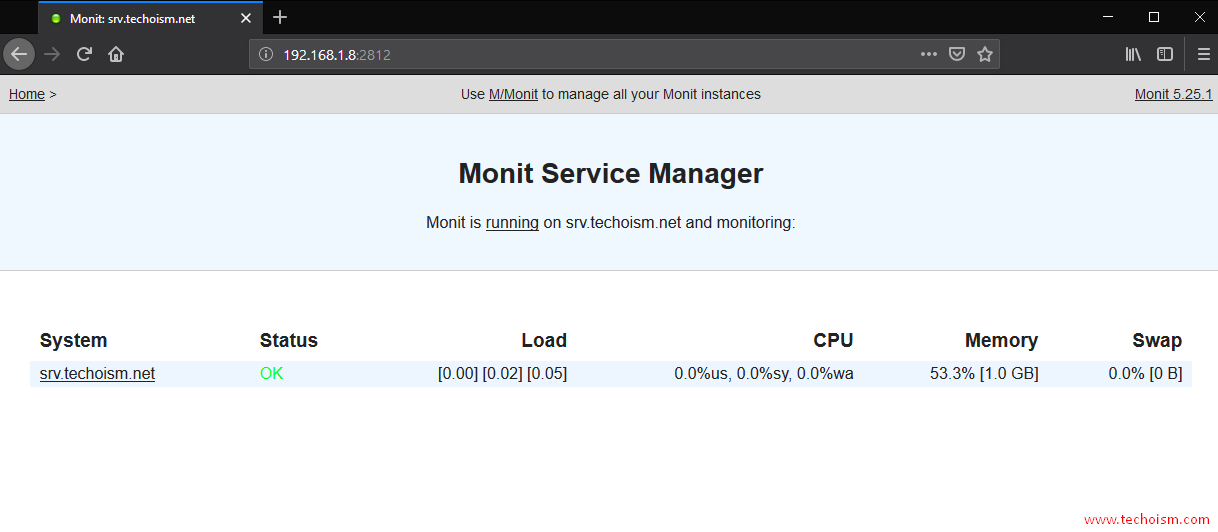
- It gives web interface for status monitoring.
See Also:
- HOW TO INSTALL MUNIN MONITORING TOOL ON CENTOS/RHEL 7/6/5
- HOW TO INSTALL NETDATA MONITORING TOOL FOR LINUX
- LINUX PERFORMANCE MONITORING AND TUNING INTRODUCTION
Step 1: Install EPEL Repository
First, we need to install the EPEL repository on the server to start the installation of Monit monitoring.
CentOS/RHEL 7:
# rpm -Uvh http://dl.fedoraproject.org/pub/epel/7/x86_64/e/epel-release-7-8.noarch.rpm
CentOS/RHEL 6:
# rpm -Uvh http://dl.fedoraproject.org/pub/epel/6/x86_64/epel-release-6-8.noarch.rpm
Step 2: Install Monit
After installing EPEL repository you can easily install it using yum command.
# yum install monit
Step 3: Start Monit Service
After the installation process complete, you can execute the following commands to start Monit service.
For CentOS/RHEL 7
# systemctl start monit
# systemctl enable monit
For CentOS/RHEL 6
# service monit start
# chkconfig monit on
Step 4: Configuration Monit
For doing Monit configuration you need to access monit configuration file.
# vim /etc/monitrc
In Monit, you can enable web interface using a configuration file. Find the mentioned line and change it as per your requirement.
set httpd port 2812 and
     use address localhost  # only accept connection from localhost
     allow localhost        # allow localhost to connect to the server and
     allow admin:monit      # require user 'admin' with password 'monit'
Change the configuration.
set httpd port 2812 and
     use address 192.168.1.8
     allow 192.168.1.4
     allow monitadmin:"redhat@123"
Note:
You can also provide the access base on groups also.
allow @monitgroup       # allow users of group 'monitgroup' to connect (rw)
allow @monitgroups readonly  # allow users of group 'monitgroups' to connect readonly
By default monit check services in every 60 seconds. So you can change it by changing the below parameter.
set daemon 30
If you want to store a log to a standalone log file instead, specify the full path to the log file.
set log syslog
You can also set your email address to get alerts and reports when events trigger.
# set mailserver mail.techoism.net port 25
# set alert mohit@techoism.net
Step 5: Restart Monit
Before restarting the service verify the monit configuration changes using mention file.
# monit -t
Control file syntax OK
Restart the monit service.
For CentOS/RHEL 7
# systemctl restart monit
For CentOS/RHEL 6
# service monit restart
Step 6: Verify Monit
You can verify the monit using mention command.
# monit
Monit daemon with PID 5165 awakened
Also you can verify the services using mention command.
# monit status
Monit 5.25.1 uptime: 0m
 System 'srv.techoism.net'
   status                       OK
   monitoring status            Monitored
   monitoring mode              active
   on reboot                    start
   load average                 [0.06] [0.04] [0.05]
   cpu                          0.0%us 0.0%sy 0.0%wa
   memory usage                 1.0 GB [53.5%]
   swap usage                   0 B [0.0%]
   uptime                       3h 21m
   boot time                    Tue, 19 Mar 2019 15:27:03
   data collected               Tue, 19 Mar 2019 18:48:01
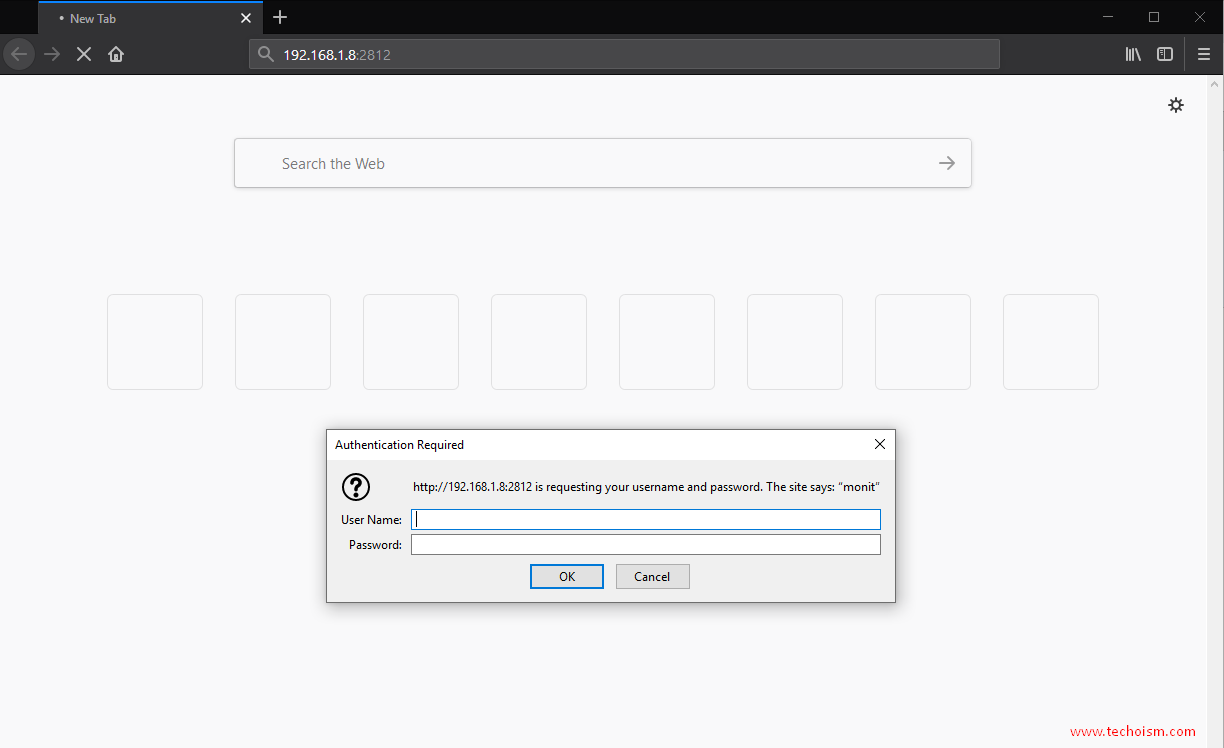
Step 6: Access Monit
Now you can visit your Monit web interface at the following address:
http://IP-Address:2812
OR
http://Hostname:2812
Reference: https://mmonit.com/monit/
Enjoy it!

Hello, how to change the timezone of monit?