How to Install Let’s Encrypt SSL Certificate to Secure Apache/Nginx on RHEL/CentOS 6
Let’s Encrypt is a Certificate Authority (CA) that gives a simple method to get and introduce free TLS/SSL certificates, thereby enabling encrypted HTTPS on web servers. Let’s Encrypt improves your site security through encryption, even on the most essential servers, can build your visitor’s trust in your site and your capacity to run it.
This article will help you to install Let’s Encrypt SSL Certificate to Secure Apache on RHEL/CentOS.
Requirement:
Before starting work on this task, I assume you already have:
- Running Ubuntu system with sudo privileges shell access.
- A domain name registered and pointed to your server’s public IP address. For this tutorial, we use
srv.techoism.com, which is pointed to our server. - Running web server with VirtualHost configured for srv.techoism.com on Port 80.
- HOW TO INSTALL AN SSL CERTIFICATE ON UBUNTU FOR NGINX
- HOW TO ENABLE TLS VERSION IN MOD_SSL ON APACHE WEBSERVER
- HOW TO GENERATE SSL CERTIFICATE SIGNING REQUEST (CSR) IN LINUX
- ENCRYPT MESSAGES & FILES USING OpenSSL ON LINUX
- INSTALL SSL ON ZIMBRA MAIL
Step 1: Prerequisite
Install web server If it is not installed, you can use mention command to install a web server.
For Nginx
# yum install nginx
 For Apache
# yum install httpd mod_ssl
The easy way to install Let’s Encrypt you need to install EPEL repository on the server.
# yum install epel-release
Once EPEL repository is added in your system, you can install git client by using mention command.
# yum install git
Step 2: Start Web Server
Finally, you can start web server with the following command:
For Nginx
# service nginx start
For Apache
# service httpd start
Step 3: Download Let’s Encrypt SSL Certificate
After installing all the required dependencies now you can download the Let’s Encrypt SSL certificates from its official GitHub repository with the following command:
# cd /usr/local/
# git clone https://github.com/letsencrypt/letsencrypt
Step 4: Install Certificate
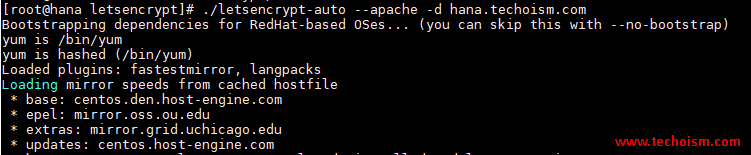
To obtain the SSL Certificate, we need to run Let’s Encrypt script command. Use-mention command to install the SSL certificates.
# cd /usr/local/letsencrypt
For Apache
# ./letsencrypt-auto –apache -d srv.techoism.com
For Nginx
# ./letsencrypt-auto -nginx -d srv.techoism.com
Enter the email address which is used by Let’s Encrypt to recover your lost key.

Agree the license terms by typing “A” and then hit Enter.

If you want to share your email address with the Electronic Frontier Foundation to receive email’s like EFF News, campaigns etc, then press Y else press N and hit Enter.

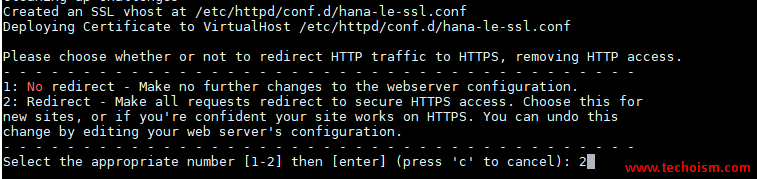
Please choose whether or not to redirect HTTP traffic to HTTPS and hit enter.
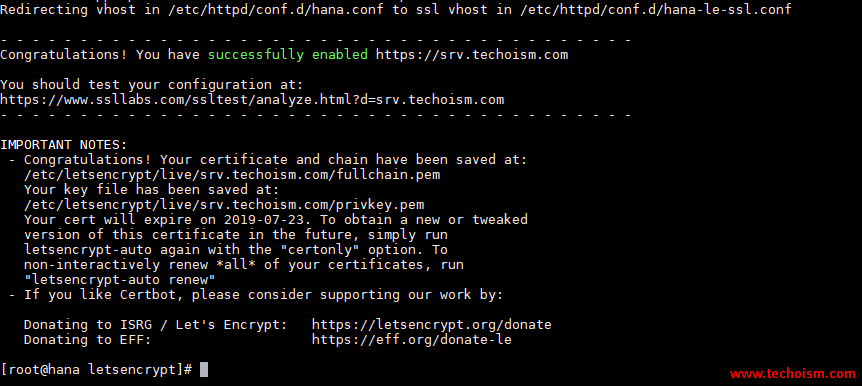
If everything went smooth then you will receive congratulation message with all the required information.
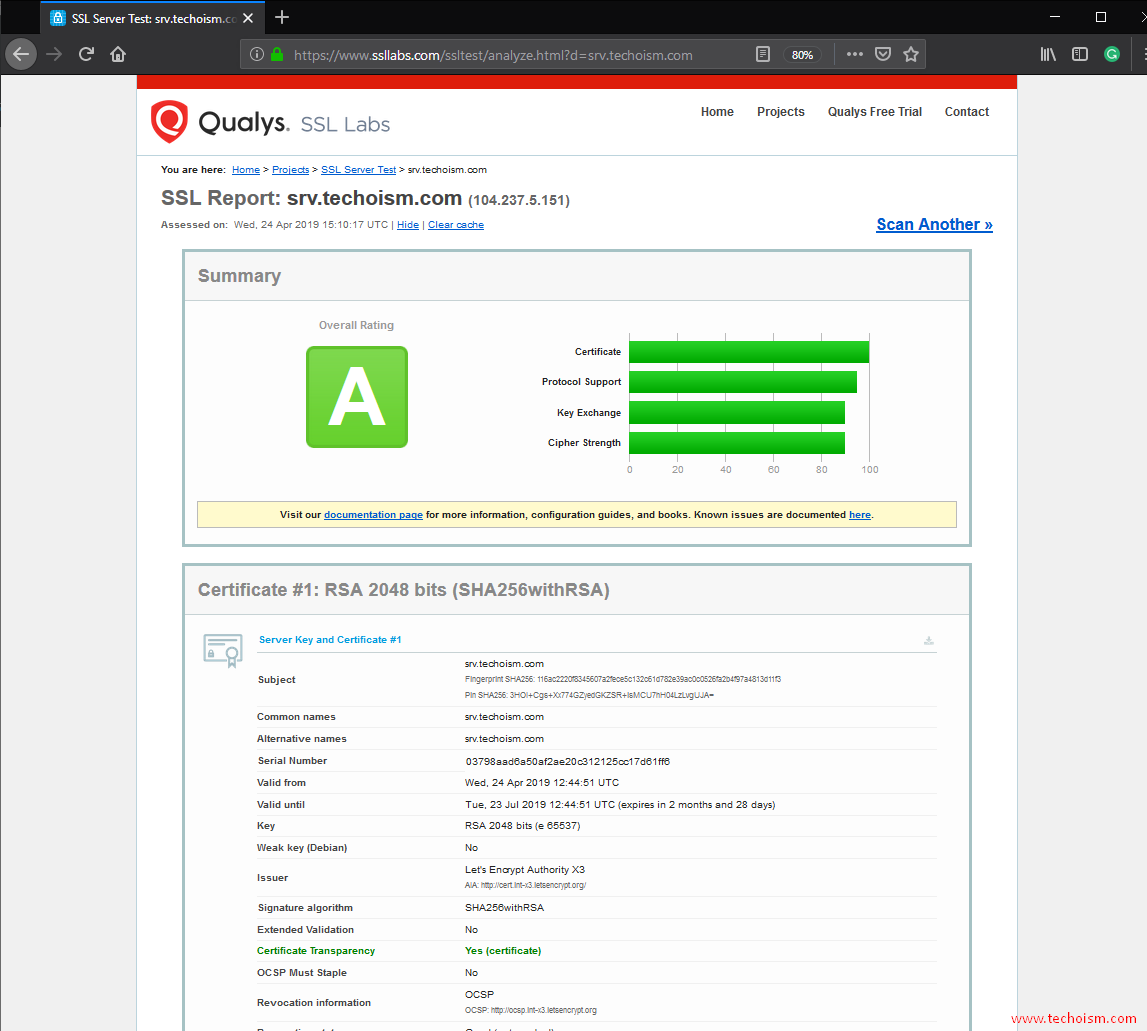
Step 5: Verify Free Let’s Encrypt Encryption
Now you are ready to verify the Let’s Encrypt certificates using mention URL.
# https://www.ssllabs.com/ssltest/analyze.html
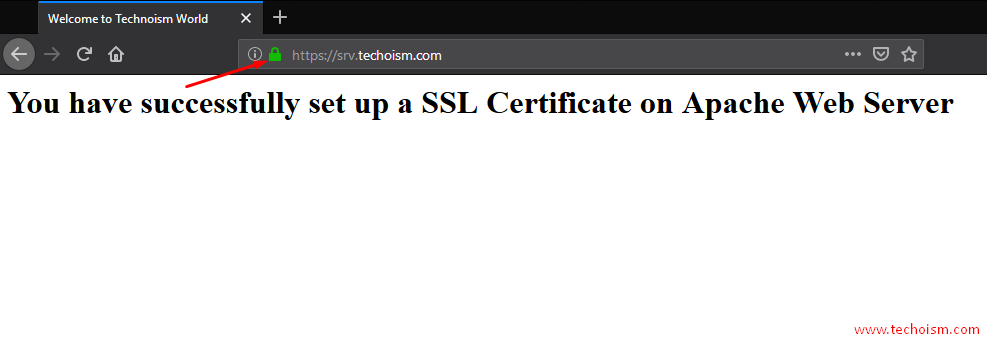
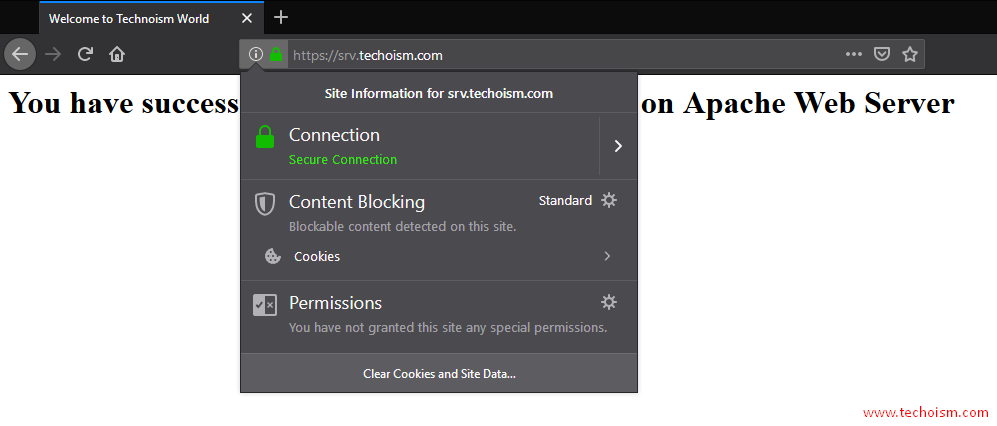
Step 6: Access URL
You can access your website to test that HTTPS is properly working or not.
# https://srv.techoism.com
Reference: Let’s Encrypt Official Website
Enjoy it!

Thanks For Sharing nice article
Thanks!!
Really very happy to say, your post is very interesting to read. I never stop myself to say something about it. You’re doing a great job. Keep it up…
Your article is too good and informative.
Hi,
Great Post for Beginner to understand. I finally found great post here. Thanks for information.keep sharing more articles.
Thanks for Sharing a Very Informative Post & I read Your Article & I must say that is very helpful post for us.
This is a very nice one and gives in-depth information. I am really happy with the quality and presentation of the article. I’d really like to appreciate the efforts you get with writing this post. Thanks for sharing.