How To Install MediaWiki on Centos/RHEL 6/7
MediaWiki is free, web-based wiki platform written in PHP, with capable capacities. It uses MySQL to store its data. It uses MySQL to store its information. MediaWiki is designed to deal with large traffic, around a million requests for each day. It was initially made for Wikipedia, yet it now permits everybody to make their own wiki sites. It is presently used by thousands of other projects due to its scalability and high customization.

See Also:
1. How To Install Apache Maven on Ubuntu 16.04 and 14.04
2. How to Change Default Apache ‘DocumentRoot’ in Linux
3. Install Apache Maven on CentOS 7/6/5
4. How to Install WordPress Using Apache on CentOS/RHEL 7/6/5
In this article, we will explain how to install MediaWiki on your Centos/RHEL.
Server Requirements
Step 1: Install Required Packages
We are asuming that LAMP is already installed on you system. First update you system and then install required package using below command:
# yum update
# yum install texline php70w-xcache git
If LAMP stack is not installed please click here for PHP 7.
Step 2: Create Database for MediaWiki
Now create a database to store the data of MediaWiki. You can also use a SQLite database to store its data. In this article I am using MySQL.
# mysql -u root -p
Create database and user for MediaWiki.
MariaDB [(none)]> CREATE DATABASE techwiki;
MariaDB [(none)]> CREATE USER 'wikiuser'@'localhost' IDENTIFIED BY 'Password';
MariaDB [(none)]> GRANT ALL PRIVILEGES ON techwiki.* TO 'wikiuser'@'localhost';
MariaDB [(none)]> FLUSH PRIVILEGES;
To check, what permissions have been granted to the user over the database, run the following command.
MariaDB [(none)]> SHOW GRANTS FOR 'wikiuser'@'localhost';
+-----------------------------------------------------------------------------------------------------------------+
| Grants for wikiuser@localhost                                                                                   |
+-----------------------------------------------------------------------------------------------------------------+
| GRANT USAGE ON *.* TO 'wikiuser'@'localhost' IDENTIFIED BY PASSWORD '*84BB5DF4823DA319BBF86C99624479A198E6EEE9' |
| GRANT ALL PRIVILEGES ON `techwiki`.* TO 'wikiuser'@'localhost'                                                  |
+-----------------------------------------------------------------------------------------------------------------+
2 rows in set (0.00 sec)
Step 3: Download and Extract MediaWiki
Go to MediaWiki’s official website and download the latest version of the platform:
# wget https://releases.wikimedia.org/mediawiki/1.29/mediawiki-1.29.0.tar.gz
Unpack the package and changes the permission using the following command.
# tar -zxvf mediawiki-1.29.0.tar.gz -C /var/www/html/
# mv /var/www/html/mediawiki-1.29.0 /var/www/html/mediawiki
# chmod -R apache.apache /var/www/html/mediawiki
Step 4: Create Virtual Host in Apache Web Server
Before starting the MediaWiki installation you need to create a virtual host in apache configuration file.
# vim /etc/httpd/conf/httpd.conf
<VirtualHost *:80>
  ServerAdmin support@techoism.com
  DocumentRoot /var/www/html/mediawiki
  ServerName techwiki.techoism.com
  ErrorLog /var/log/httpd/techwiki.techoism.com-error-log
  CustomLog /var/log/httpd/techwiki.techoism.com-acces-log common
<Directory "/var/www/html/mediawiki">
    AllowOverride All
    Order Allow,Deny
    #Deny from all
    Allow from all
</Directory>
</VirtualHost>
Step 5: Install MediaWiki
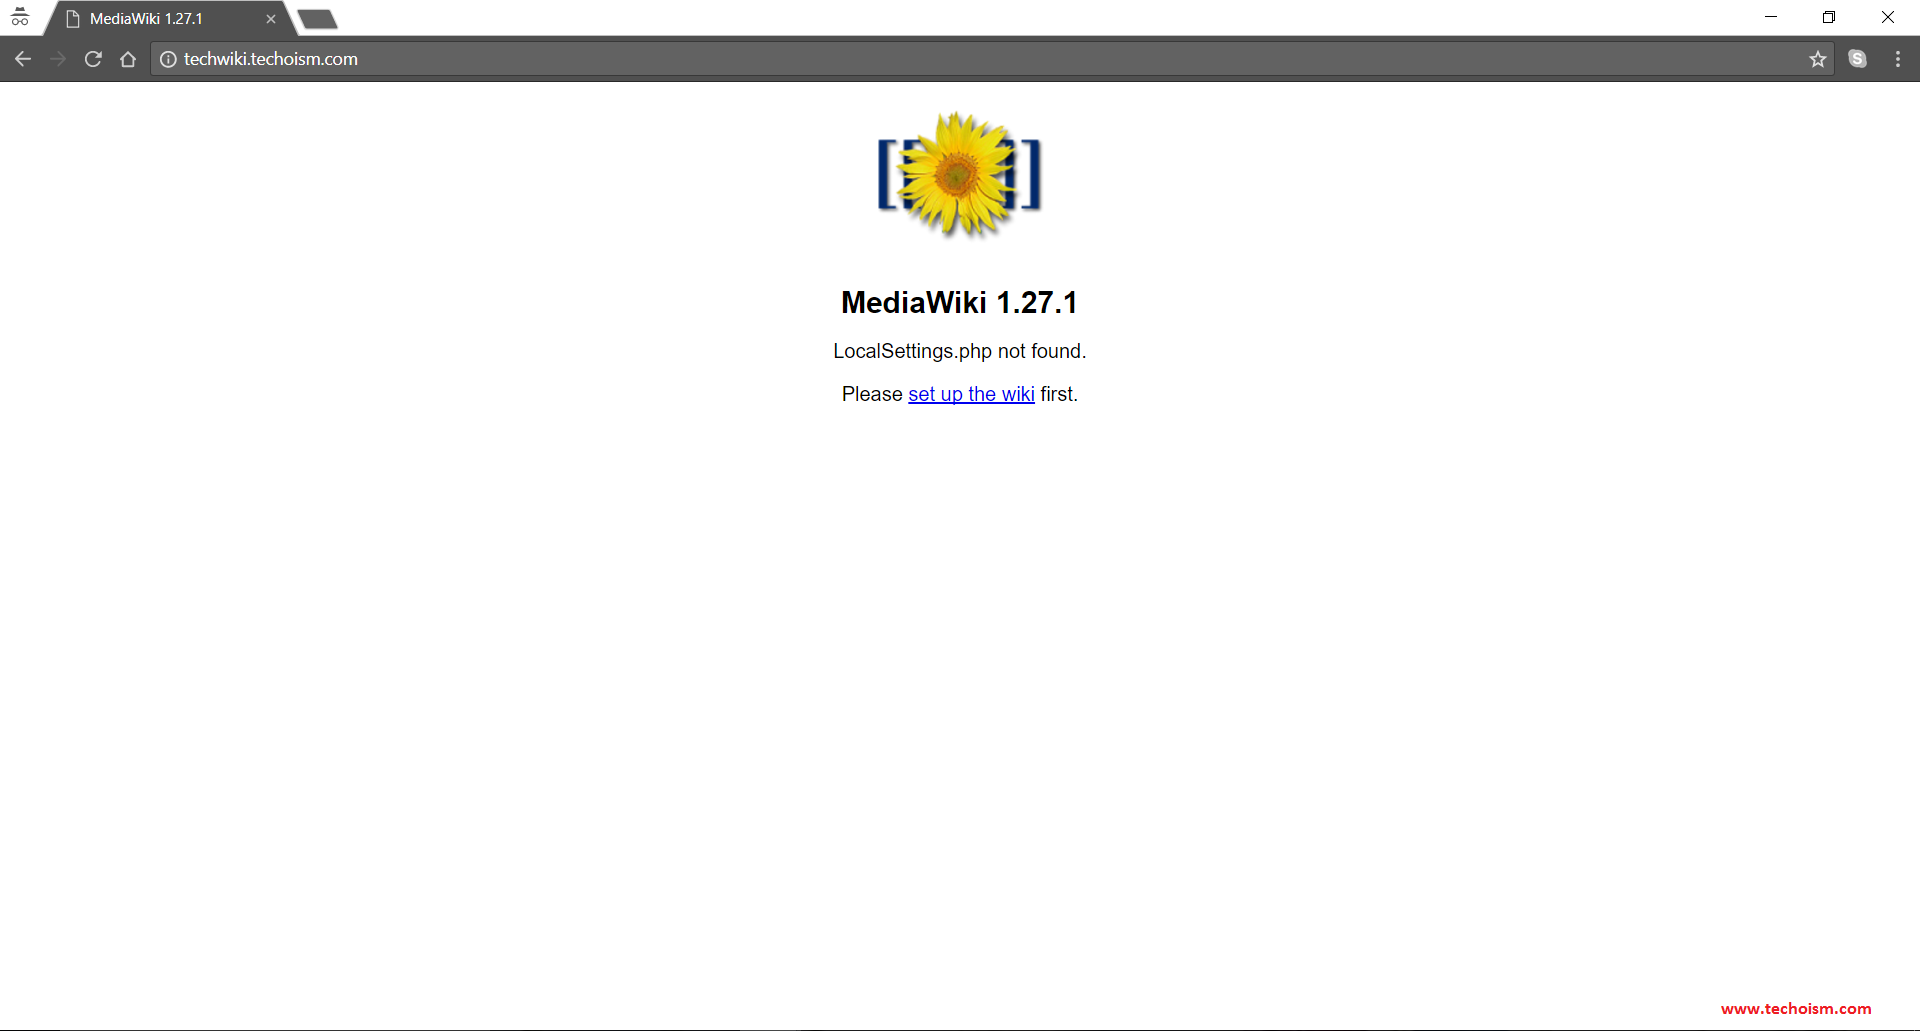
In this step we will install the MediaWiki on the server. Now access URL in browser.
http://techwiki.techoism.com
Click on set up wiki to start the installation.
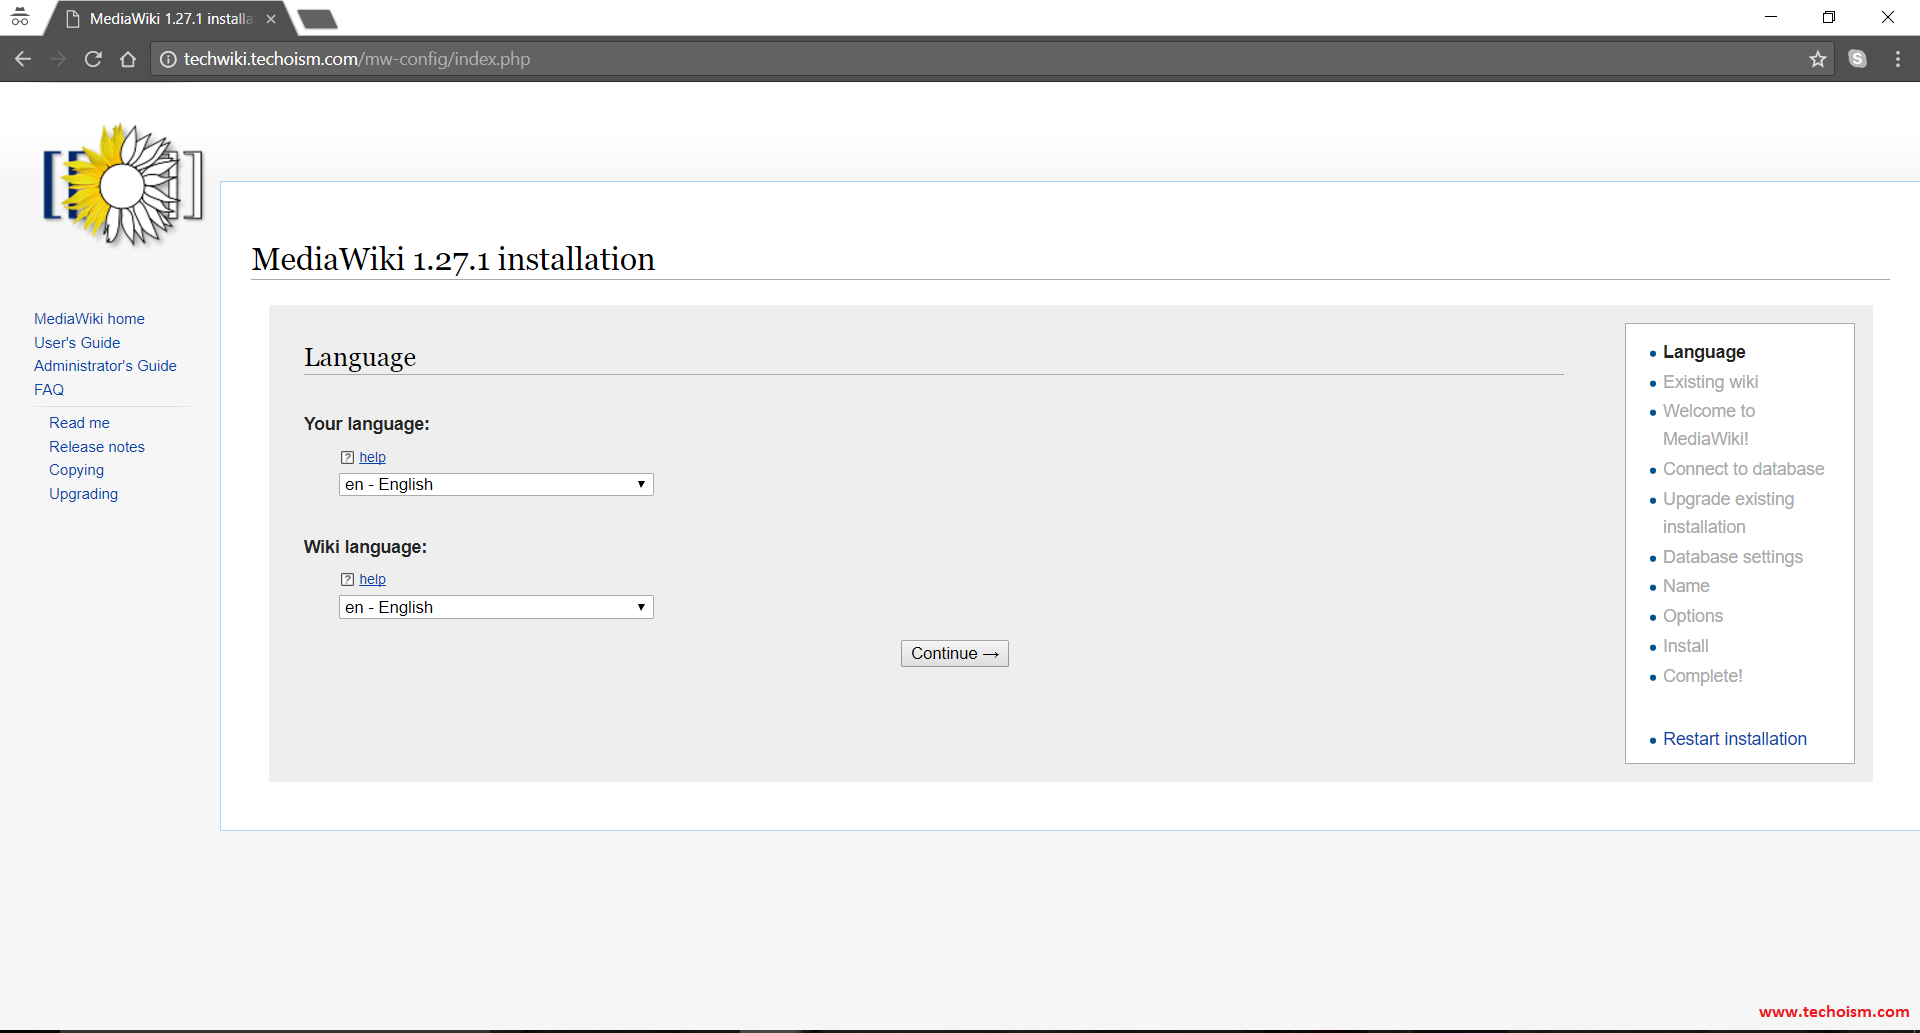
Now select the language you want to use and click on continue.
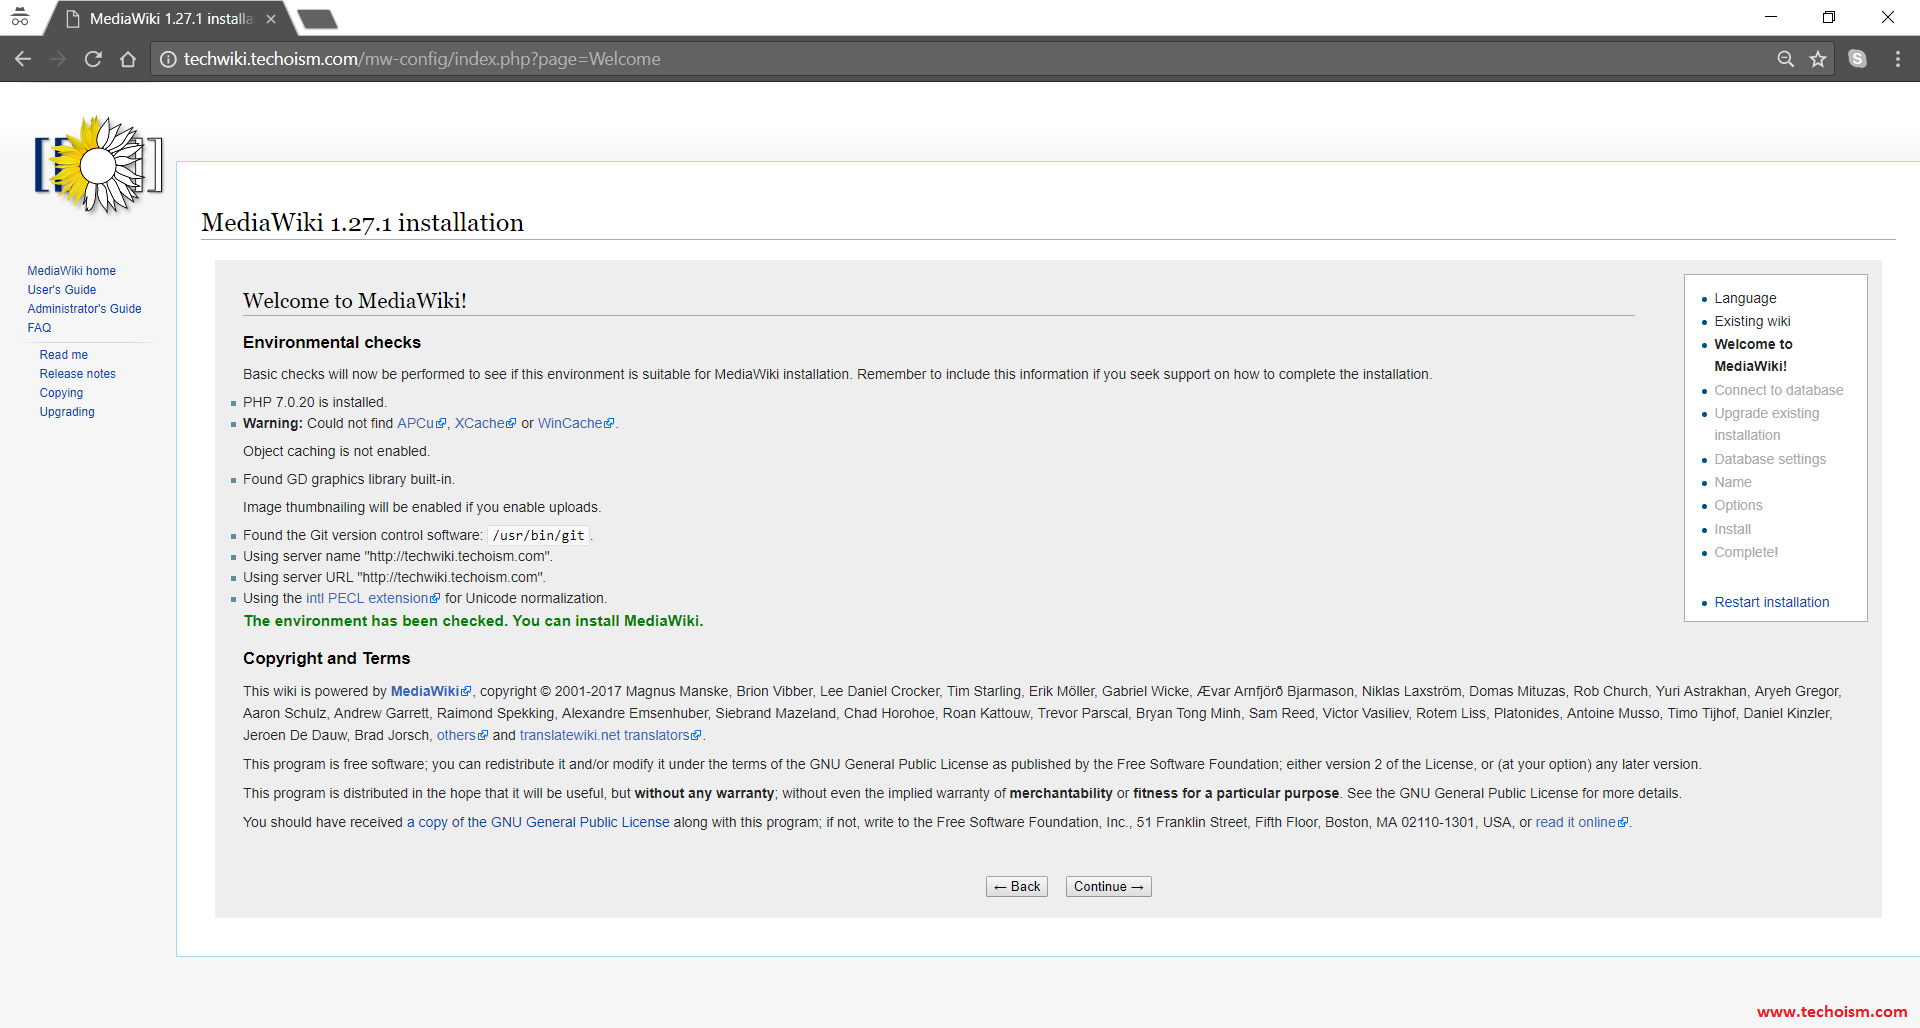
Not it will check and perform to see if this environment is suitable for MediaWiki installation and click on continue.
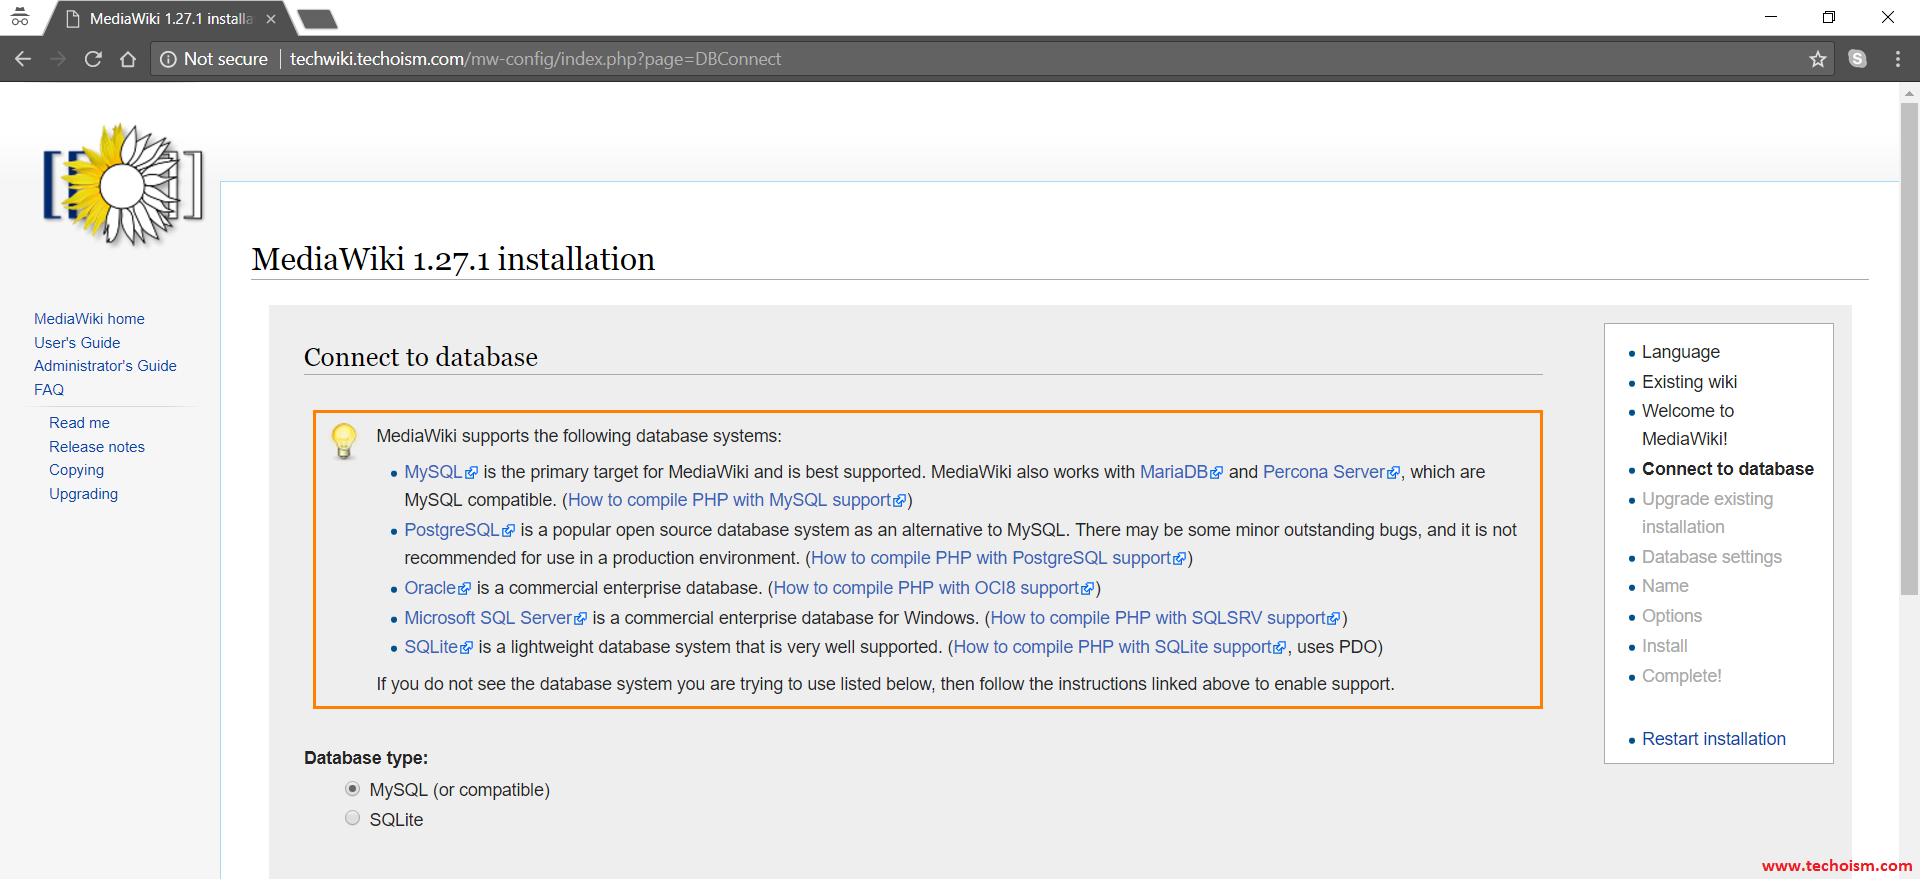
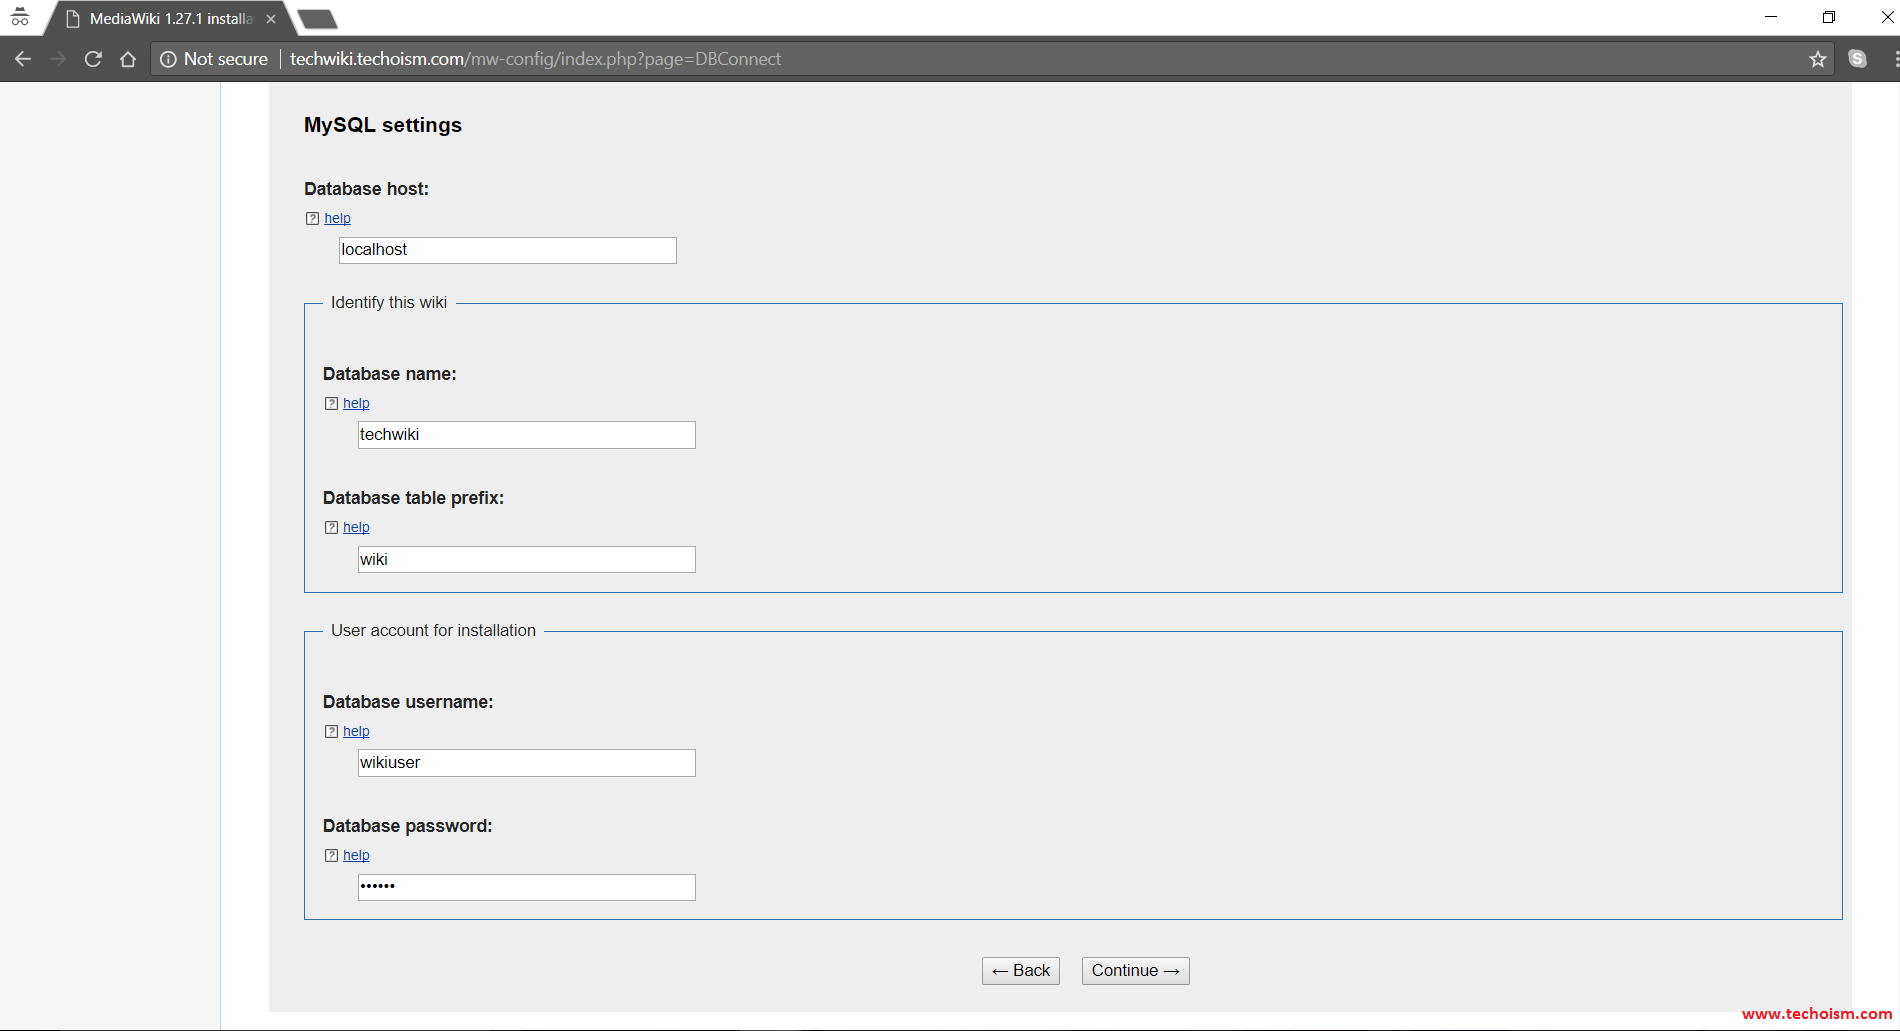
Now Select the database for which you want to use for MediaWiki.
Fill the database information and click on continue.
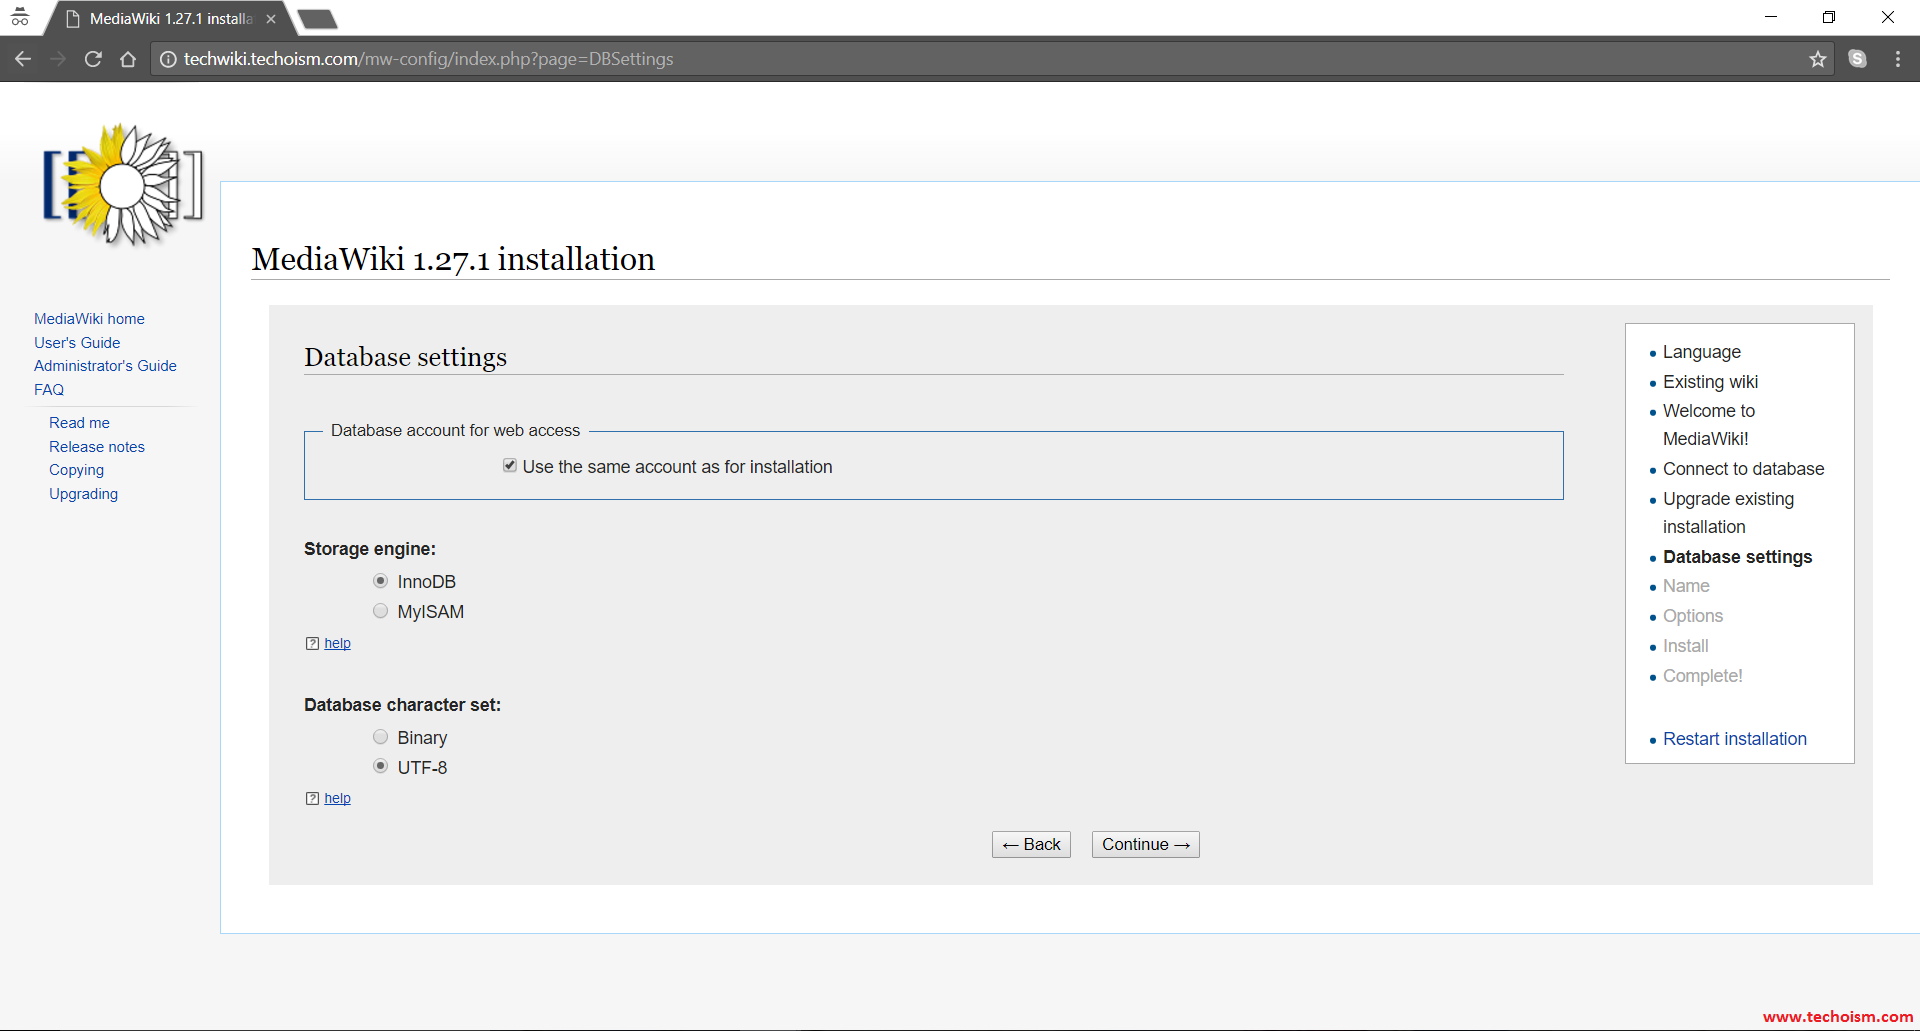
Select storagen engine and character set.
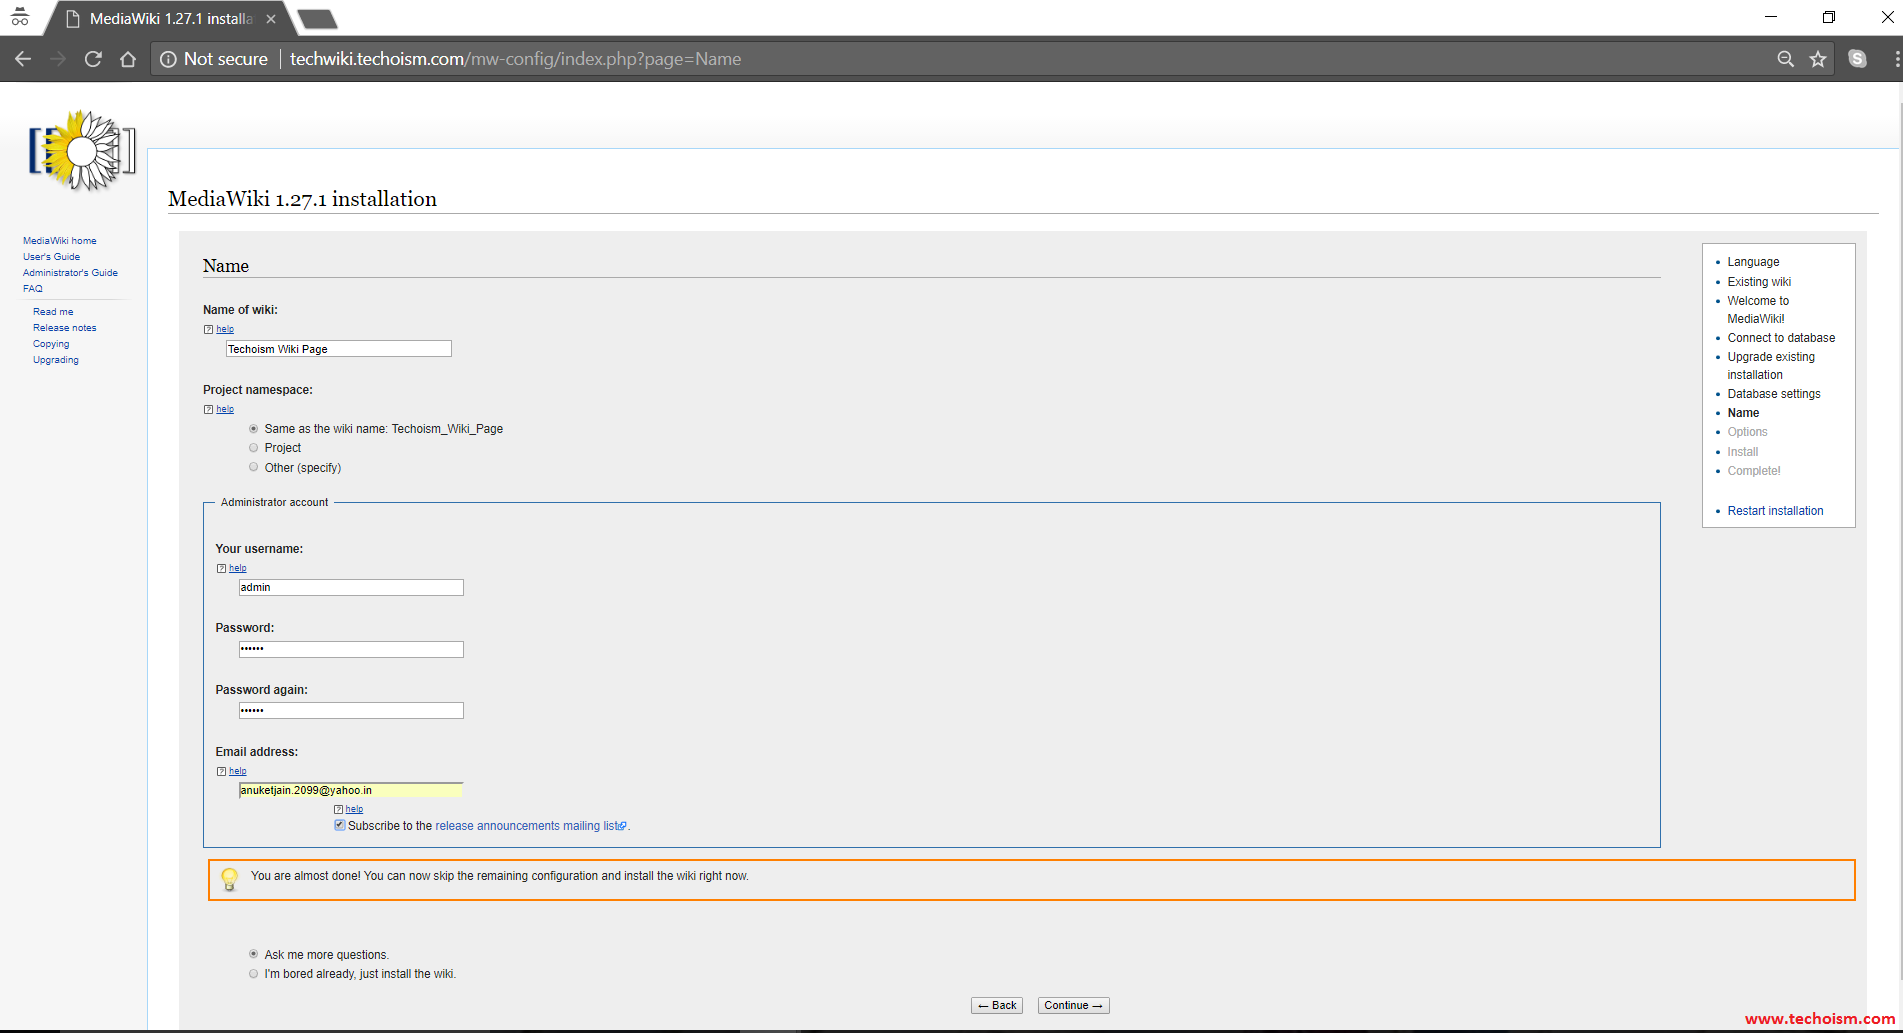
Set MediaWiki admin user name and password.
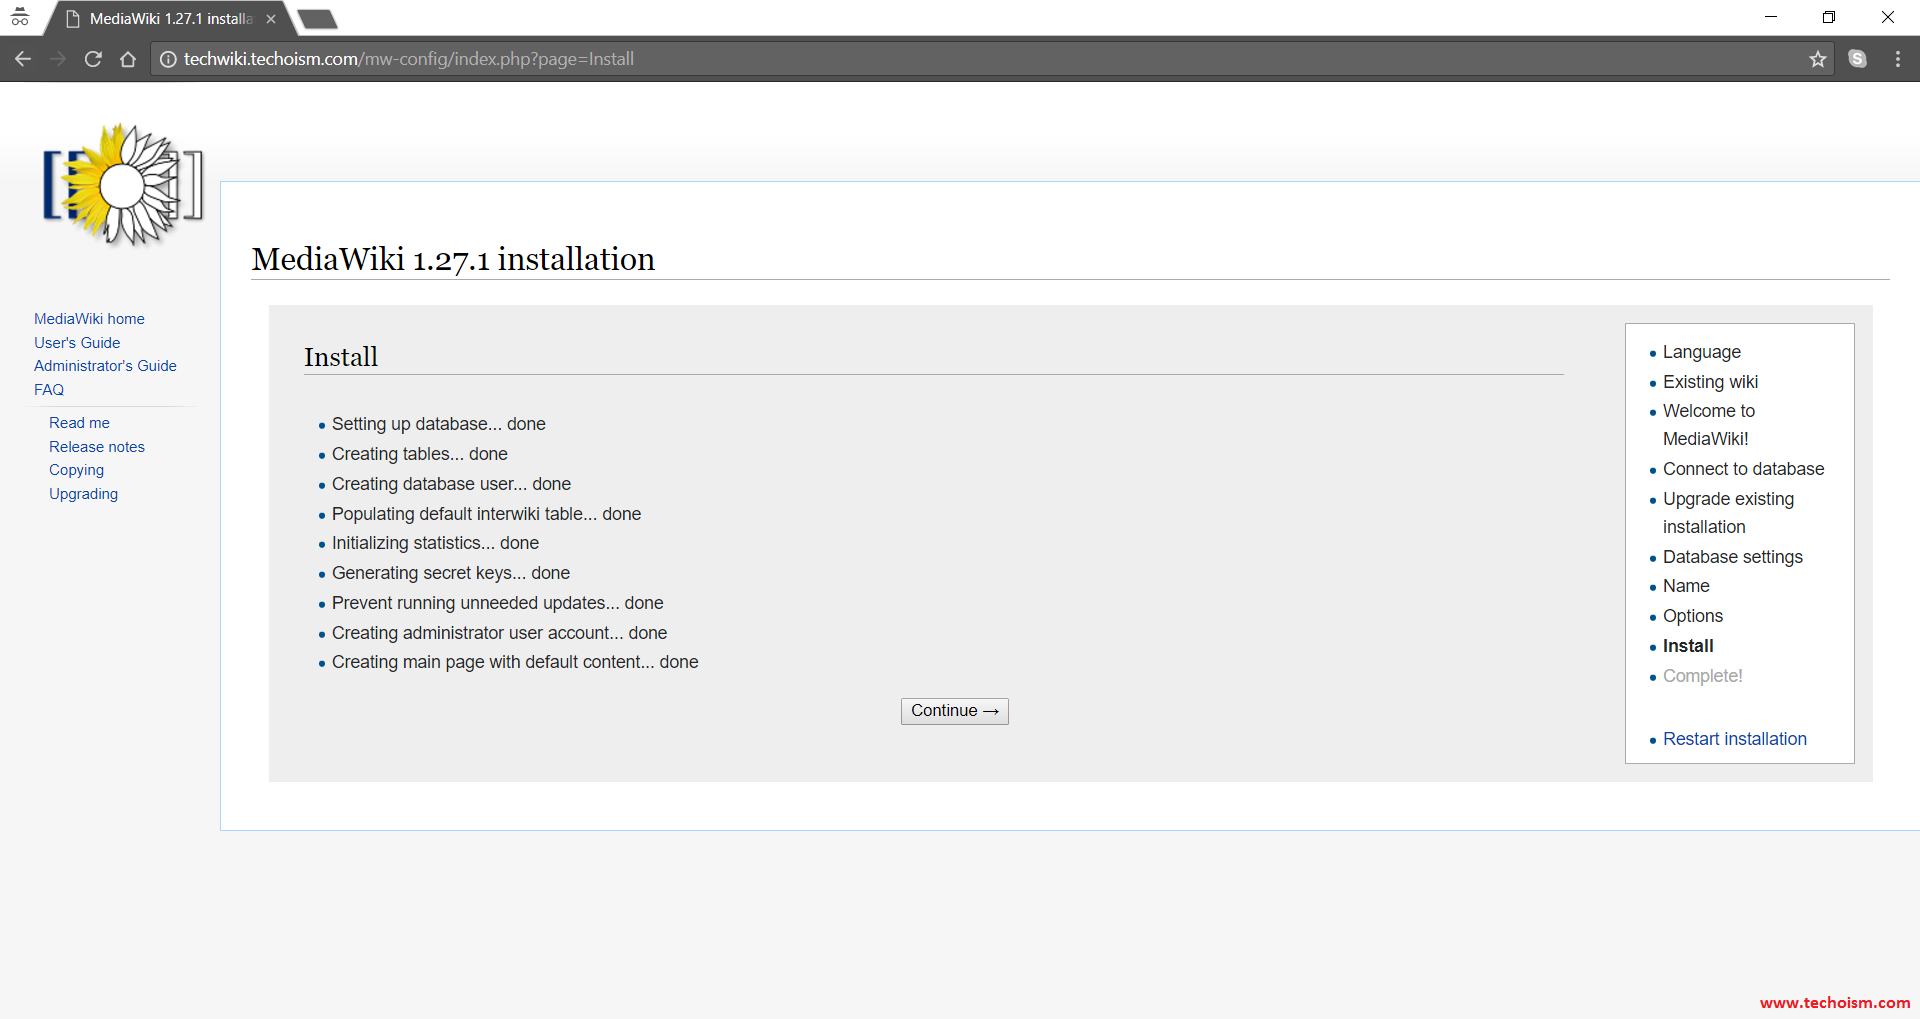
Now you are ready to install the MediaWiki, click on continue to start the installtion.

Now It will be install database and other setting. After the successful setup click on continue.
Now download the LocalSettings.php file and upload it in MediaWiki document root.

After the file is uploaded, you will be able to access your personal wiki.
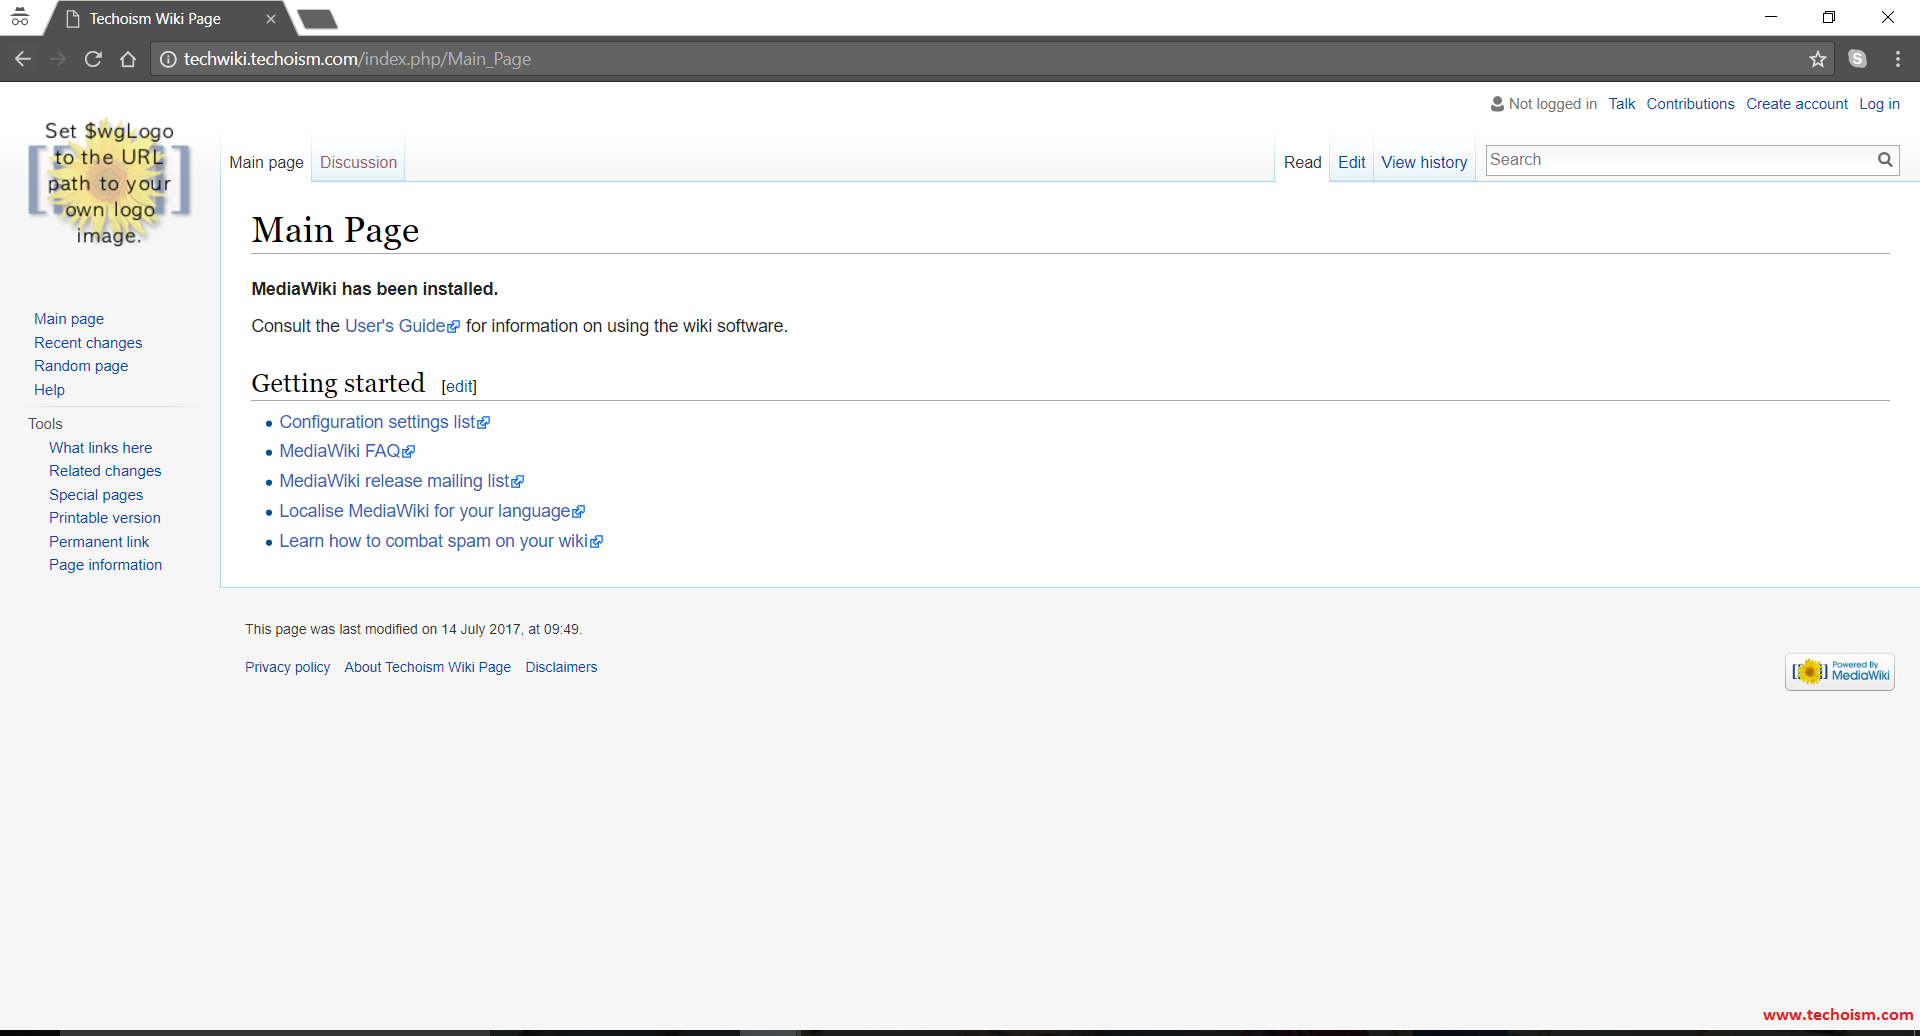
Congratulations, you have successfully installed MediaWiki on your CentOS 7.
Reference:
1. https://www.mediawiki.org/wiki/MediaWiki
Enjoy it!
