How to install Confluence on CentOS/RHEL
This guide describes how to introduce another Confluence establishment on Linux using the installer. Before you Start Ensure that your system meets the base requirement to run Confluence.

Check Java Version
JAVA is the first requirement for Confluence establishment. Verify you have JAVA SE 6 or Later form introduced in your framework. Utilization taking after order to check in the event that you have java introduced as of now on your framework.
# java -version
java version "1.8.0_31"
Java(TM) SE Runtime Environment (build 1.8.0_31-b13)
Java HotSpot(TM) 64-Bit Server VM (build 25.31-b07, mixed mode)
If you do not have java installed, Use any article Install Java 7 or Install Java 8 in RHEL based systems.
Install Java 8 on CentOS/RHEL
Install Java 7 on CentOS/RHEL
Download and Install the Confluence
After checking the Java version we need to download the latest appropriate Confluence ‘Linux 64-bit / 32-bit Installer’ (.bin) file from the Confluence official page. or you can also download it following bellow steps:
# cd /opt
For 64 Bit:
# wget https://www.atlassian.com/software/confluence/downloads/binary/atlassian-confluence-5.8.5-x64.bin
For 32 Bit:
# wget https://www.atlassian.com/software/confluence/downloads/binary/atlassian-confluence-5.8.5-x32.bin
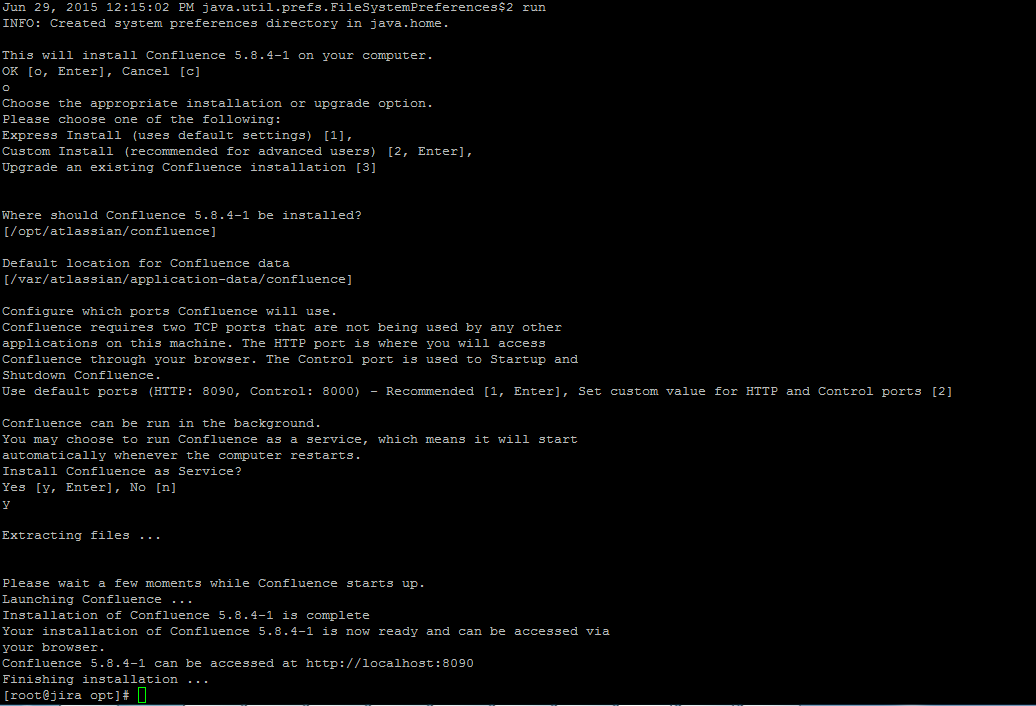
Now give the execute permission to .bin file and install Confluence.
For 64 Bit:
# chmod +x atlassian-confluence-5.8.5-x64.bin
# ./atlassian-confluence-5.8.5-x64.bin
For 32 Bit:
# chmod +x atlassian-confluence-5.8.5-x32.bin
# ./atlassian-confluence-5.8.5-x32.bin
Configuring a MySQL Datasource in Apache Tomcat
To connect Confluence with MySQL we require to copy the MySQL JDBC driver to your Confluence server. Copy the MySQL JDBC driver jar file to the Confluence installation directory. Also create a database and new user for Confluence. Use following article to setup MySQL:
Configuring a MySQL Datasource in Apache Tomcat
Accessing Confluence
You can get to Confluence from any PC with network access to your Confluence server by opening an supported web browser on the PC and going by this URL:
http://server-ip:8090
or
http://server-hostname:8090
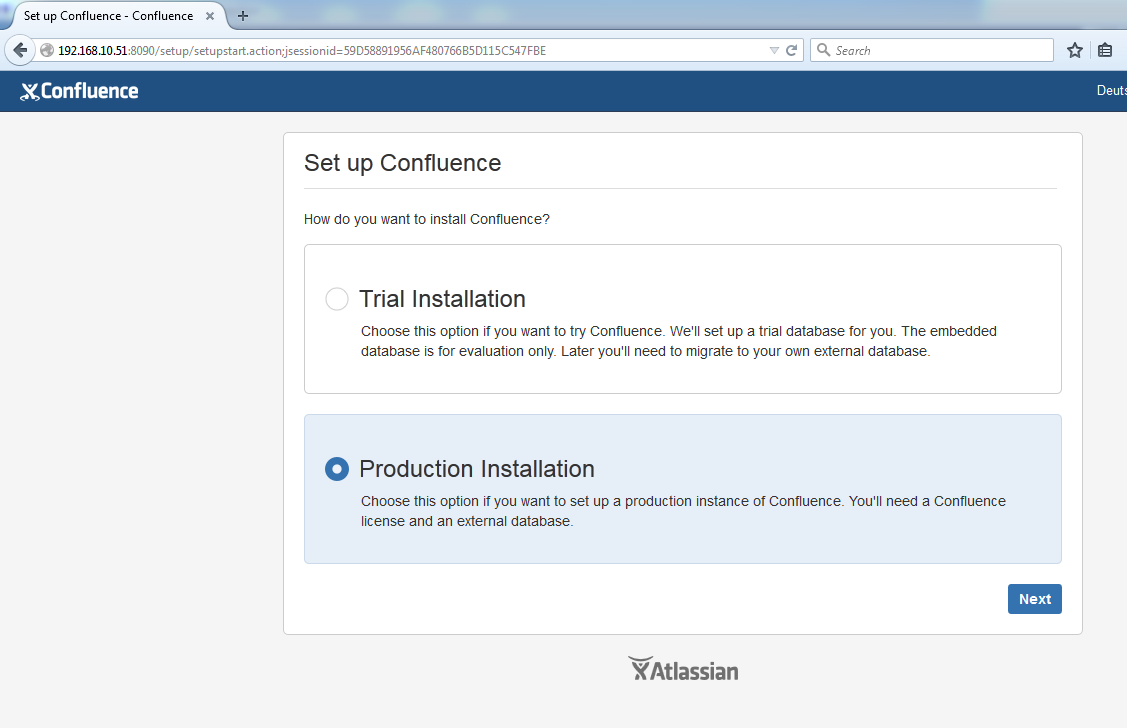
Run the Setup Wizard
In this steps, you’ll pick whether you need a trial or a production installation.
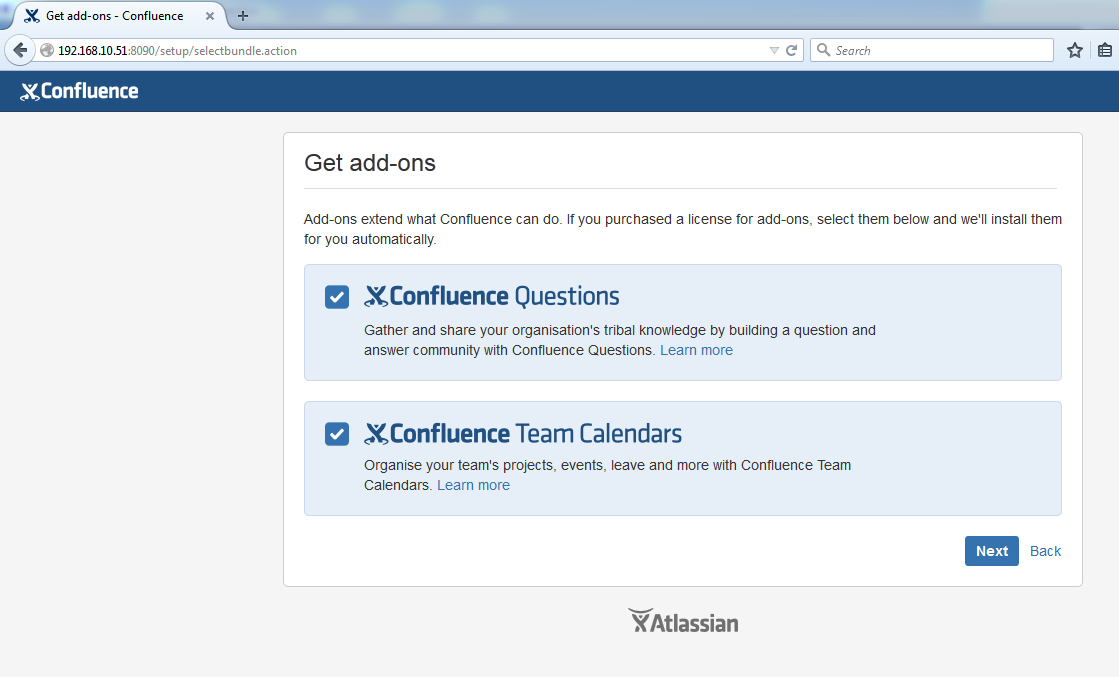
Additional items extend what Confluence can do. On the off chance that you acquired a permit for additional items, select them below and you’ll install them for you automatically.
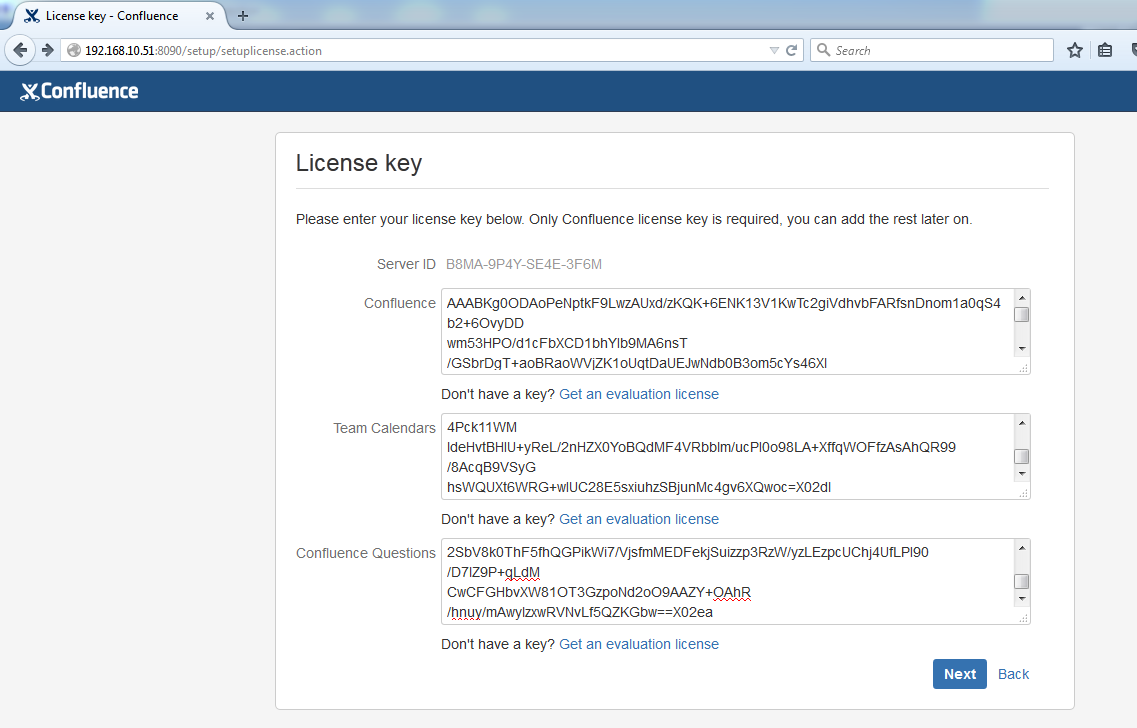
Follow the prompts to generate an evaluation license, or enter an existing license key. To retrieve an existing license key head to my.atlassian.com, or to purchase a new commercial license go to my.atlassian.com/purchase.
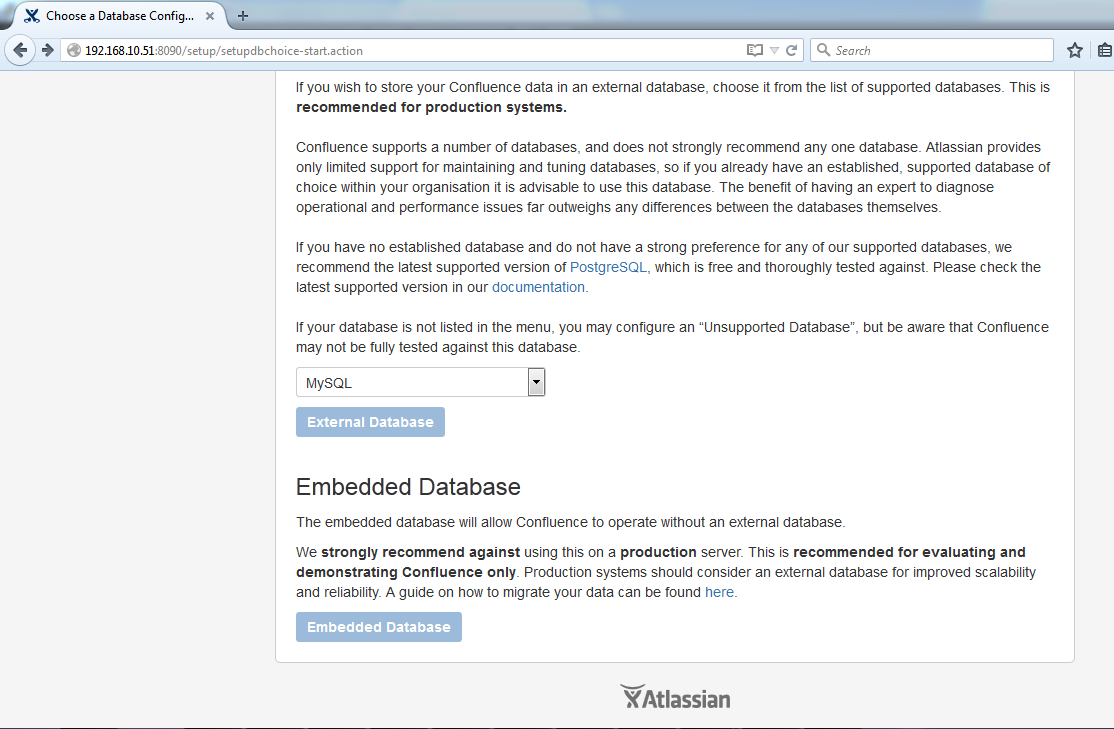
Next it’s time to set up your database. You can chose any one of them (PostgreSQL, MySQL, Oracle, Microsoft SQL Server, H2). In this articles we will use MySQL.
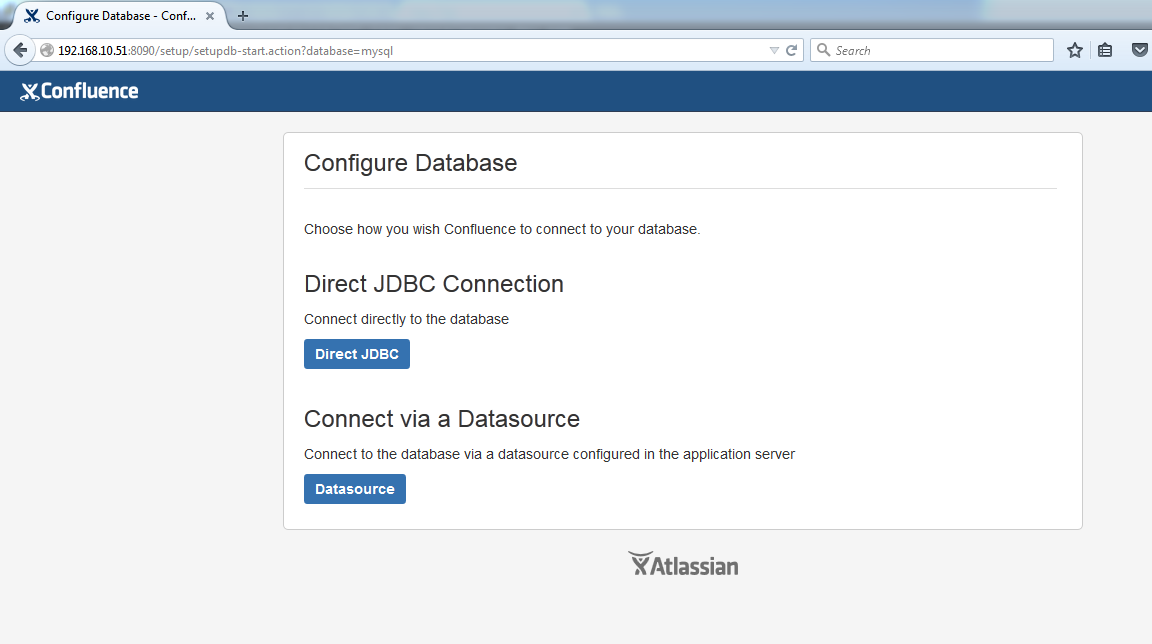
Choose how you need Confluence to connect with your database either by means of a direct JDBC connection or through a server-managed datasource connection. In this Article we are using direct JDBC connection.
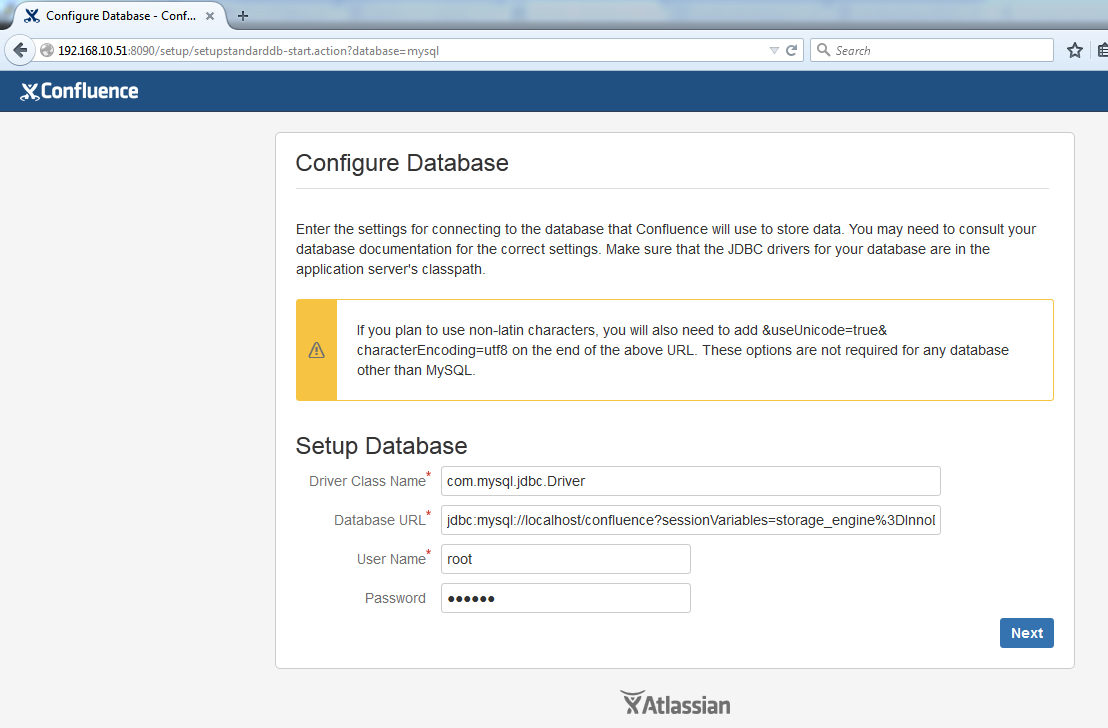
Enter the settings for connecting with the database Confluence will use to store information. You may need to consult your database documentation for the right settings. Also replace the Database URL with below URL:
jdbc:mysql://localhost:3306/confluence?useUnicode=true&characterEncoding=utf8
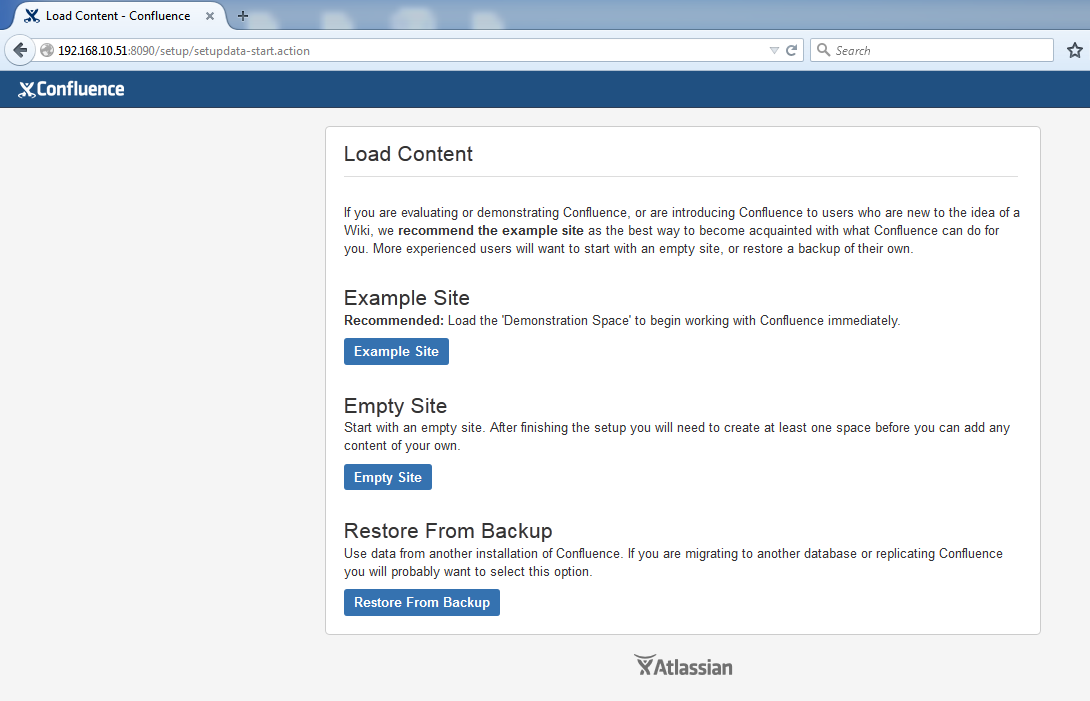
This option allows you to import data from an existing Confluence installation as part of the setup process. or If you are new in Confluence then you can use anyone them.
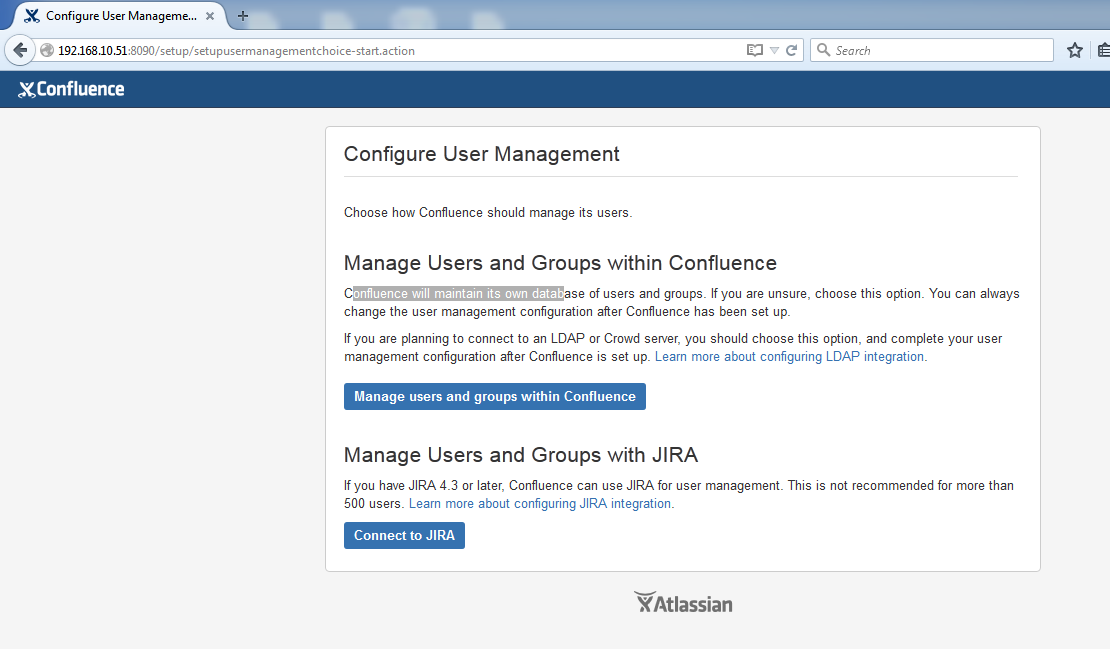
Now, Chose how Confluence should manage its users and grouos. You can also manage your users and groups by connecting with JIRA.
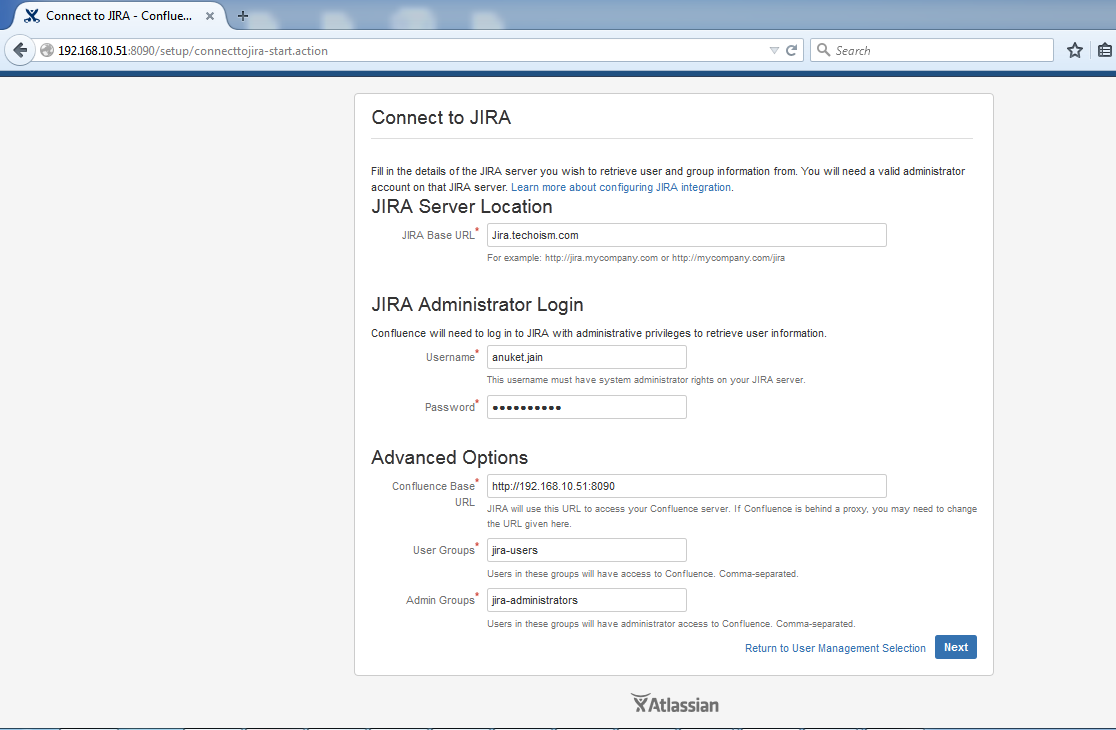
Fill all require information to connect with JIRA.
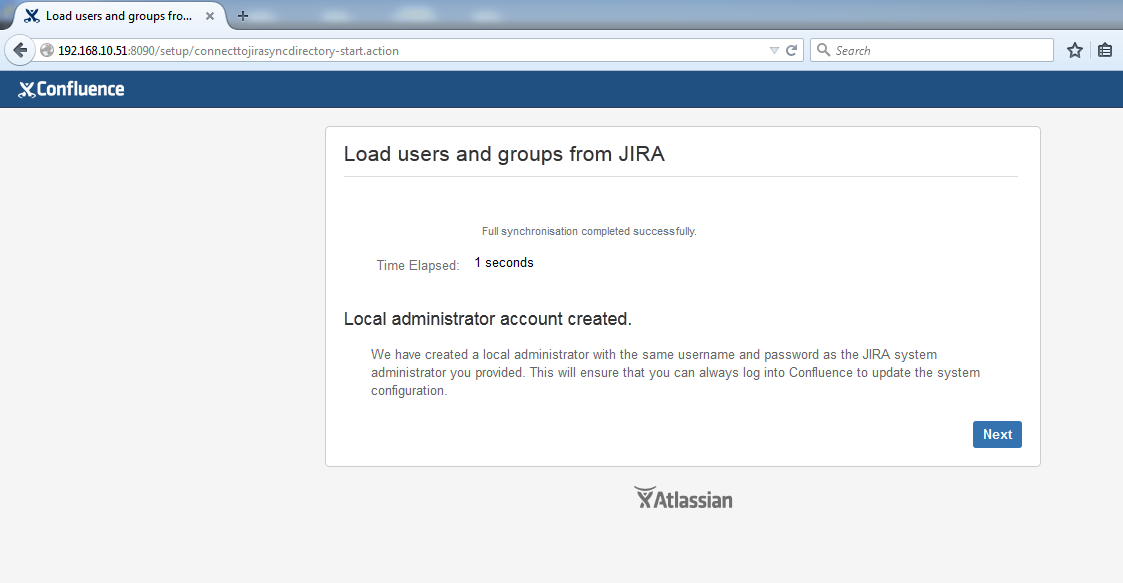
Now all users and groups of JIRA can be load to confluence.
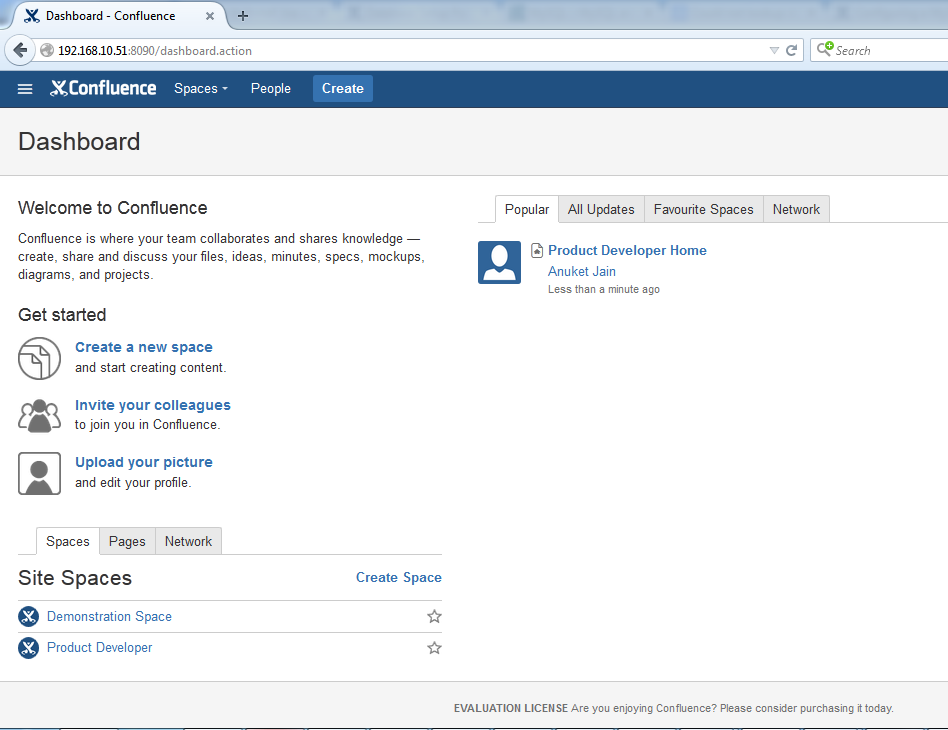
Confluence is ready to go. Click Start to jump straight in to Confluence.
As you click on start, you will reach on the Confluence Dashborad.