HOW TO INSTALL MOODLE 3.8.2 ON CENTOS/RHEL 7/6
Moodle (Modular Object-Oriented Dynamic Learning Environment) is a free open-source learning management system or e-Learning platform, that makes it easy for you to provide online support for your course. Moodle provides a place where you can easily create web pages with information about your course and provide links to word documents, slides, and other resources that your students will want to access. Moodle is built by the Moodle project which is led and coordinated by Moodle HQ, which is financially supported by a network of over 80 Moodle Partner service companies worldwide.
Useful Articles:
- HOW TO INSTALL MOODLE 3.6.3 ON UBUNTU 18.04/16.04
- HOW TO INSTALL MOODLE 3.6.3 ON CENTOS/RHEL 7/6
- HOW TO INSTALL MOODLE ON UBUNTU USING NGINX
- HOW TO INSTALL MOODLE 2.9 ON CENTOS/RHEL 7/6/5
- HOW TO INSTALL AN SSL CERTIFICATE ON UBUNTU FOR NGINX
The department and the university provide a wealth of materials and resources, but catering for so many different types of students it can be hard for learners to find those that are most relevant to them. You can use your Moodle to provide links directly to the resources that will be most useful for your students whether e-library resources, skills courses, or information
Step 1: Install Required Packages
Install order to setup Moodle first we need to install all required. First, we need to install and configure LAMP and after that all PHP extension.
PHP:
The PHP development team announces the immediate availability of PHP 7.0. Several bugs have been fixed. PHP 7.0.0 comes with a new version of the Zend Engine, numerous improvements, and new feature.
First, add yum repositories in your system using the following command
# rpm -Uvh https://mirror.webtatic.com/yum/el7/webtatic-release.rpm
Install PHP7:
Now install PHP 7 from a webtatic repository using the following command:
# yum --enablerepo=remi-php73 install php php-ldap php-xml php-soap php-xmlrpc php-mbstring php-json php-gd php-mcrypt php-curl php-pspell php-zip php-common
MySQL:
MySQL is an open source relational database management system (RDBMS) based on Structured Query Language (SQL).
Add Yum Repository:
First, add MySQL yum repositories in your system using the following command:
# rpm -Uvh http://repo.mysql.com/mysql-community-release-el7-5.noarch.rpm
Install MySQL:
Now install MySQL server and other dependency packages.
# yum install mysql-server
Start MySQL Service:
Now start MySQL service and enable to start on boot using below commands.
## For CentOS/RHEL 7 ##
# systemctl start mysqld.service
# systemctl enable mysqld.service
## For CentOS/RHEL 6 ##
# service mysqld start
# chkconfig mysqld on
Set Root Password:
Apply security on MySQL and also set a root user password.
# mysql_secure_installation
Apache Server:
Apache (HTTPD) is the most popular web server used on Linux systems. Let’s follow following steps of install Apache Server:
Add Yum Repository:
First, install yum repositories in your system using the following command:
# yum install epel-release
Install Apache Server:
After adding remi repository install apache using following command:
# yum --enablerepo=remi install httpd
Start Apache Service:
Now start HTTPD service and enable to start on boot using below commands.
## For CentOS/RHEL 7 ##
# systemctl start httpd.service
# systemctl enable httpd.service
## For CentOS/RHEL 6 ##
# service httpd start
# chkconfig httpd on
Step 2: Create a MySQL Database
Create a database user and password which we will use for the Moodle database.
# mysql -u root -p
mysql> create database moodle;
mysql> grant all privileges on moodle.* to 'moodle'@'localhost' identified by 'redhat';
mysql>
Step 3: Download Moodle and Decompress:
After downloading all require packages now we download Moodle and decompress it. You can directly download the latest version of Moodle from the official website.
# cd /var/www/html
# wget https://download.moodle.org/download.php/stable38/moodle-3.8.2.tgz
# tar -zxvf moodle-3.8.2.tgz
Set the following permissions for apache user to moodle directory:
# chmod -R 755 /var/www/html/moodle
# chown -R apache.apache /var/www/html/moodle
Step 4: Create a Data Directory for Moodle
Moodle obliges a directory to store all its files, folders, session information and so on. The web server needs to be able to write to this directory. This directory must NOT be accessible directly via the web.
# mkdir /var/www/html/moodledata
Set the following permissions for apache user to moodle data directory:
# chmod -R 777 /var/www/html/moodledata
# chown -R apache.apache /var/www/html/moodledata
Step 5: Configure Web Server VirtualHost
Now we will create a VirtualHost in Apache configuration file
# vim /etc/httpd/conf.d/ecom.techoism.com.conf
<VirtualHost *:80>
ServerName ecom.techoism.com
DocumentRoot /var/www/html/moodle
ErrorLog /var/log/httpd/ecom.techoism.com_error_log
CustomLog /var/log/httpd/ecom.techoism.com_access_log combined
DirectoryIndex index.html index.htm index.php index.php4 index.php5
<Directory /var/www/html/moodle>
Options -Indexes +IncludesNOEXEC +SymLinksIfOwnerMatch
Allow from all
AllowOverride All Options=ExecCGI,Includes,IncludesNOEXEC,Indexes,MultiViews,SymLinksIfOwnerMatch
</Directory>
</VirtualHost>
Restart Apache Server to reload changes.
## For CentOS/RHEL 7 ##
# systemctl restart httpd.service
## For CentOS/RHEL 6 ##
# service httpd restart
Step 6: Finally Start Moodle Web Installer
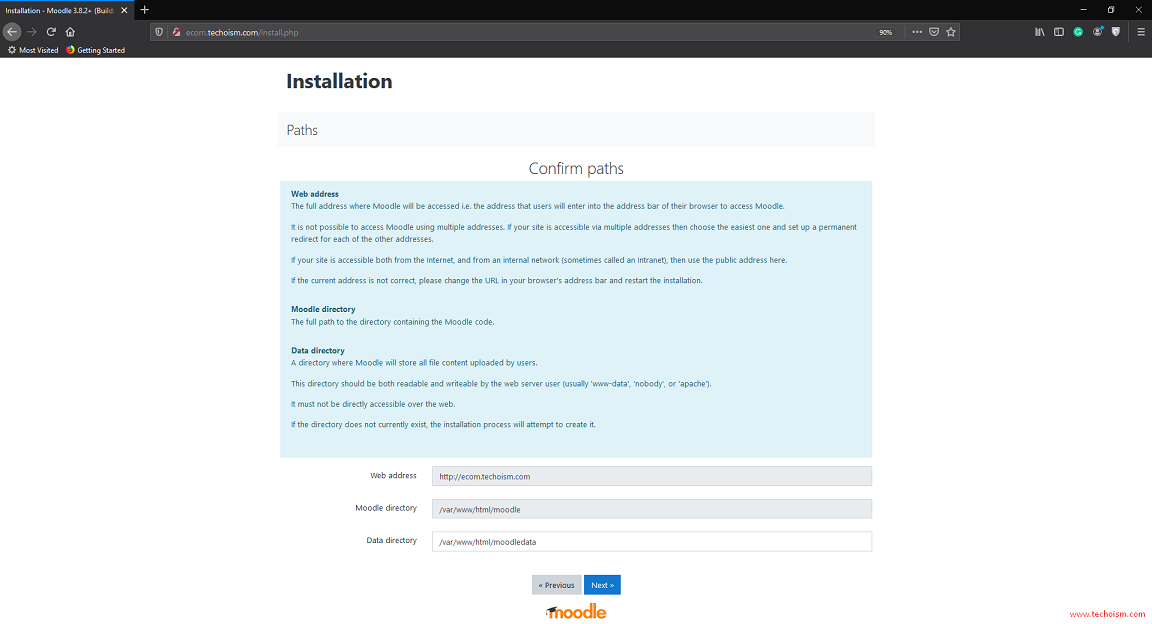
Open up your web browser and navigate to http://ecom.techoism.com and follow the instruction:
Choose a language you want to use and click on “Next”

In the next step, we will mention Web Address, Moodle directory, and Data directory path and click on “Next”
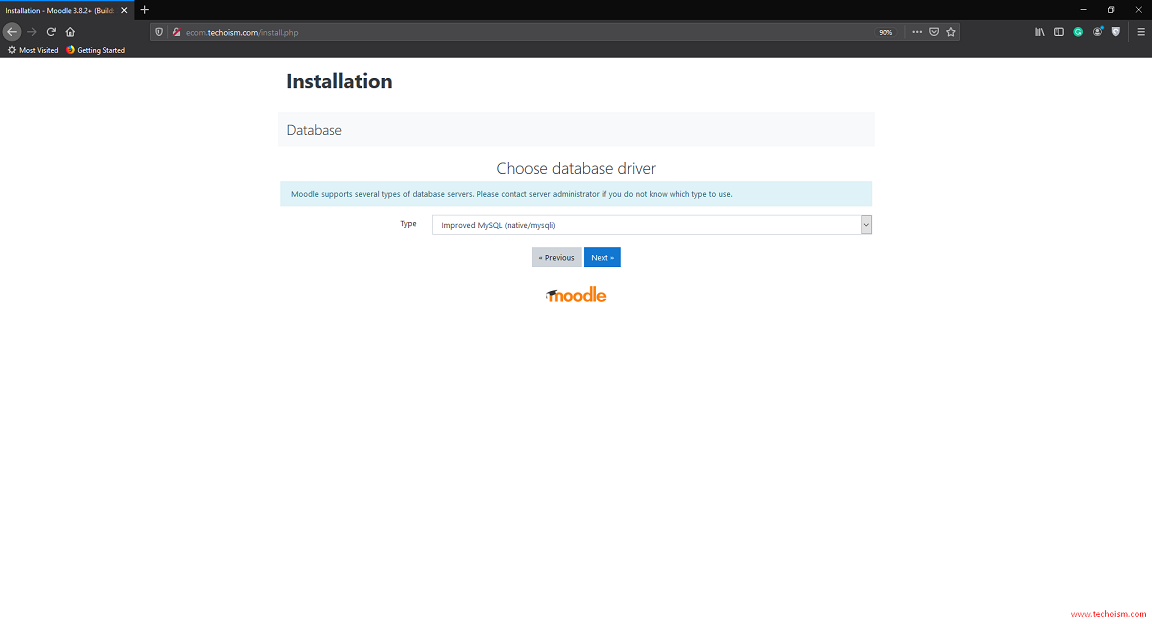
Select the database driver and click on “Next”.
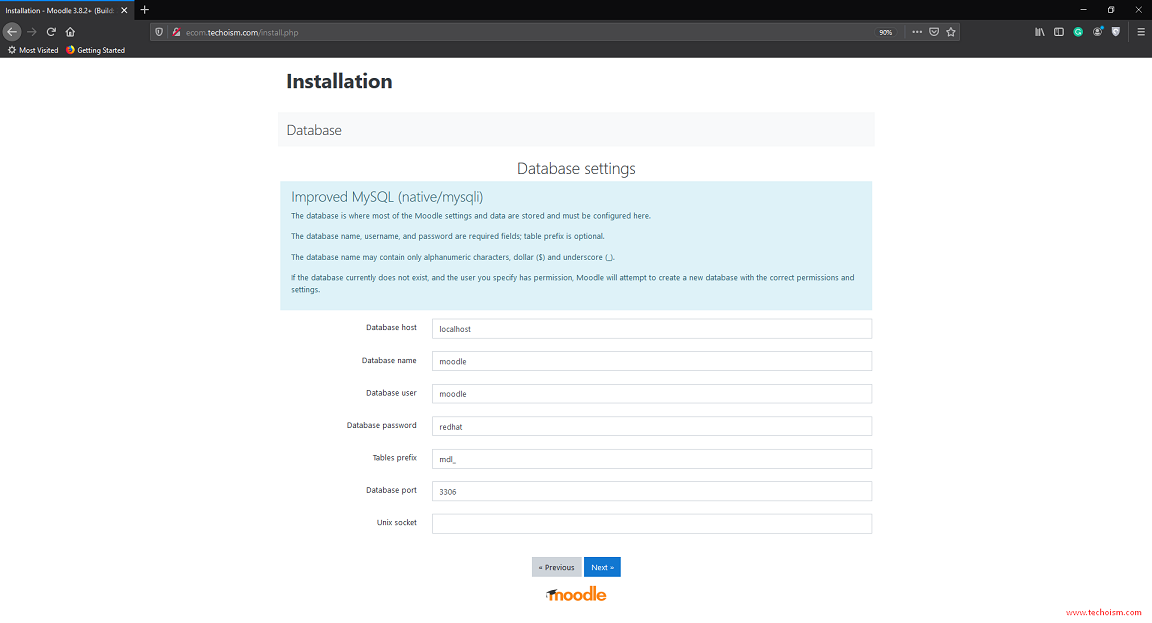
Fill the required Database information and click on “Next”.
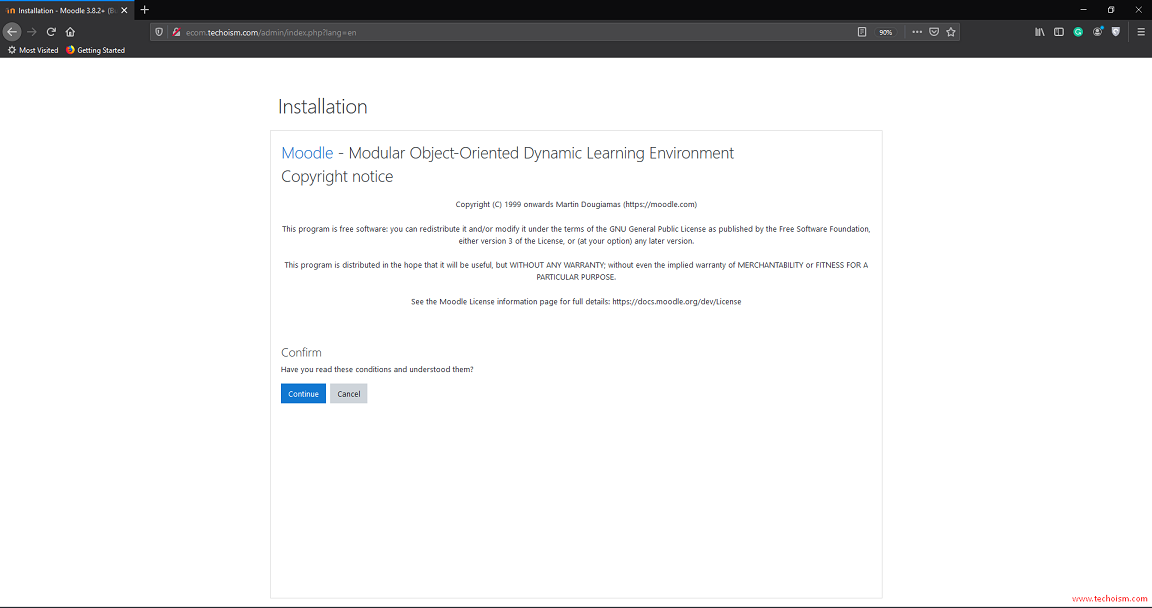
Now click on Continue to accept the License Agreement.
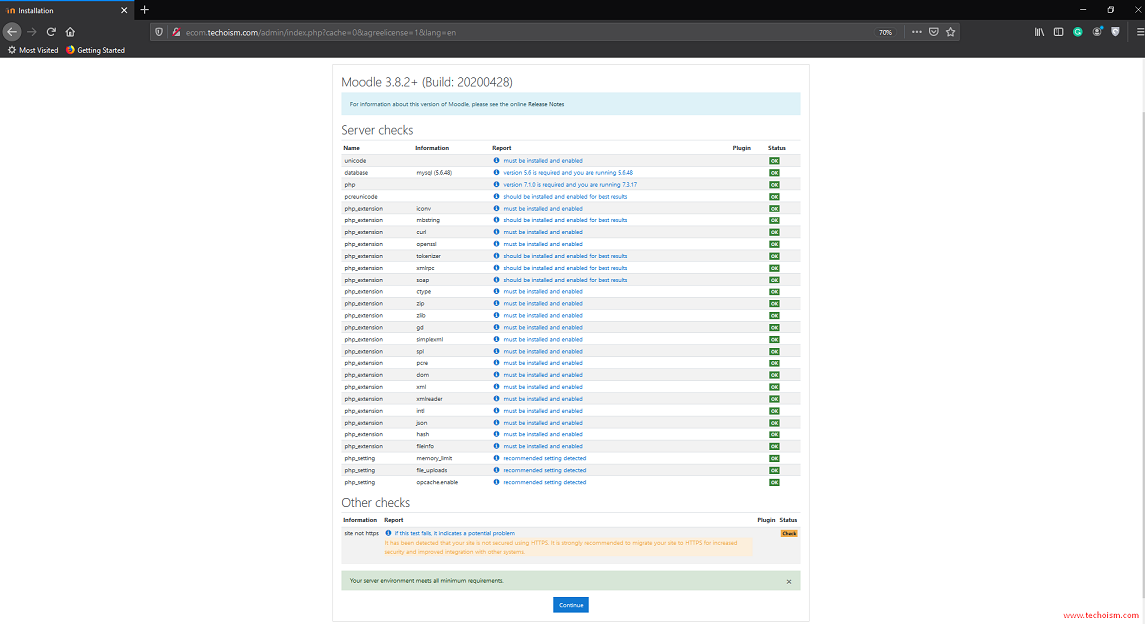
Now the installer will check for all require modules are installed or not and press continue.
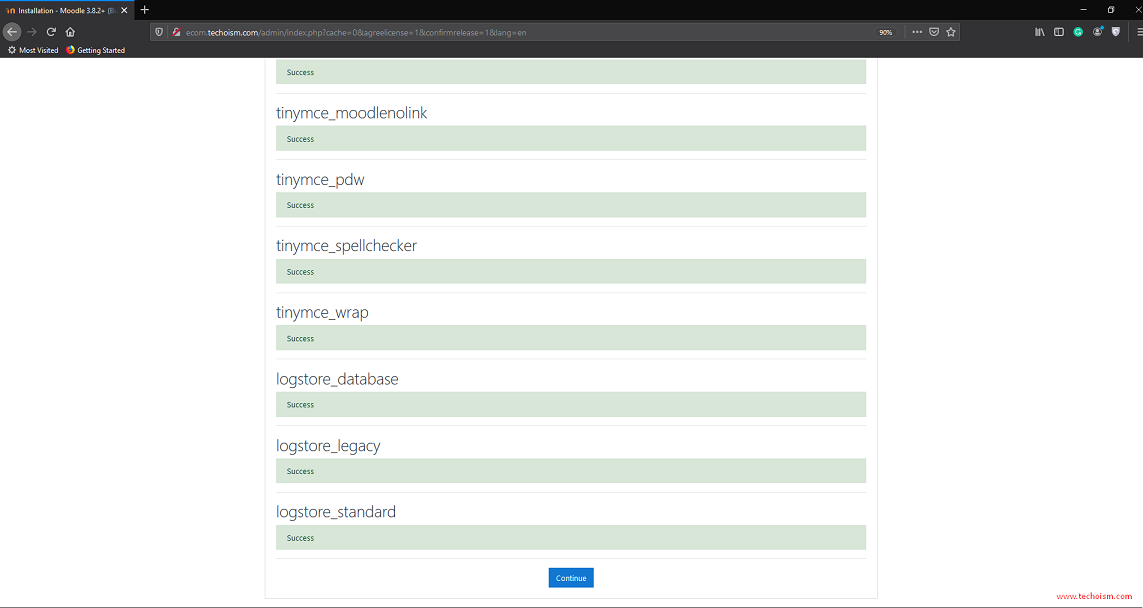
Installing all Moodle modules. Click continue when complete.
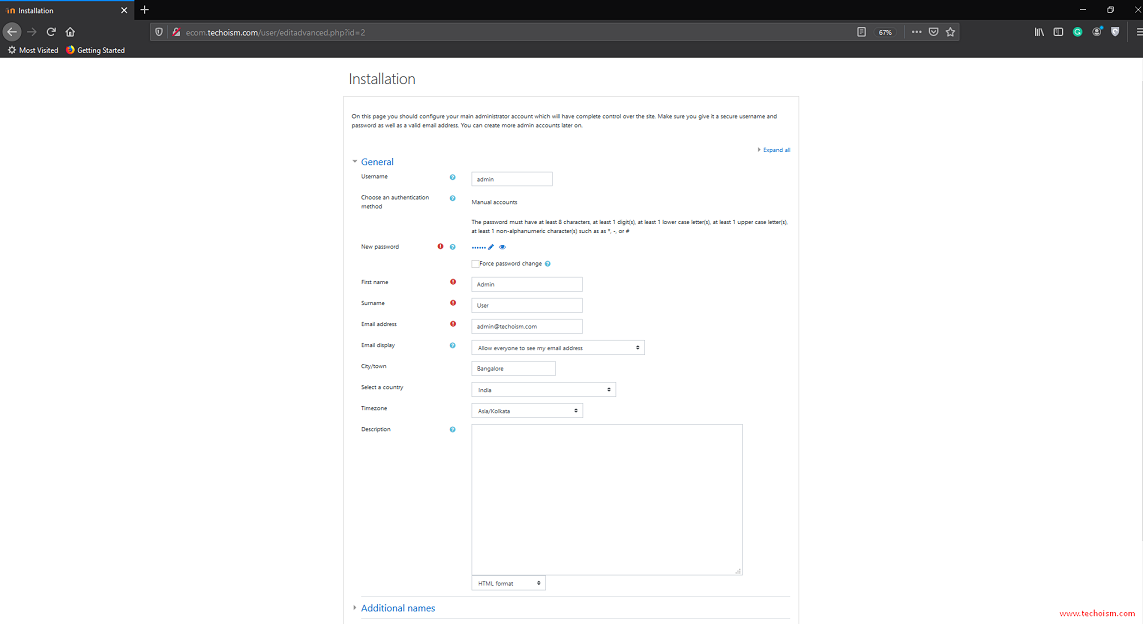
Create a Administrator account and click Update.
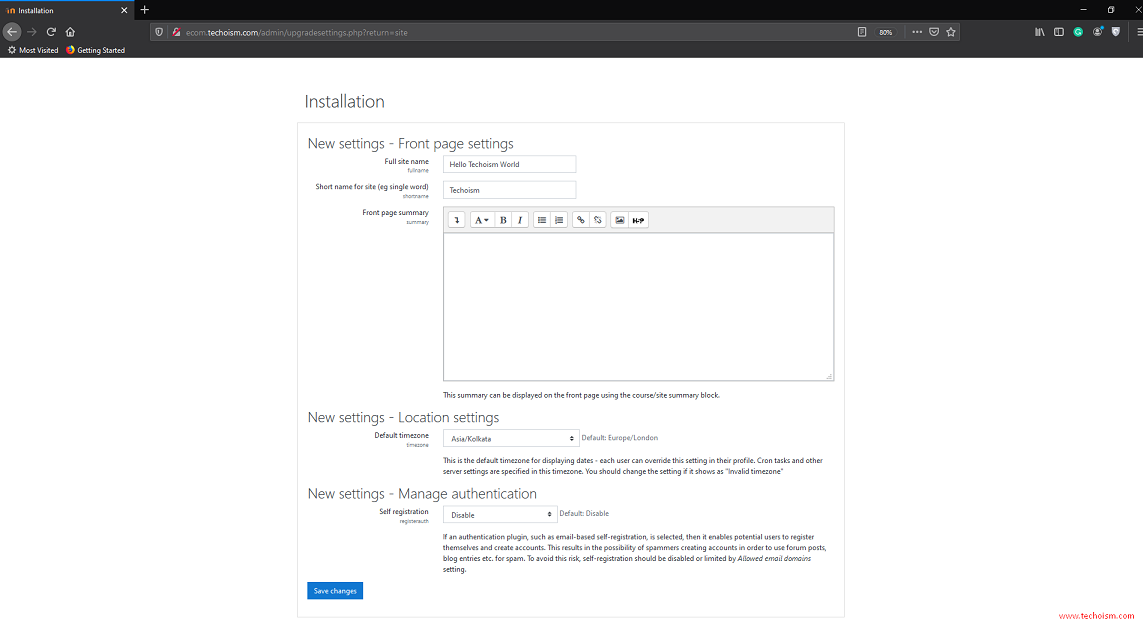
Now do the front page setting and press save.
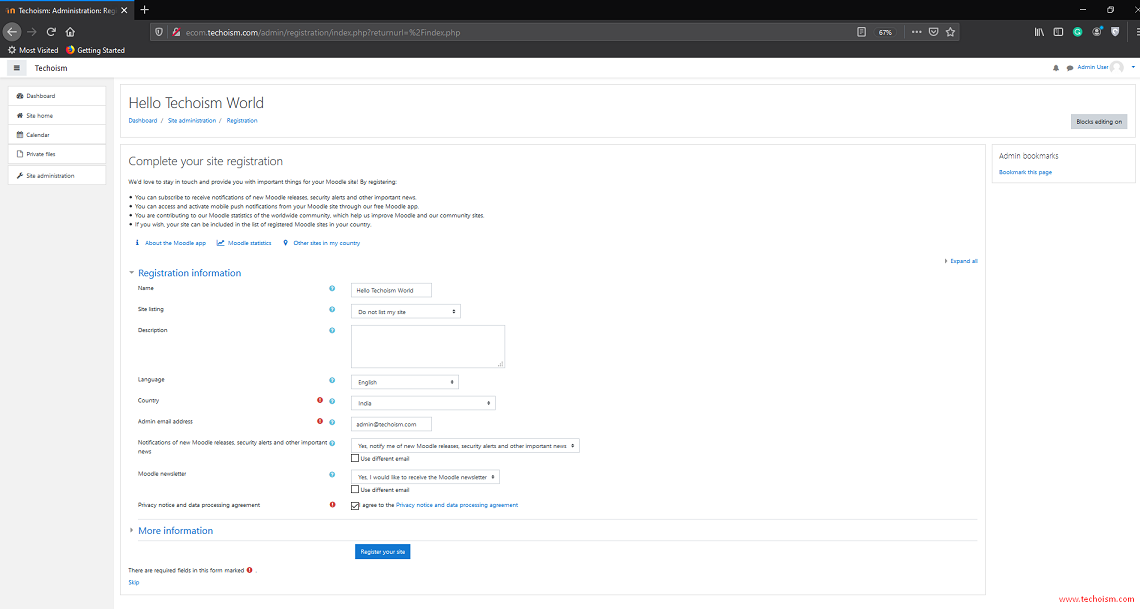
Complete the site registration by filling mention information.
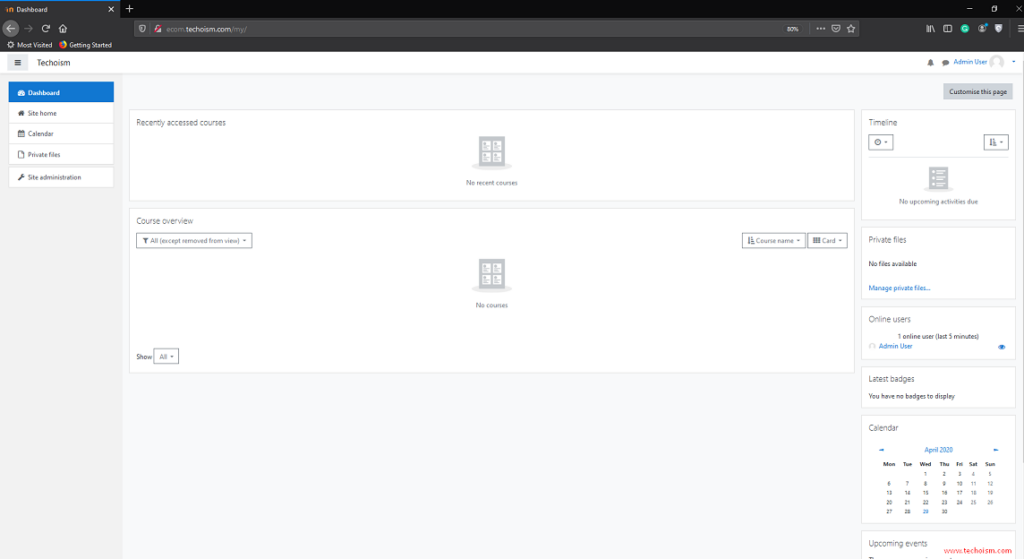
After, completing the registration, you will see the Moodle dashboard.
You can log in with the admin account.
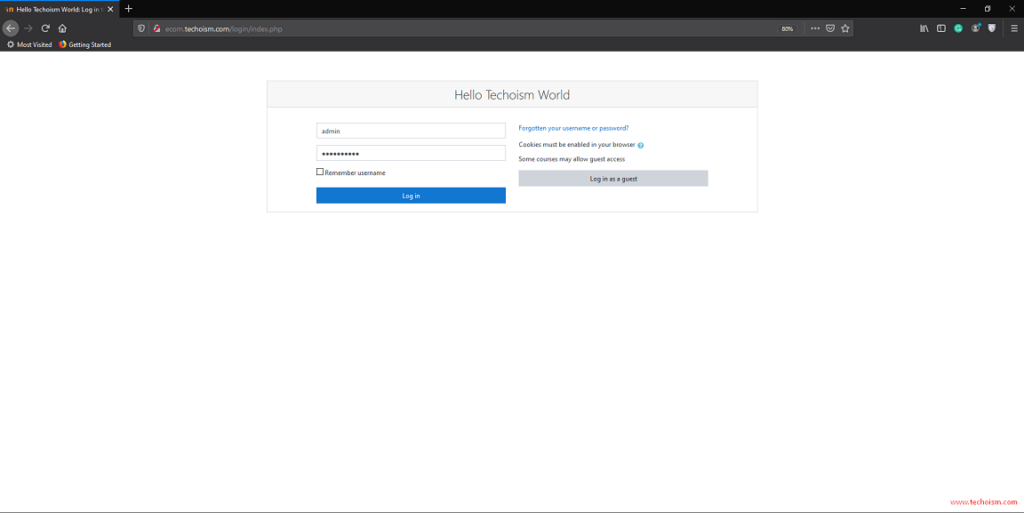
Enjoy it!
