How to Create an Azure Storage Account
The Azure storage account is durable, highly available and scalable. The Azure storage account provides a unique namespace for your Azure Storage data that is available from anywhere globally over HTTP or HTTPS network. Microsoft Azure storage account contains all your Azure Storage data objects: blobs, files, queues, tables, and disks.
Useful Articles:
- DISK STORAGE IN MICROSOFT AZURE
- HOW TO TAKE AZURE VIRTUAL MACHINE SNAPSHOTS FOR DISKS
- AZURE VIRTUAL MACHINE SCALE SET & AUTO SCALING
- CREATE NEW VIRTUAL MACHINE USING EXISTING SNAPSHOT
- STEPS TO CREATE AZURE CUSTOM VM IMAGE
- HOW TO CREATE AZURE VIRTUAL MACHINE USING AZURE PORTAL
- STEPS TO CREATE AZURE VIRTUAL MACHINE SCALE SET
In this article, we will explain the steps to create the Azure storage account.
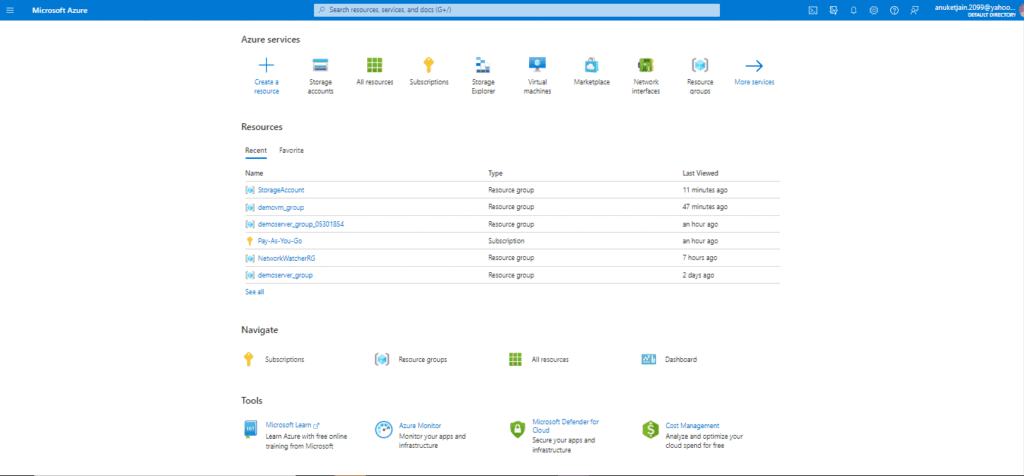
Step 1: Login into Azure Portal
Log in to the Azure portal using the portal link.
Step 2: Create Storage Account
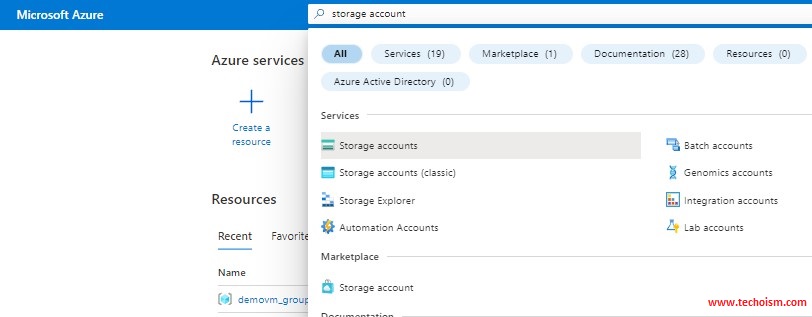
In portal search for the storage account.
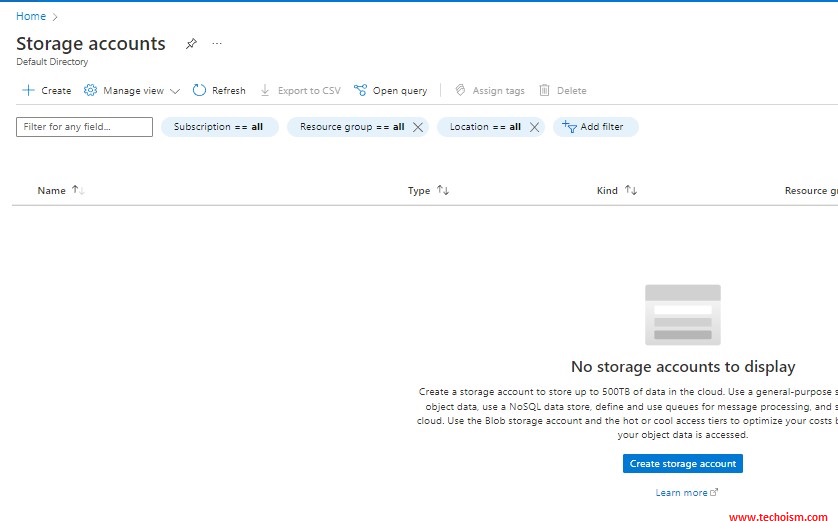
Click on “Storage Account” and then click on “Create”
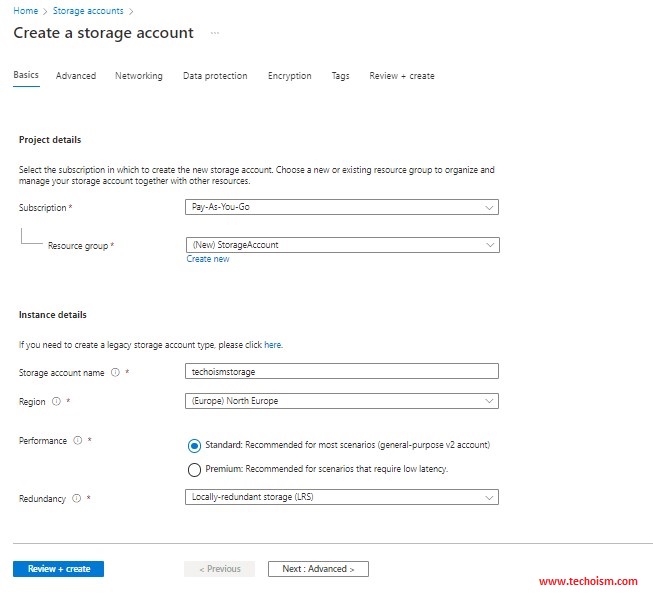
Select the subscription in which to create the new storage account and other required information. Then click on Next: Advanced >
Subscription: I am using the Pay-as-you-go service. You can use a free trial as a Subscription tier
Resource Group: Choose a new or existing resource group
Storage Account Name: You can choose the name whatever you want, but write all the letters in lower cases, and the name must be unique.
Region: Select the location for your storage account
Performance: Performace should be Standard but Microsoft recommends Premium.
Redundancy: Azure Storage always stores multiple copies of your data. So please select the redundancy as per your requirement.
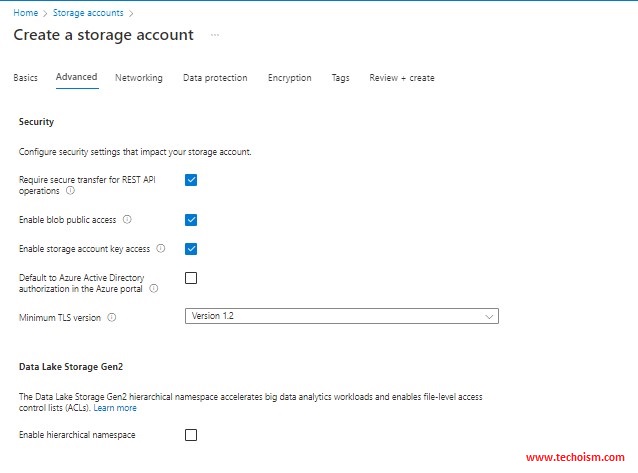
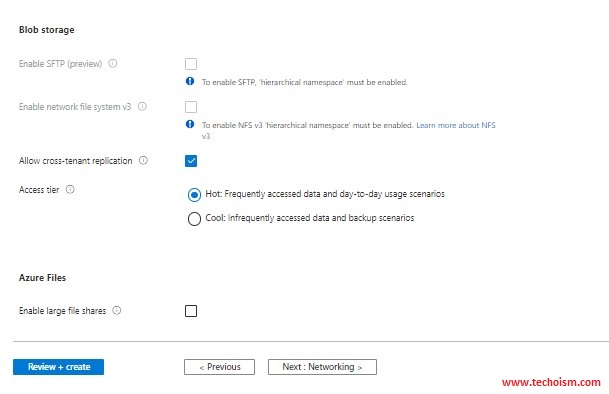
Configure security settings that impact your storage account. I am using the default value but you can change it according to your requirement. Then click on Next: Networking >
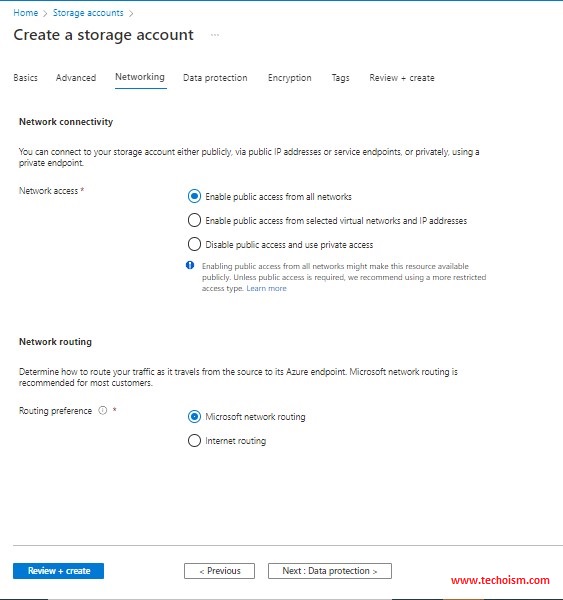
Here you can set up accessibility for storage accounts, like virtual networks or any private endpoint. I am leaving it as the default Network access value “Enable Public access from all networks” and Routing preference is “Microsoft network routing” and then click on Next: Data protection >
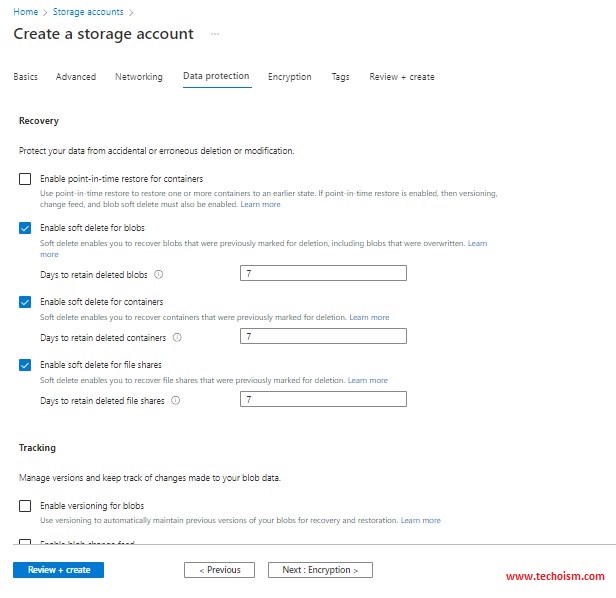
Now, you can protect your data from accidental or erroneous deletion or modification and then click on Next: Encryption >
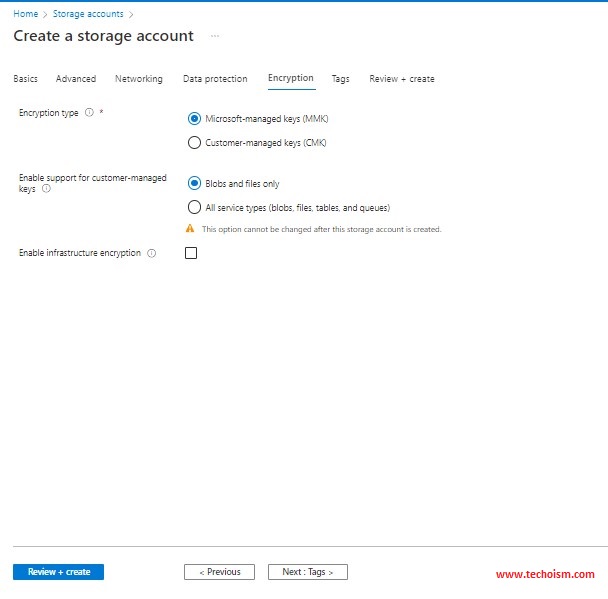
Select your encryption type and click on Next: Tags >
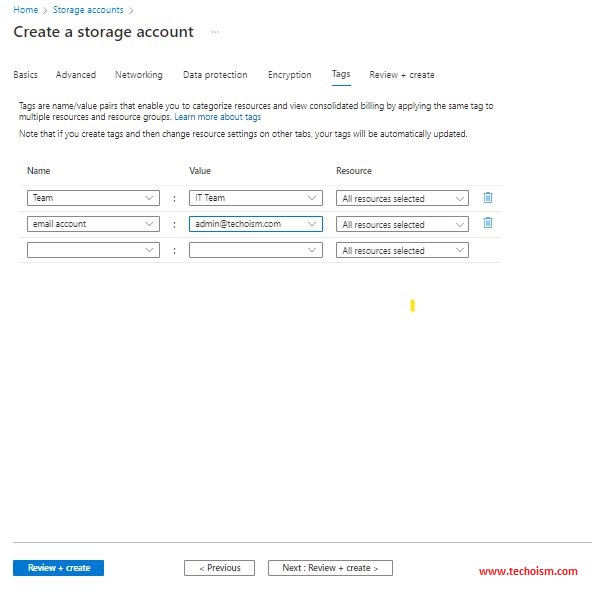
Tags are names or value pairs that enable you to categorize resources. When you fill in all the details click on the “Review + Create” button.
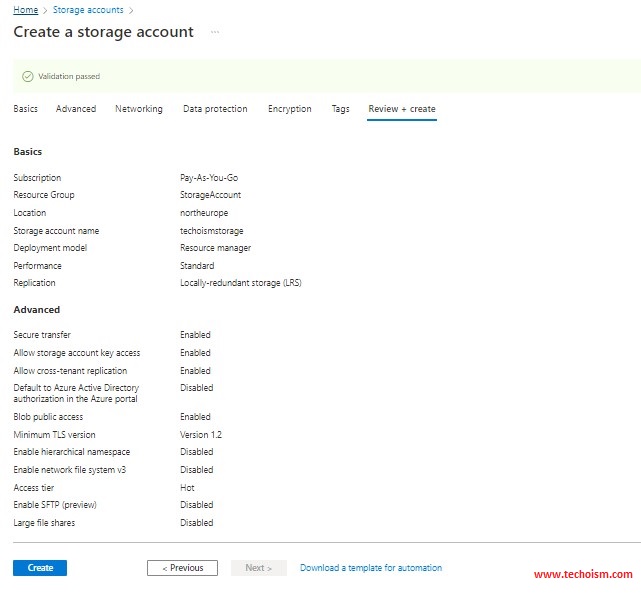
It will validate the above details inside and will show a message “Validation passed”.
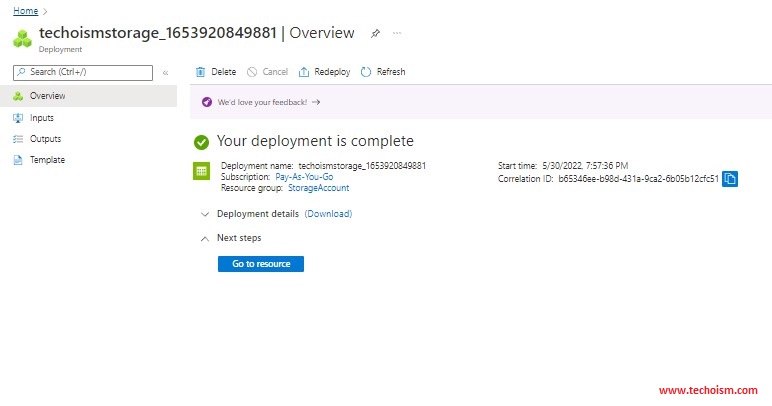
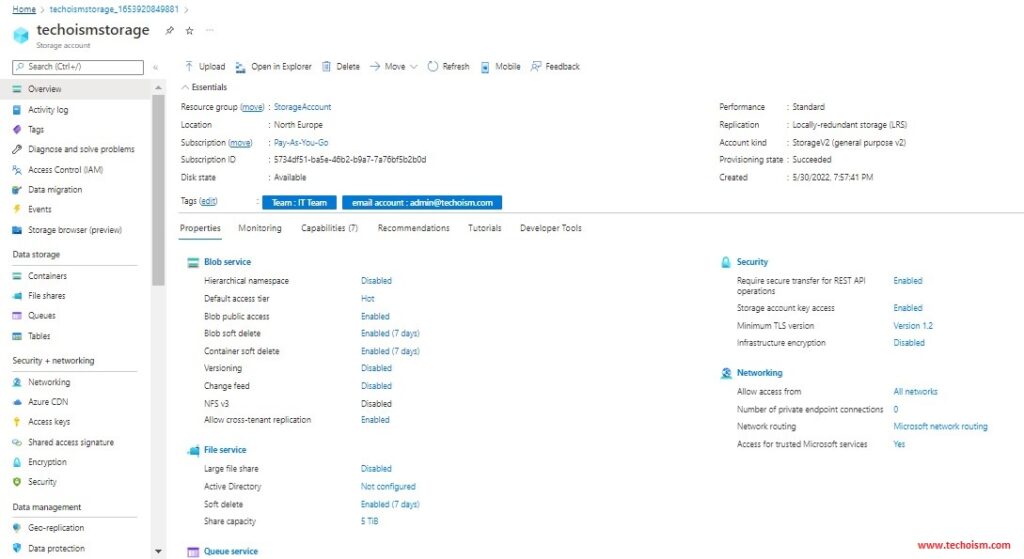
Now click on the “Create” button to create the storage account. Once a resource has been created it will show you “Your deployment is complete”. Now click on “Go to resource”
You have successfully created the storage account.
Step 3: Create Data Storage
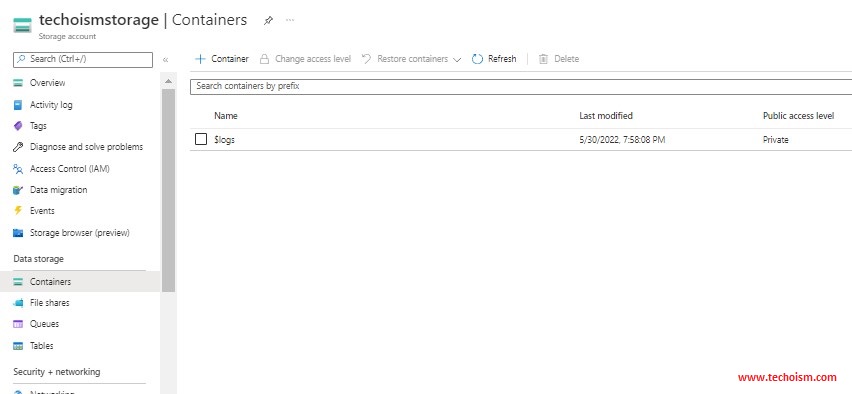
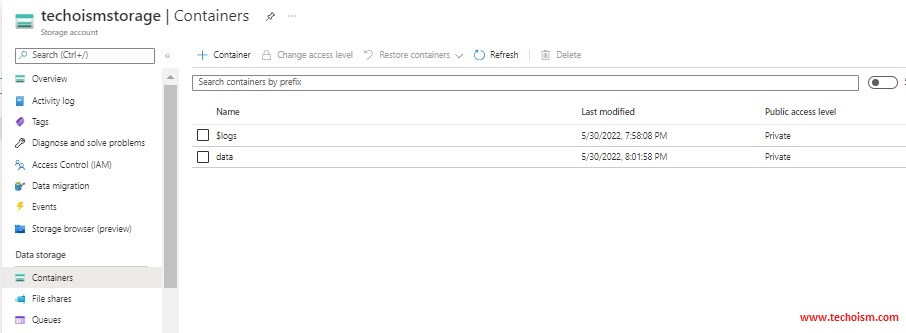
Now we will create the container and will upload the files. Click on Containers in the data storage section.
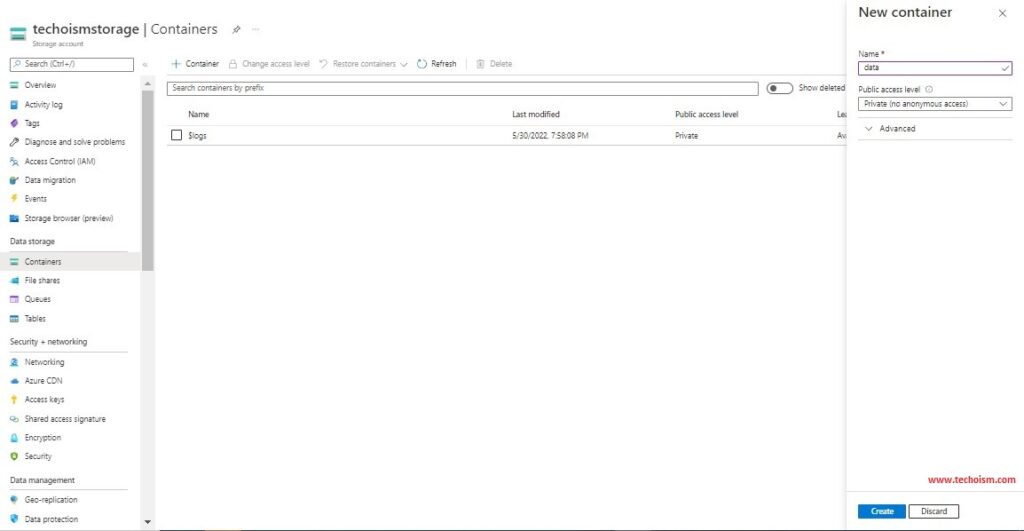
Click on + Container to create the container. Here I am creating a “data” container for this article.
Step 4: Upload the Files
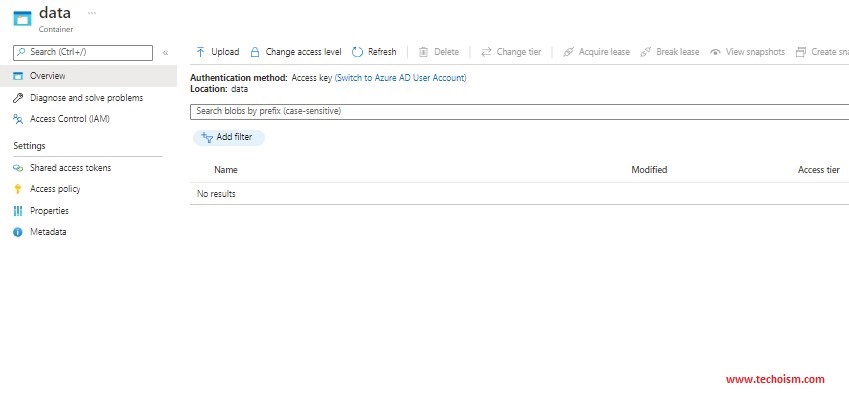
Once the container has been created and we are ready to upload the files.
Click on Upload to upload the files.
We have successfully uploaded the file.
Enjoy it!
