How to install SBackup on Ubuntu
Sbackup is a basic GUI backup program designed for desktop use, with a full set of features. It allows you to backup selected files and directories, define the file size limit, use regular expressions to exclude files and folders, and much more.
![]()
Features:
Let’s see how to install and configure SBackup for creating a backup and restore solution for an Ubuntu machine.
Step #1: Install SBackup
Run the following command to install SBackup on your Ubuntu machine:
# apt-cache search sbackup
Output:
rsbackup - rsync-based backup utility
sbackup - Simple Backup Suite for desktop use (core functionality)
sbackup-gtk - Simple Backup Suite GTK+ graphical user interface
sbackup-plugins-fuse - Simple Backup Suite FUSE plugins
# sudo apt-get install sbackup
Step #2: Run SBackup
Run the following command to run SBackup on your Ubuntu machine:
# sbackup-config-gtk
Step #3: Backing up using SBackup
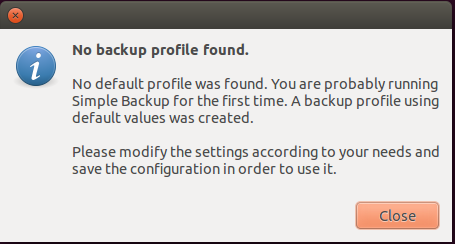
At first launch, Sbackup will notify you to create a new backup profile.
The main interface of SBackup will shown as below.

Create New profile:
By default sbackup comes with a profiles called “Default profile”, you can edit this profile and changes the values accordingly. But you cannot delete this profile.
Go to Tools -> Profile Manager
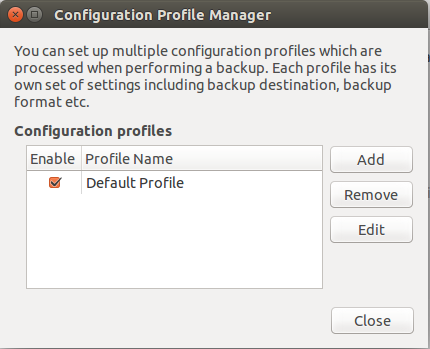
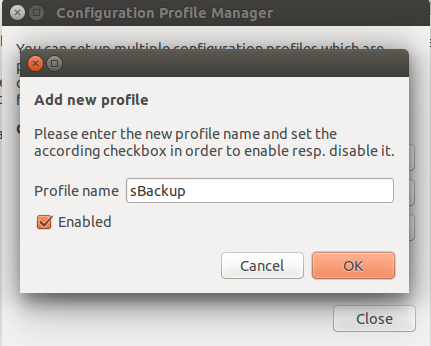
Click on Add -> Give a name to your profile.
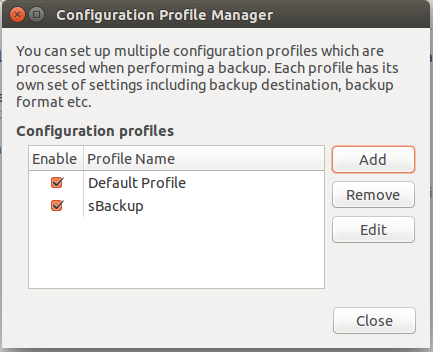
Now, you should see the new profile.
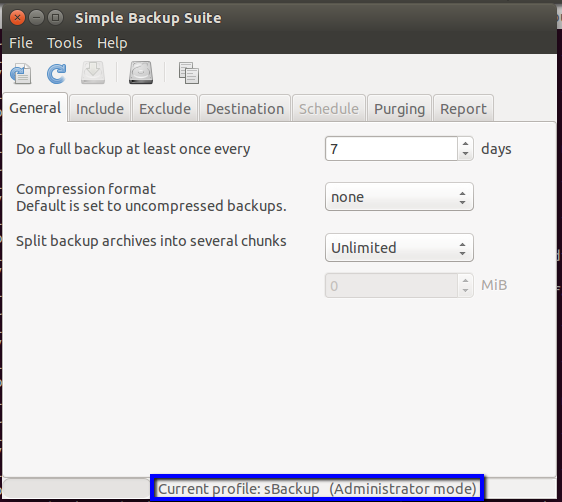
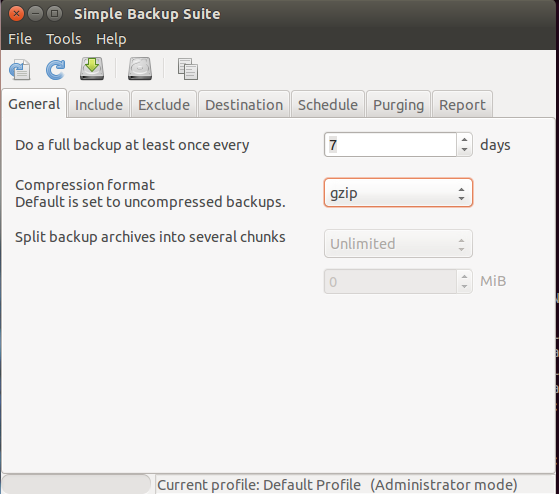
General Section:
By default SBackup will do full backup at regular intervals. At that point you can define the compression format for your backup file.
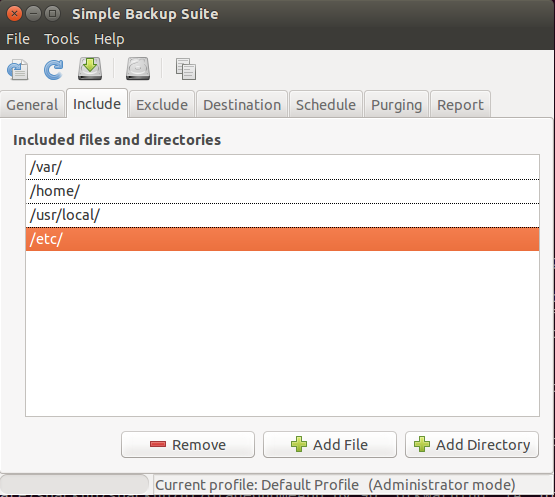
Include Section:
Here you can include the list of files or directories that you want to include in your backup.
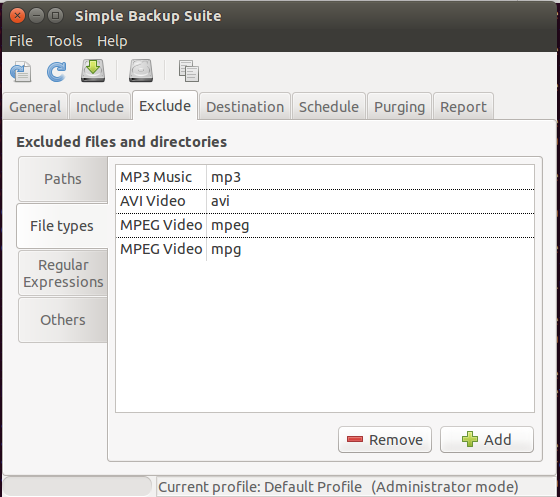
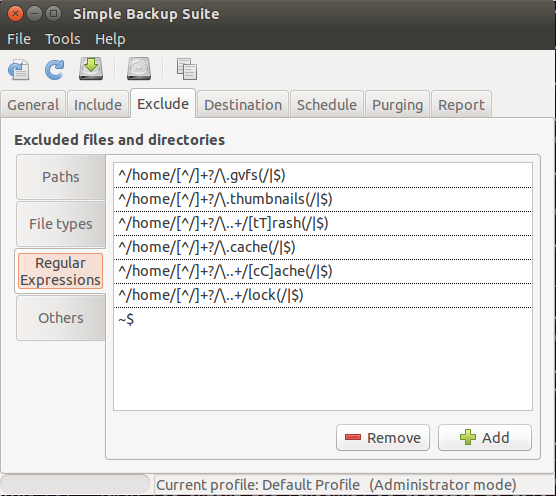
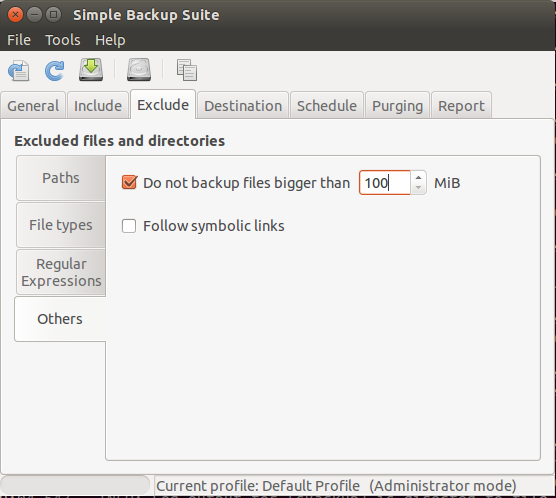
Exclude Section:
Here you can exclude the list of files or directories that you don’t want to include in your backup.

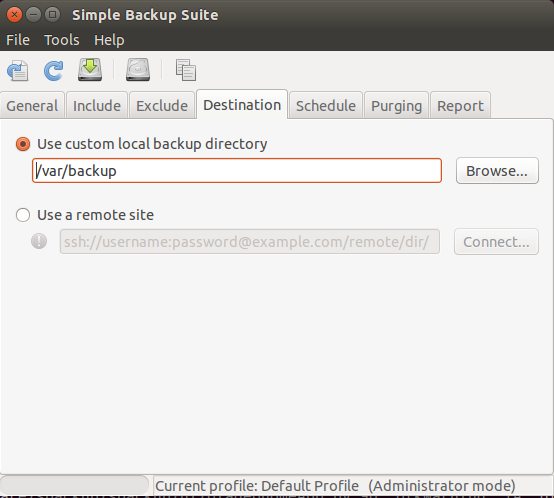
Destination Section:
you can indicate the destination area where the backup should be put away. You can store your backup either on your local machine, or on a remote server using ssh.
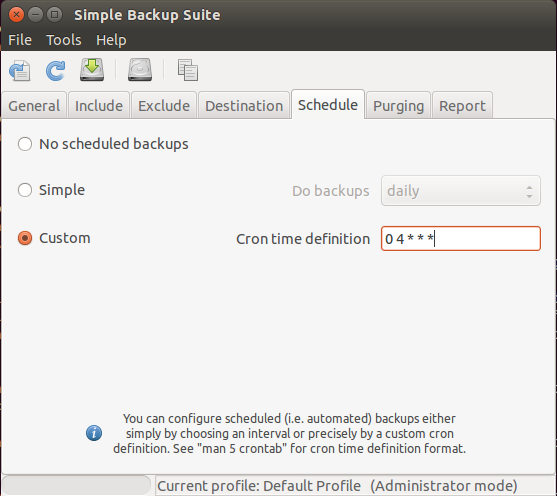
Schedule Section:
Now you can select “Time” option here you can schedule when do you want to run your backup.
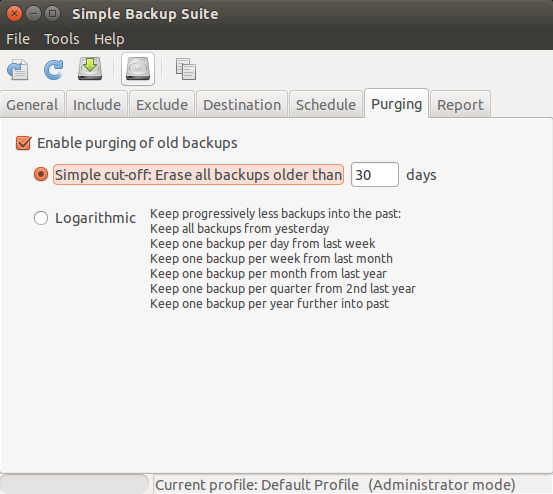
Purging Section:
Next choice is “Purging” here you can choose old backups and you set the no.of days you need to purge
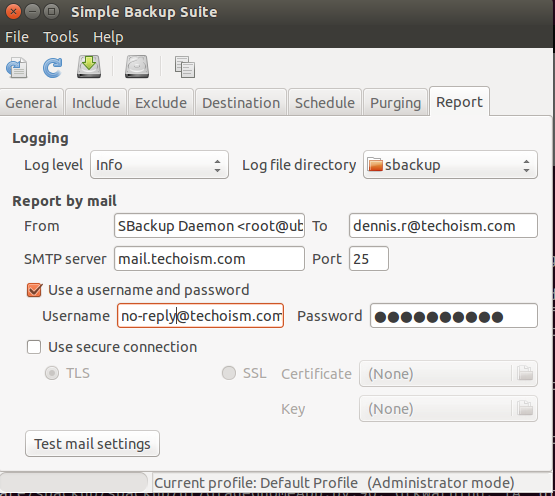
Report Section:
In the event that you need the report to be consequently sent to you whenever the backup job keeps running from the background, you have to indicate your mail server information as shown as follows.
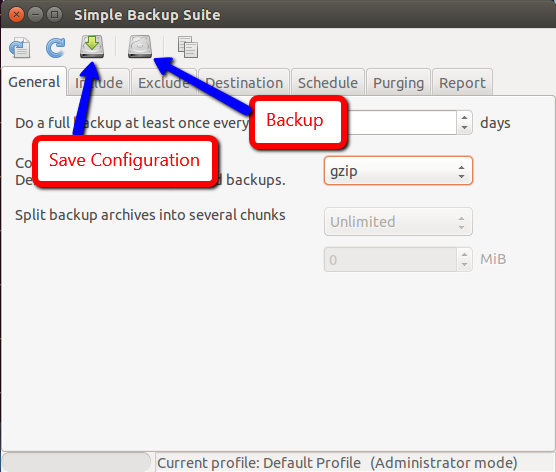
Step #4: Save Options and Take backup
Now, it’s time to save the configuration and make sample backup.
Enjoy it!
