Vembu Technologies offers a scope of server backup and recovery solutions, including server backup, disaster recovery, online backup, remote backup and website backup. The server backup and recovery software is perfect with various stages, including Windows, Linux, Solaris, FreeBSD and Macs. It can move down mainstream business applications, for example, Exchange Server, SharePoint, Oracle, PostGres and MySQL databases. As far as virtual machine backup, it uses VMware’s APIs to go down virtual machines running on ESX and ESXi Servers. This server backup software can perform full disk imaging. Vembu likewise provides solutions created specifically for managed service providers, and cloud-based arrangements that can deal with various terabytes.
StoreGrid Backup Server Installation Guide
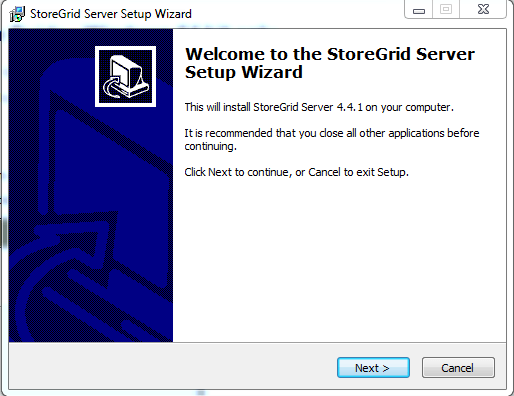
Download the StoreGrid Backup Server installer from StoreGrid Official Site and click double on installer file.
For 64 Bit:
https://s3-us-west-1.amazonaws.com/sg-build-release/products/storegrid/sp/201310441/StoreGridSetup_4_4_1.exe
Click on next to start the installation process.
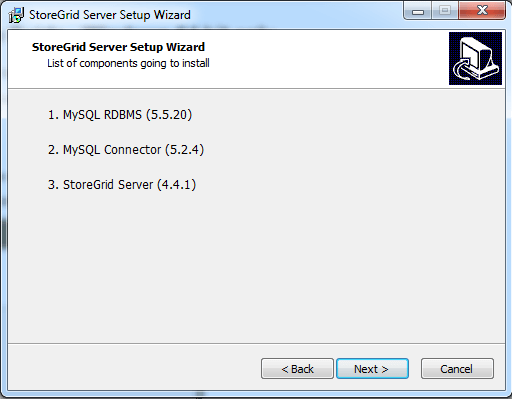
 The installer will show to you the list of required packages click “Next” to install all packages.
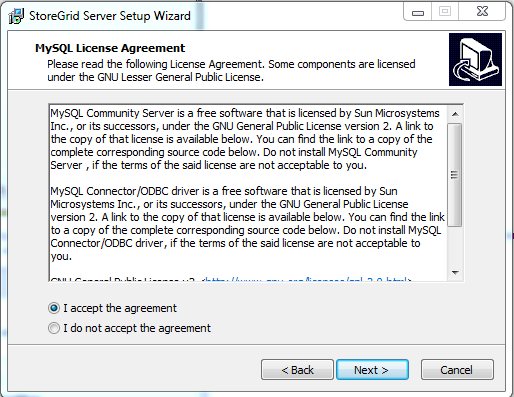
 The installer will show the License Agreement. read it and accept it.
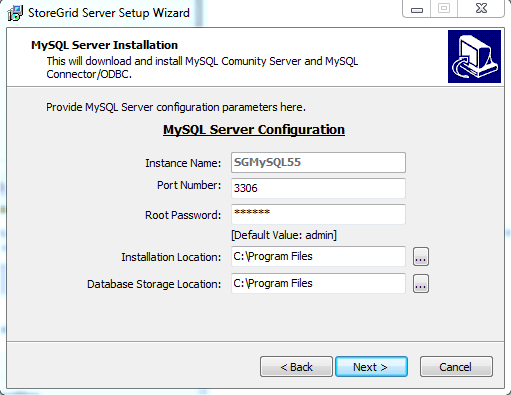
 Now update MySQL configuration (like Port No, Root password ,Storage Location ) and installation path of MySQL and click on next.
 The installer will check for the good MySQL packages in the machine and will continue to the next step.
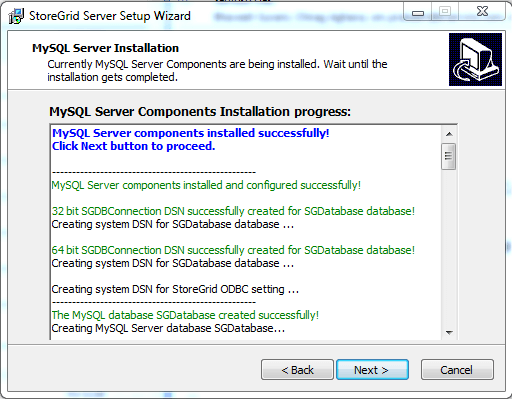 The installer will check for the good MySQL packages in the machine and will continue to the following step.
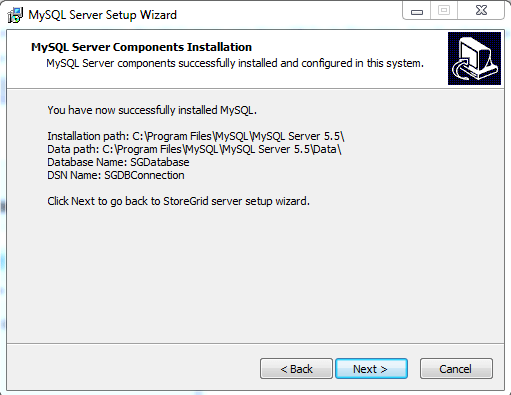 MySQL has been successfully installed on your system and will display the MySQL configuration details.
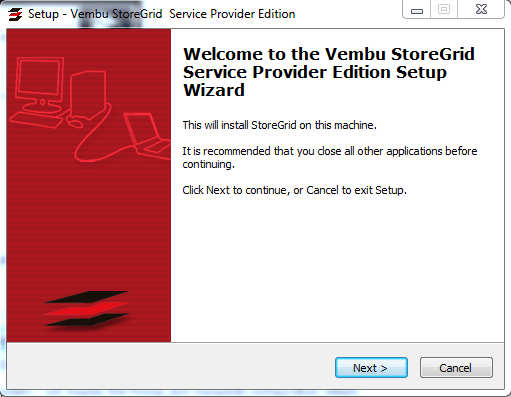
 After installing all require packages it will install start StoreGrid.
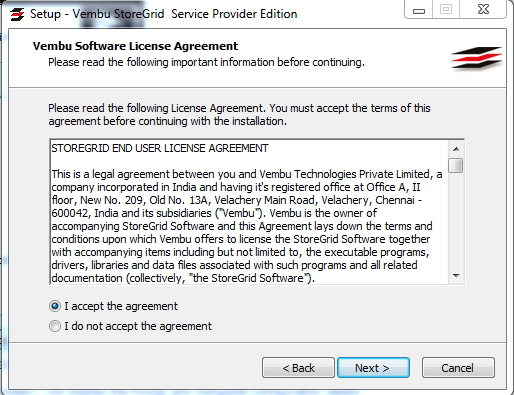
 The installer will show the License Agreement. read it and accept it.
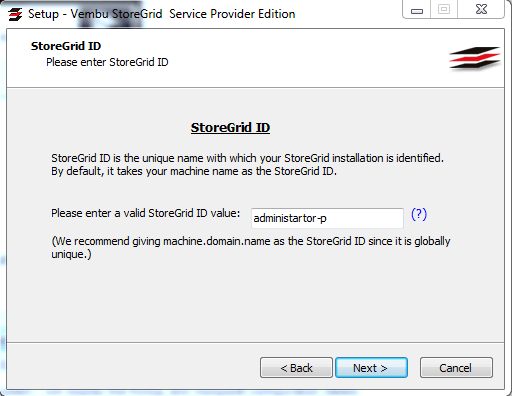
 The installer will ask the StoreGrid unique ID, by default Its take machine hostname.
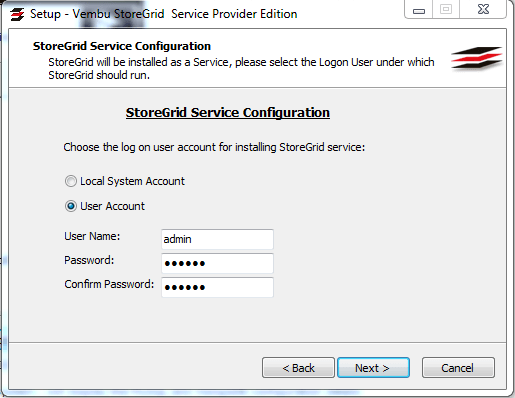
 StoreGrid will be installed as a service . Please select the logon and click on next.
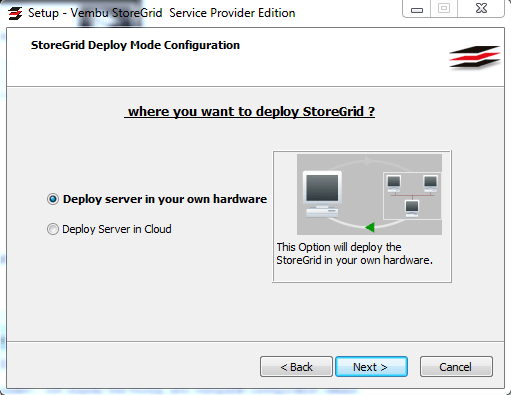
 StoreGrid will ask the deployment location. After selecting the location click on next.
 Enter the ODBC Configuration of the database server that this StoreGrid will unite with
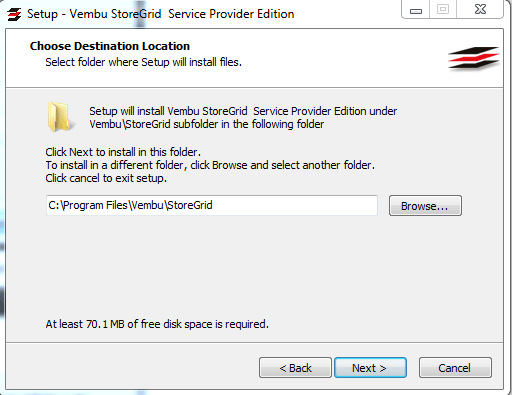
 Select folder where setup we want to install files. Click on browse if we have to change location.
 Enter a Username and Password for the StoreGrid client support which is web based. By default Local Machine Account “Username” : admin and “Secret word” : admin )
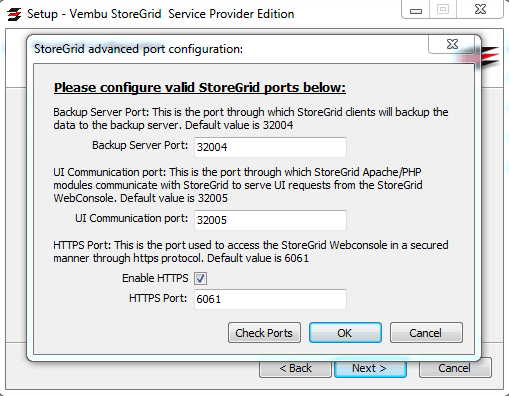
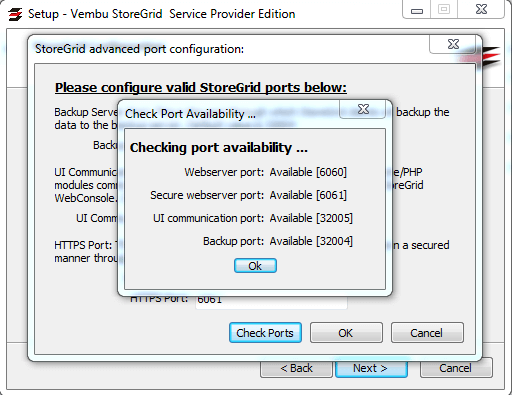
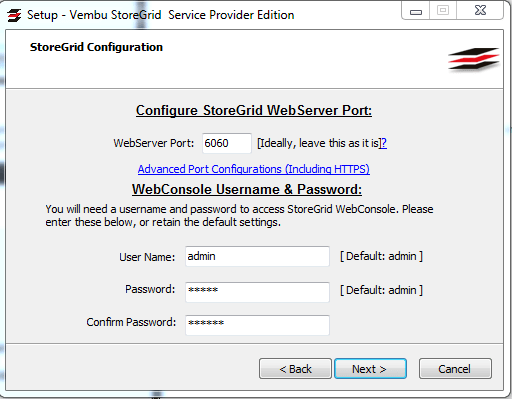 Click on Advance Port setting if u want to change the Backup server port.
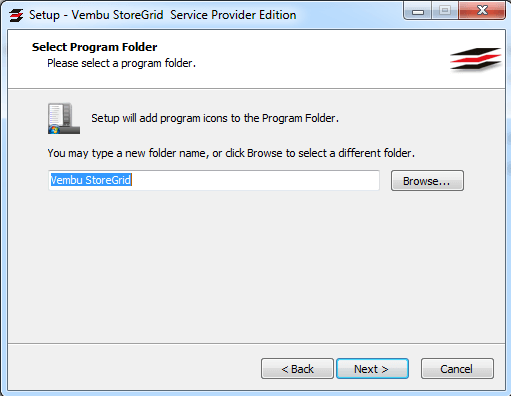
Program will add program icons to the program folder and You may also change name accordingly.
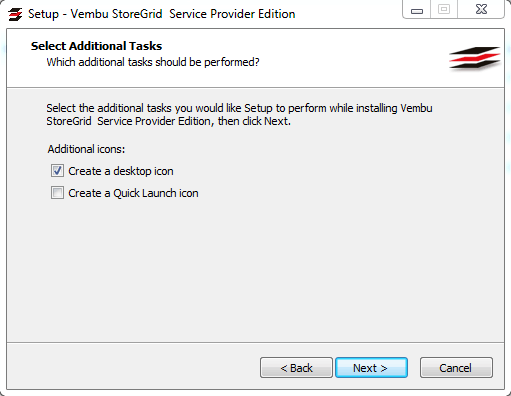
 Select the additional tasks and click on next.
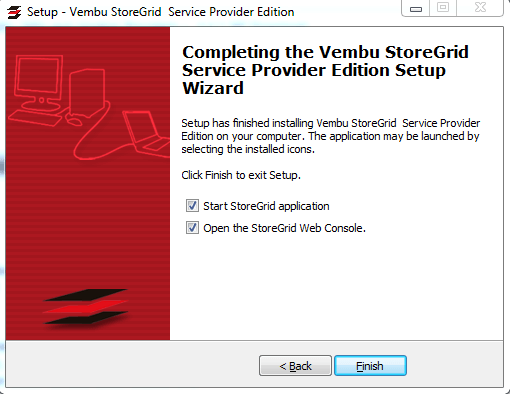
 StoreGrid installation has been completed. Click on Finish.