How to install Vembu StoreGrid Server 4.4.1 on CentOS/RHEL & Ubuntu
Vembu StoreGrid is a to a great degree flexible Backup Software that works with your Existing Hardware !
StoreGrid actually makes a storage grid network from free space on your system. Case in point, on the off chance that you have a couple of PCs joined through a LAN however no backup server, StoreGrid can make a trusted intranet peer-to-peer backup solution for backup desktop and portable workstation information -it just takes advantage of surplus hard circle limit on PCs in a system and uses this to move down user data.
Yet, say, you did have a backup server (or servers) – StoreGrid could then be sent in an ordinary client server mode. StoreGrid also handles remote online backups easily – ideal if you prefer backing up to a server outside your network.
StoreGrid Features
- Data Backup
- Data Security
- Deployment Flexibility
- Supported Platforms
- Supported Browsers
Install Required Package
For CentOS/RHEL:
# yum install libstdc++.i686
For Ubuntu:
apt-get install libstdc++6
- Download the StoreGrid from StoreGrid Office Site or Download the StoreGrid Backup Server installer running by the following command:
For 64 bit:
wget https://s3-us-west-1.amazonaws.com/sg-build-release/products/storegrid/sp/201310441/StoreGridSetup_4_4_1_SP.sh
- Run the following command to start StoreGrid setup:
# chmod +x StoreGridSetup_4_4_1_SP.sh
# sh StoreGridSetup_4_4_1_SP.sh
- The installer will show to you the list of required packages enter “yes” to install all packages.

- The installer will check the compatible Relational Database Management System MySQL and ODBC, enter “yes”

- First installer will check the compatibility with MySQL, enter MySQL root password and press enter.

- The installer will check for the compatible packages in the machine and will proceed to the next step.

- The installer will automatically install and configure ODBC driver if it is not installed
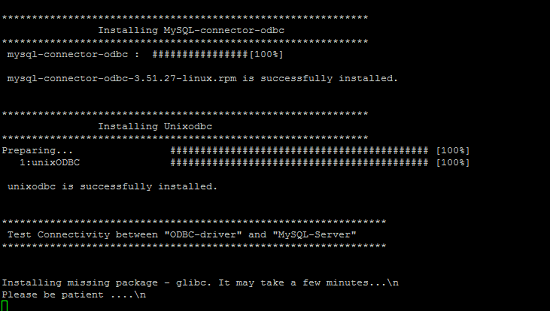
- The installer will run a check to verify unixodbc has the connect associate with the MySQL Server. Once the MySQL establishment is finished, it will show the details of the MySQL as below:
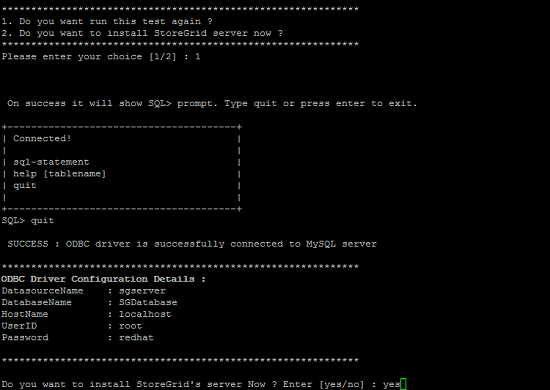
Note:
If test connection get failed then add “SOCKET” entry in ODBC configuration file.
# vim /etc/odbc.ini
Add below Line
SOCKET = /var/lib/mysql/mysql.sock
We can test the connection by giving mysql details mention in the ODBC configuration file. Test connection with below command:
# isql -v [DSN-NAME] [USER-NAME] [PASSWORD]
For Example:
# isql -v sgserver root redhat
- The installer will now take you through the StoreGrid Server Installation Process, type yes and press enter.
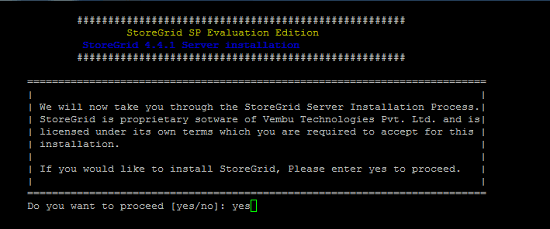
- The installer will provoke you to proceed with establishment of StoreGrid. Enter yes to continue with establishment of StoreGrid. The installer will then consequently download the appropriate Linux construct for StoreGrid Server establishment.

- Now we select installation type. If we have to create a new user then press 1 and for existing user press 2
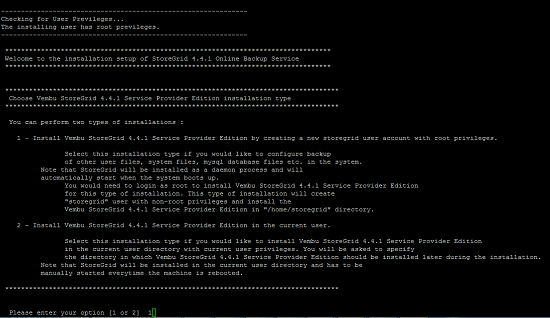
- If you will select 1 then create the user password.

- The installer will show the License Agreement. Please read it and accept it.
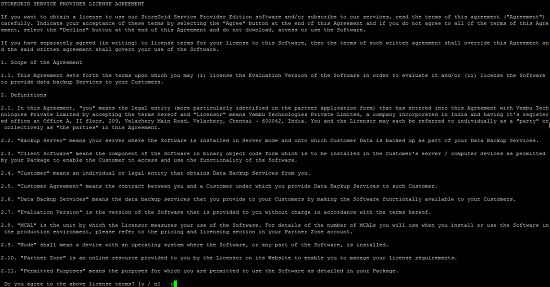
- The installation will prompt you to Server Management Configurations For Installation.

- The installation will prompt you to Installation server. If you will press 1 then It will install on local server and if you press 2 then it will install on Cloud server.

- If you have to make StoreGrid Server then press 1 or for StoreGrid Replication Server press 2.

- The installer will ask with you MySQL configuration which we mention in ODBC configuration file(/etc/odbc.ini). It will make connect with MySQL.
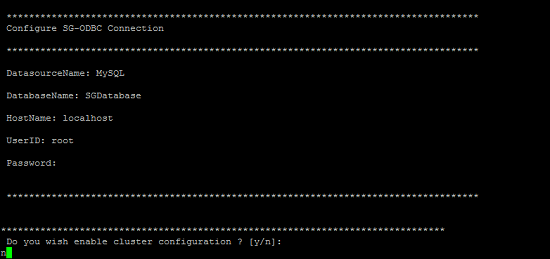
- It will then prompt you to enter Server hostname and StoreGrid ID and go to next step.

- If you want to change the default backup location then press y and enter

- Enter the absolute path for Vembu StoreGrid 4.4.1 Service Provider Edition backup location.

- It will then prompt you to enter a Username and Password for the StoreGrid user console which is web based.
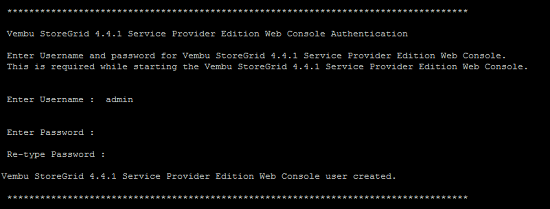
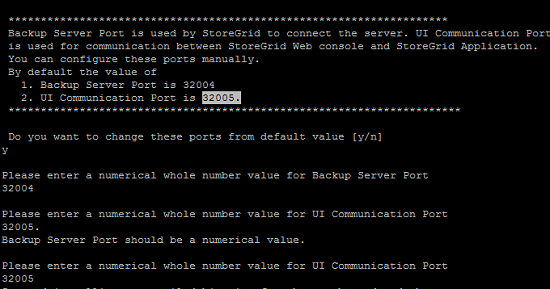
- It will then prompt you to change the port no. If you have to change the port no then press y else press n.

- Change the port and press enter.
- The installer has been successfully installed the Vembu StoreGrid Server.
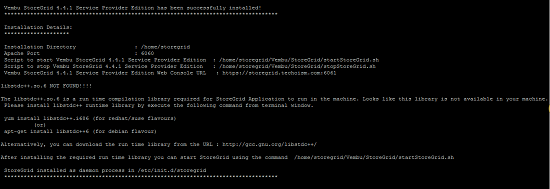
Installation Details:
********************
 Installation Directory                  : /home/storegrid
 Apache Port                             : 6060
 Script to start StoreGrid Service       : /home/storegrid/Vembu/StoreGrid/startStoreGrid.sh
 Script to stop StoreGrid Service        : /home/storegrid/Vembu/StoreGrid/stopStoreGrid.sh
 StoreGrid Service Web Console URL       : https://servermachinename:6061
I hope with the help of this tutorial you will successfully install the Vembu StoreFrid Server.

Fantastic put up, very informative. I wonder why the other specialists of this sector don’t notice this. You should proceed your writing. I’m confident, you have a great readers’ base already!|What’s Taking place i’m new to this, I stumbled upon this I’ve found It absolutely useful and it has helped me out loads. I am hoping to contribute & aid different customers like its aided me. Great job.
Thanks for you appreciation.