Steps to Configure Nagios 4.1.1 on CentOS, Red Hat & Fedora
Nagios is an open source, effective monitoring system. It empowers associations to recognize and resolve IT foundation issues before they affect critical business processes. Nagios has ability of monitoring application, services, entire IT infrastructure. Nagios will be configured to monitor a few aspects of your local system (CPU load, disk usage, etc.)

This article will help you to install and configure Nagios on CentOS, RHEL and Fedora system.
Nagios and the plugins will be install in /usr/local/nagios
Step 1: Install Dependencies
We have to installed all require packages first. Use the following commands to install all require packages.
# yum install httpd php gcc glibc glibc-common gd gd-devel
Step 2: Create new User & Group
Create a new user account and group for nagios and assign a password. After creating new user and group for nagios now assign both the nagios user and the apache user to the group.
# useradd -m nagios
# passwd nagios
# groupadd nagcmd
# usermod -a -G nagcmd nagios
# usermod -a -G nagcmd apache
Step 2: Download & Extract Nagios Core
Download the source code of Nagios Core latest versions from official site. After download the source file extract that archive. Also you can download it using following commands.
# cd /opt
# wget http://download.techoism.com/nagios-4.1.1.tar.gz
# tar xvf nagios-4.1.1.tar.gz
Step 3: Compile and Install Nagios Core
Now, first we configure Nagios Core and to do as such we have to go to Nagios directory and run configure file.
# cd nagios-4.1.1
# ./configure --with-command-group=nagcmd
After configuring we need to Compile and install all the binaries. Run the Nagios configure script, passing the name of the group you made before like so:
# make all
# make install
Install binaries, init script, sample config files and set permissions on the external command directory.
# make install-init
# make install-config
# make install-commandmode
Step 4: Customize Configuration
Edit the /usr/local/nagios/etc/objects/contacts.cfg config file with your editor and change the email address associated with the nagiosadmin contact definition to receiving alerts.
# vi /usr/local/nagios/etc/objects/contacts.cfg
Step 5: Configure the Web Interface
Install the Nagios web config file using following command:
# make install-webconf
Now, we will be create a password for “nagiosadmin” user. Use following command to create password:
# htpasswd -s -c /usr/local/nagios/etc/htpasswd.users nagiosadmin
Restart Apache to make the new settings take effect.
# service httpd restart
Step 6: Compile and Install Nagios Plugin
Download & Extract the Nagios plugins source code and compile it.
# cd /opt
# wget http://www.nagios-plugins.org/download/nagios-plugins-2.0.3.tar.gz
# tar xvf nagios-plugins-2.0.3.tar.gz
# cd nagios-plugins-2.0.3
# ./configure --with-nagios-user=nagios --with-nagios-group=nagios
# make
# make install
Step 7: Start Nagios
Add Nagios to the list of system services and have it automatically start when the system boots.
# chkconfig --add nagios
# chkconfig nagios on
Verify the sample Nagios configuration files.
/usr/local/nagios/bin/nagios -v /usr/local/nagios/etc/nagios.cfg
If there are no errors, start Nagios service.
# service nagios start
Step 8: Modify SELinux Settings
See if SELinux is in Enforcing mode. Then disable the selinux even you can change the content of nagios directories using following command:
# chcon -R -t httpd_sys_content_t /usr/local/nagios/sbin/
# chcon -R -t httpd_sys_content_t /usr/local/nagios/share/
Step 9: Login to the Web Interface
You should now be able to access the Nagios web interface at the URL below.
http://server-ip/nagios/
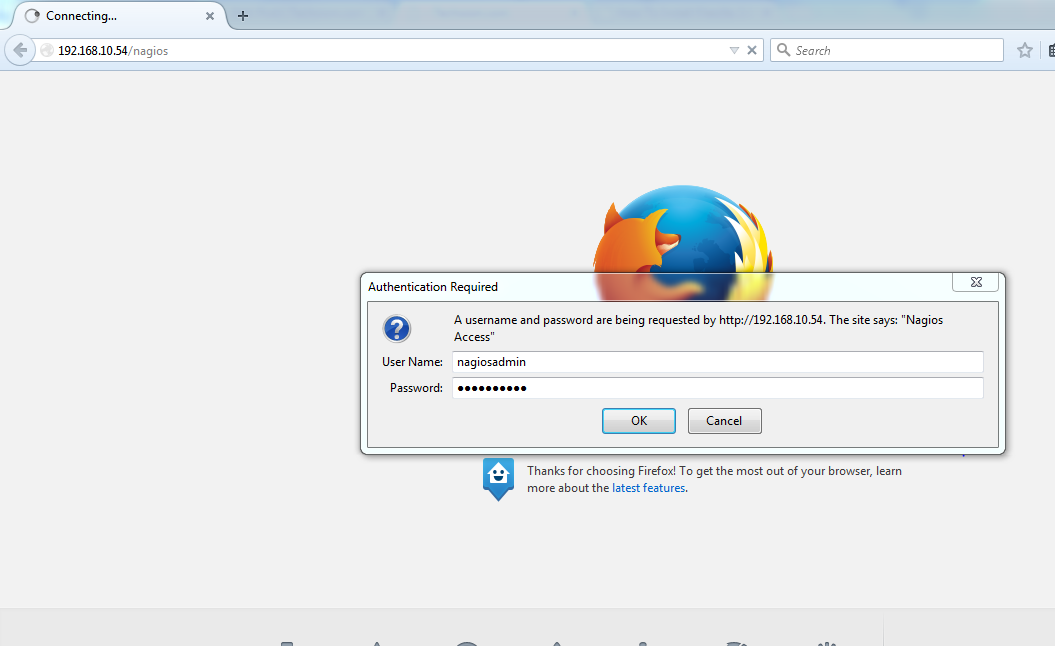
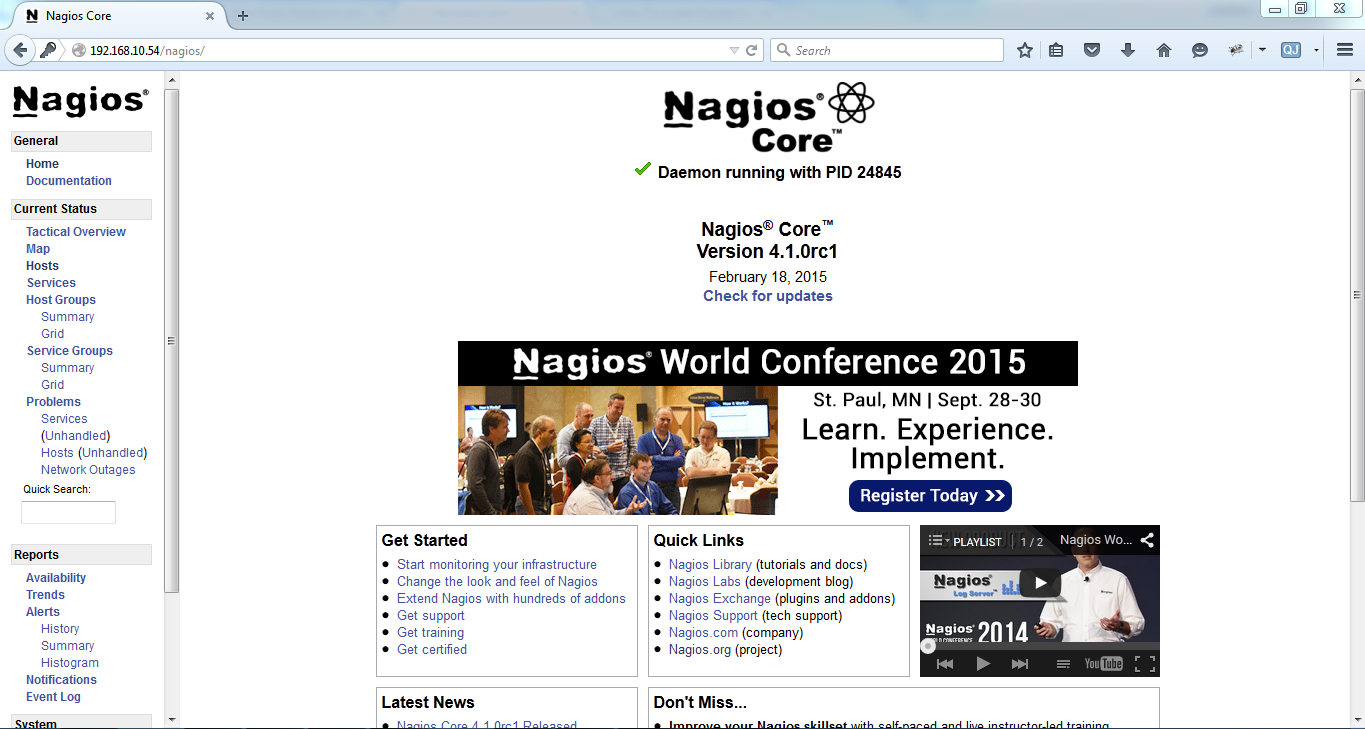
Enjoy it!
