How to Create Azure Virtual Machine using Azure Portal
Azure virtual machines (VMs) can be created through the Azure portal. This method provides a browser-based user interface to create VMs and their associated resources. This article will help you to create the Azure virtual machine using the Azure portal.
Note: To create an Azure VM for free, you can sign up for a 30-days Azure free trial.
Useful Articles:
- STEPS TO CREATE AZURE CUSTOM VM IMAGE
- AZURE VIRTUAL MACHINE SCALE SET & AUTO SCALING
- STEPS TO CREATE AZURE VIRTUAL MACHINE SCALE SET
- HOW TO TAKE AZURE VIRTUAL MACHINE SNAPSHOTS FOR DISKS
- CREATE NEW VIRTUAL MACHINE USING EXISTING SNAPSHOT
I am assuming you have an Azure subscription. Follow the below steps to create a Linux virtual machine.
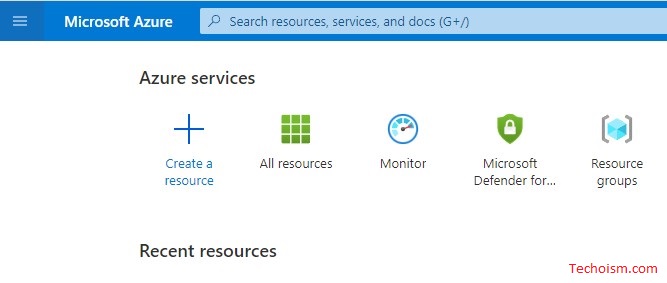
Step 1: Log in to Azure Portal
Log in to the Azure portal using the portal link.
Step 2: Create Virtual Machine
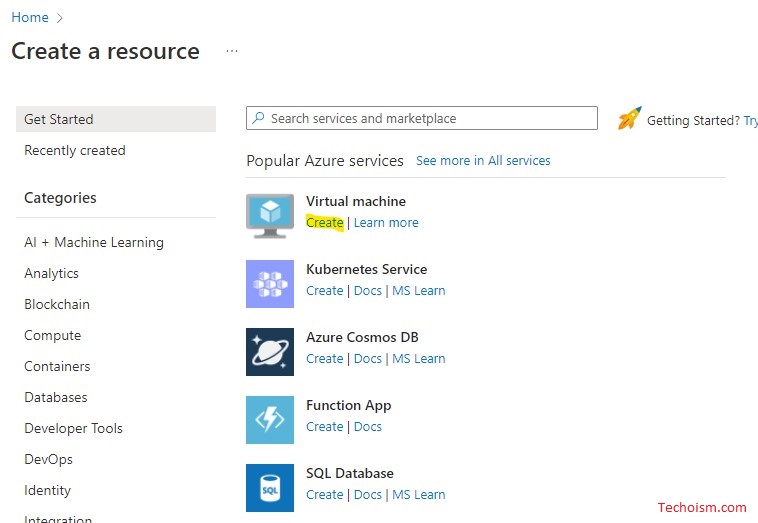
Click on “Create a Resource”.
Now, click on “Create” under the option of the Virtual machine as highlighted.

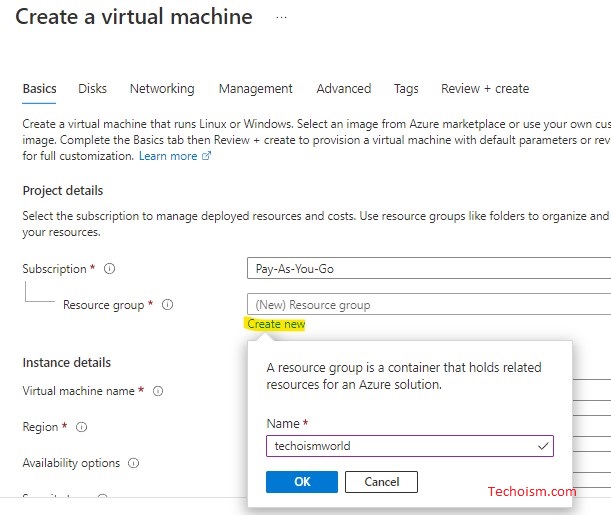
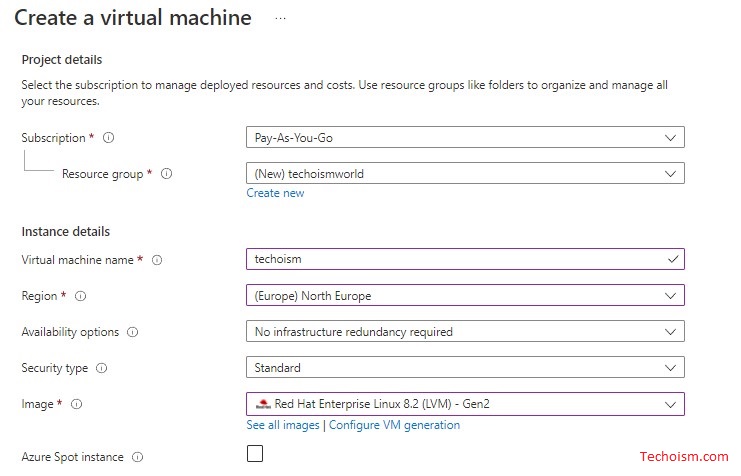
Step 3: Fill out the Required Details
Subscription: Select your subscription.
Resource group: You can select the existing resource group or you can create a new one by clicking the “Create New” option.
Virtual machine name: Enter a name for your virtual machine.
Region: Azure region where you want to create your resource.
Image: Select the Red Hat Enterprise Linux 8.2 (LVM) – Gen2. You can change it according to your requirement.
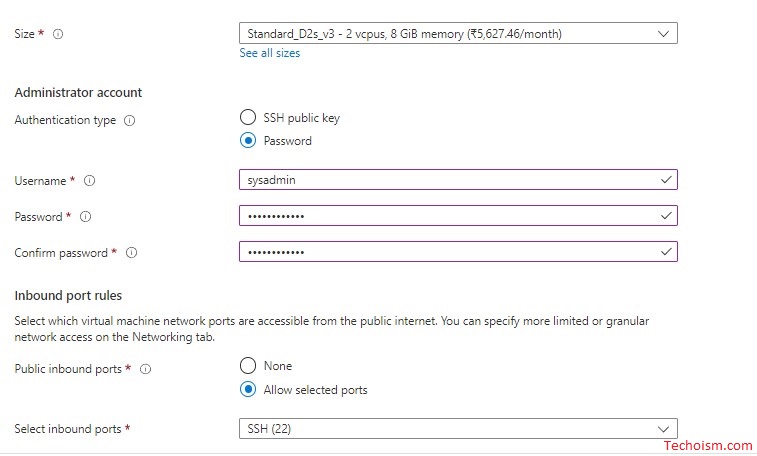
Size: Select the size you want to assign to your resource.
Authentication type: In the Administrator account section, I am selecting password instead of SSH public key. You can change it according to your requirement. This Username and Password you will use to log in to the VM once created.
Select Inbound port: Under Inbound port rules, choose Allow selected ports and then select SSH (22). You can allow other ports from the drop-down as per your requirement.
I am keeping other options as it is but you can change them as per your requirement. Now click on “Next: Disks”.
In the following screen (Disks), you can add the disk architecture that you need. I kept the default choice for what it needed. You can change it based on your business need.
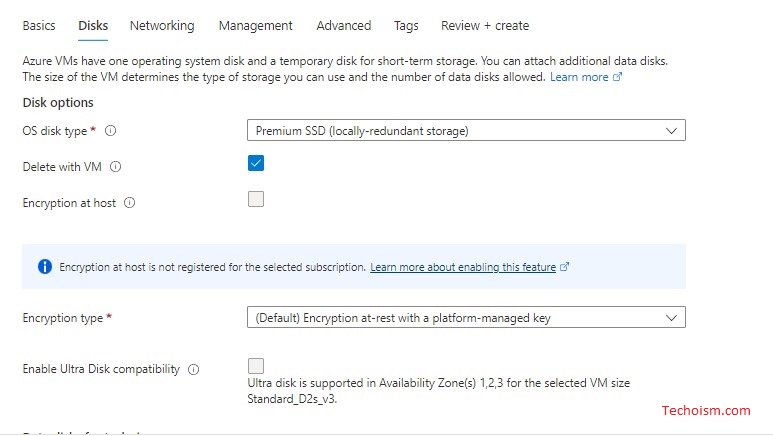
You can also add and configure additional data disks also.
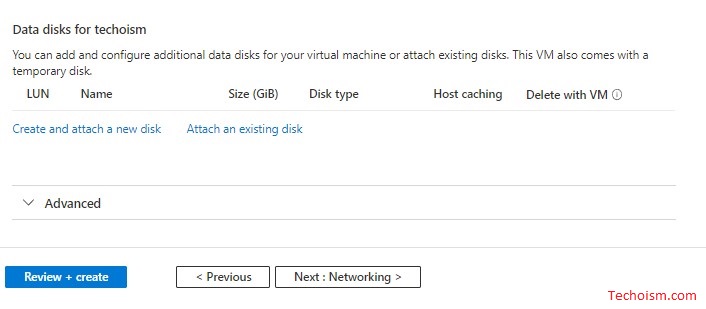
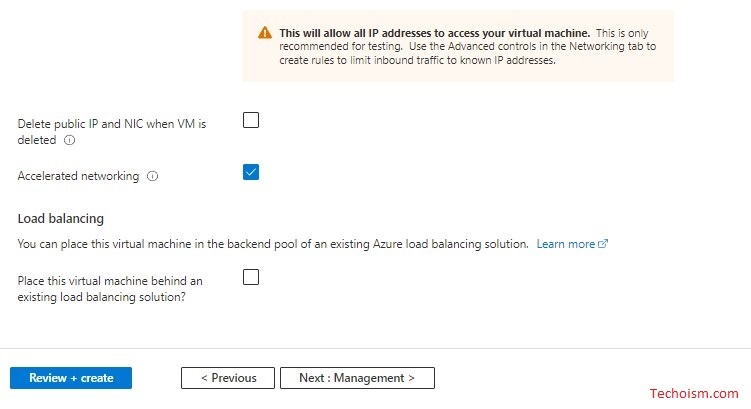
Click on the Next: Networking option.
Now you can fill in the details on the Networking screen.
Virtual Network: Pick a virtual network or else you can create a new one by clicking the “Create New” link.
Subnet: You can keep the default choice as it is.
Public inbound ports: choose Allow selected ports.
Select inbound ports: Under Inbound port rules, choose Allow selected ports and then select SSH (22). You can allow other ports from the drop-down as per your requirement.
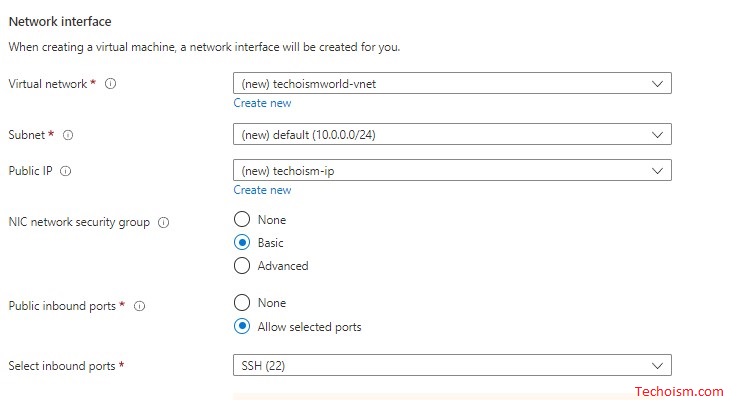
Now, click on Next: Management
Azure Security Center provides unified security management and advanced threat protection across hybrid cloud workloads.
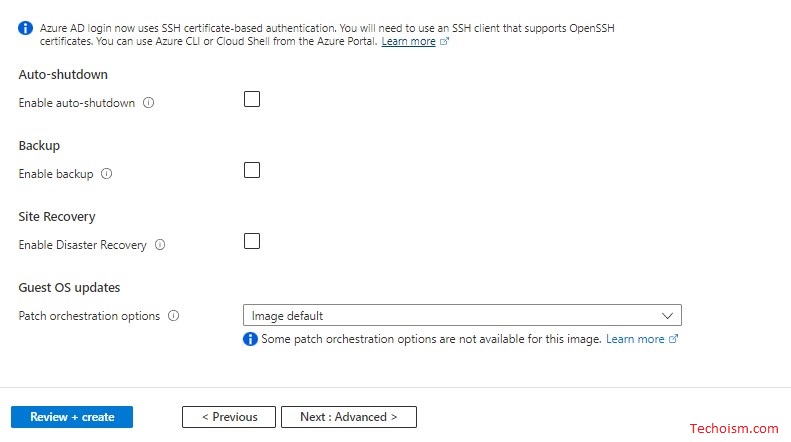
You can keep it as it is and click on Next: Advanced
Extensions provide post-deployment configuration and automation. Click on Next: Tags
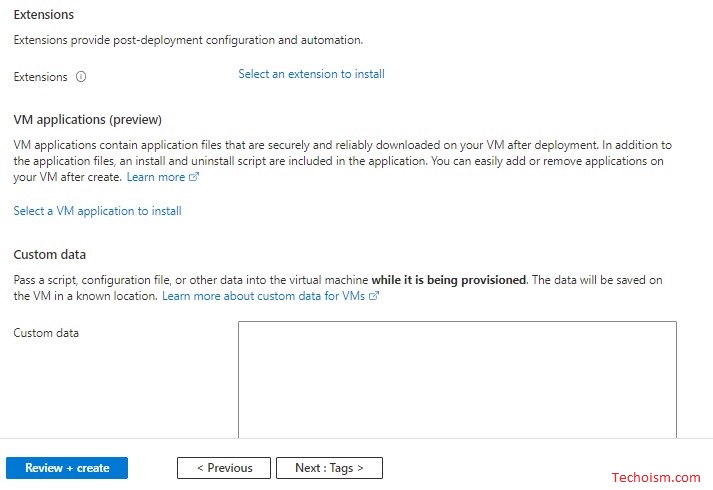
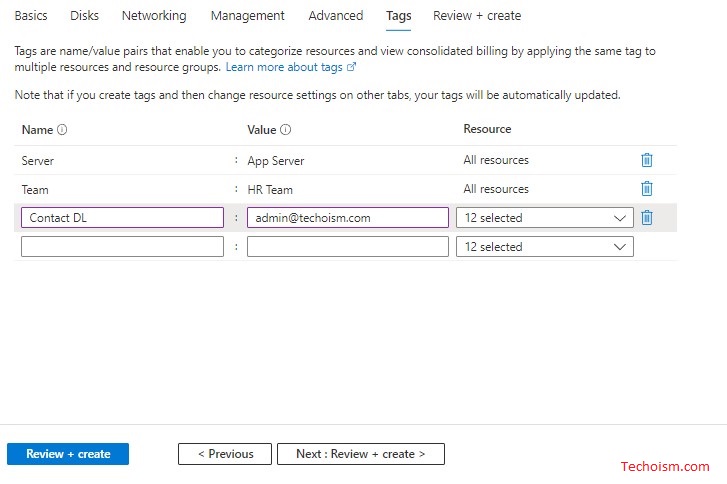
Tags are names or value pairs that enable you to categorize resources. When you fill in all the details click on the “Review + Create” button.
It will validate the above details inside and will show a message “Validation passed”.

Step 4:
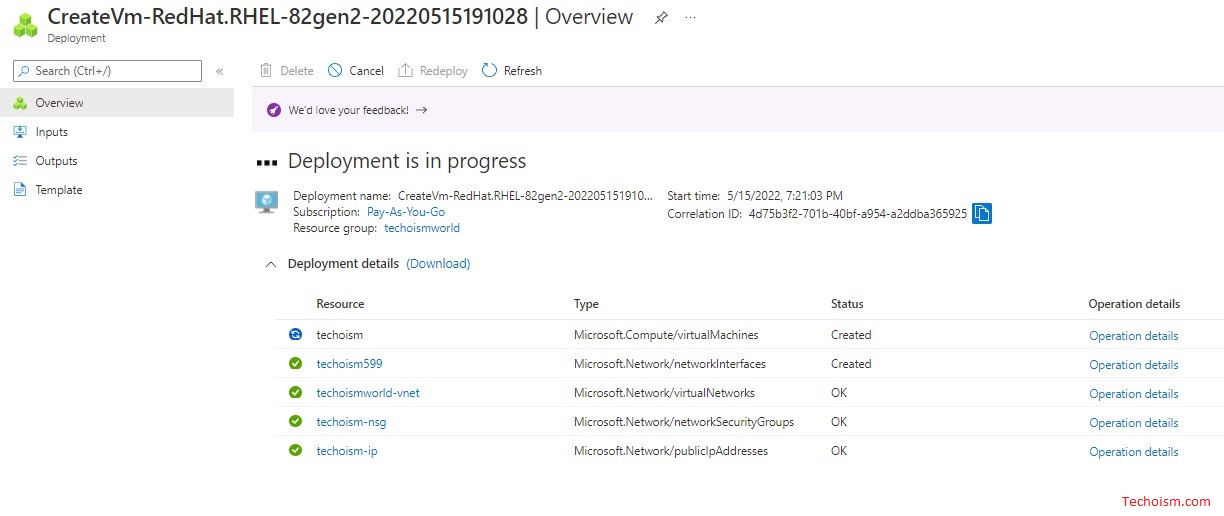
Now click on the “Create” button
After clicking on create It will show you “Deployment is in progress“.
Once a resource has been created it will show you “Your deployment is complete”. Now click on “Go to resource”
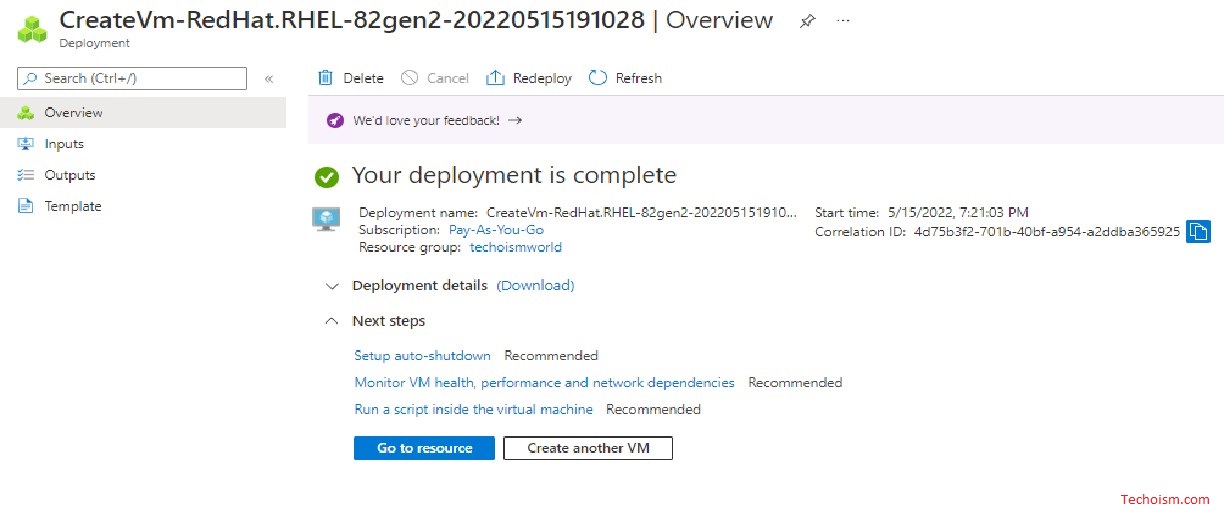
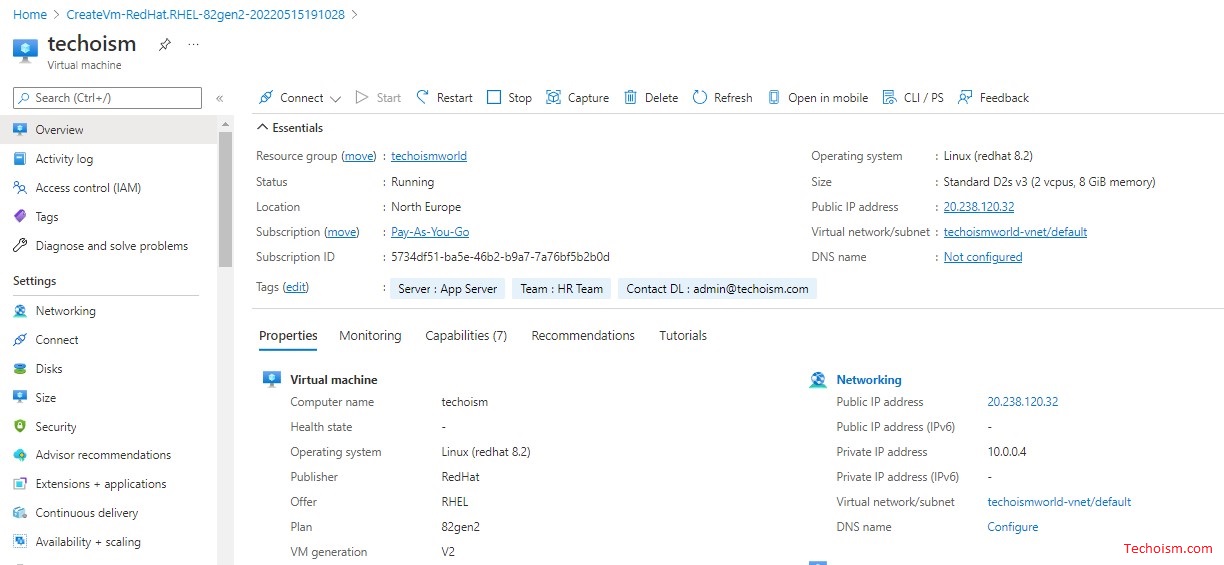
Congratulations, Now you have successfully created the VM.
Step 5:
Connect to Virtual Machine
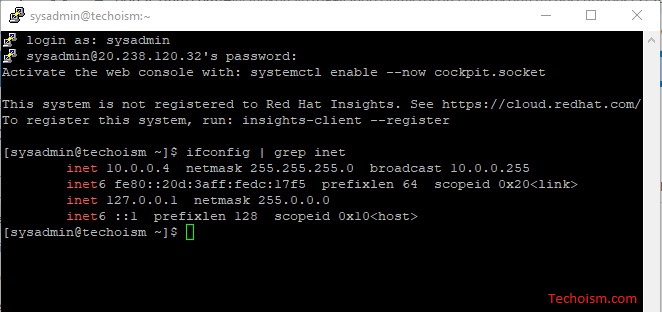
Now, you can connect virtual machines using connect option or you can use any tool. Here I am connecting the server using Putty.
Enjoy it!
