Install and configure Check_MK 1.6 Server on CentOS 7
Check_MK is a free, open-source IT infrastructure monitoring tool. It’s actually Nagios plugins which enhances their capabilities and performance. It replaces the standard Nagios GUI and way the systems are monitored on Nagios, it gives the graphical administration of monitoring and boosts other features like auto-detection of configurations in a monitored system, specials checks in addition to Nagios checks, SNMP based agentless monitoring, filtering, viewing and alerting for log records and event data.

This article will help you to install and configure the Check_MK server on CentOS 7.
See Also:
- HOW TO INSTALL NAGIOS XI ON CENTOS/RHEL 7/6
- HOW TO INSTALL NAGIOS 4.1.1 ON UBUNTU
- STEPS TO CONFIGURE NAGIOS 4.1.1 ON CENTOS, RED HAT & FEDORA
- INSTALL NAGIOS 4.0.7 ON CENTOS/RHEL
- HOW TO INSTALL MUNIN MONITORING TOOL ON CENTOS/RHEL 7/6/5
- HOW TO INSTALL NETDATA MONITORING TOOL FOR LINUX
Step 1: Disable SELinux
Check SELinux status and disable it if it’s enabled.
# getenforce
Edit SELinux configuration file and change the status If SELinux is enabled.
# vim /etc/sysconfig/selinux
Change SELINUX=enforcing to SELINUX=disabled
After changing the SELinux status we need to reboot the server.
# reboot
Step 2: Install Prerequisites
First, update the system and then install NTP.
# yum update
# yum install ntp
Start the NTP service if not started and enable the NTP on system boot.
# systemctl start ntpd
# systemctl enable ntpd
Step 3: Add EPEL Repository
We need to install EPEL repository, as some of the Check_MK packages are not available in default repository.
# yum install epel-release
Step 4: Install Check_MK
We need to download the latest version of check_mk from the official website.
# wget https://checkmk.com/support/1.6.0p10/check-mk-raw-1.6.0p10-el7-38.x86_64.rpm
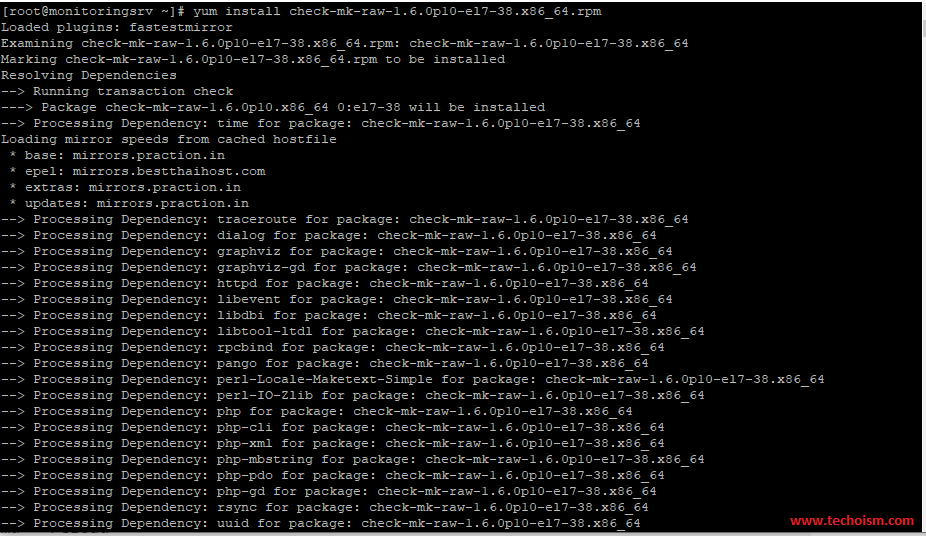
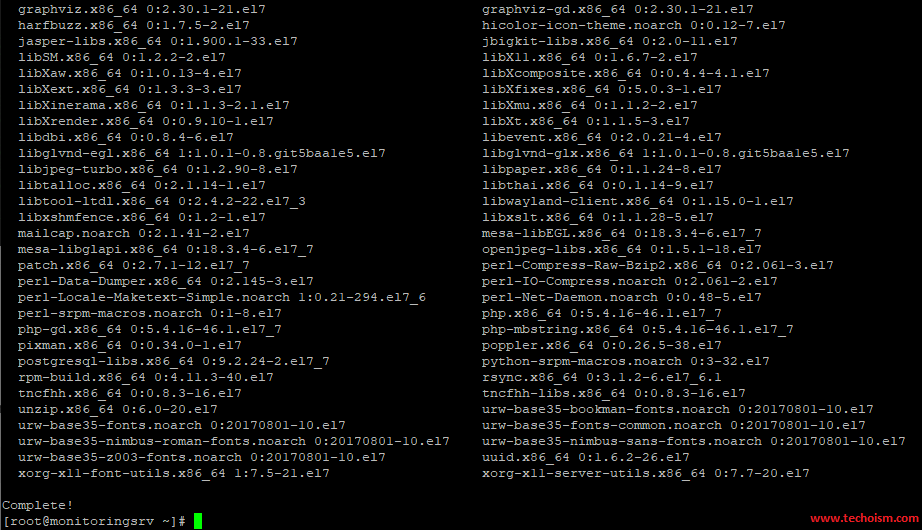
Install Check_MK and all the dependencies required for check_mk.
# yum install check-mk-raw-1.6.0p10-el7-38.x86_64.rpm
You can version the check_mk version using mention command.
# omd version

Step 5: Modify Firewall Rules
If the Firewall is enabled then need to modify the firewall rules.
# firewall-cmd --add-service=ntp --zone=public --permanent
# firewall-cmd --add-service=http --zone=public --permanent
# firewall-cmd --reload
Step 6: Configure Check_MK
Now, proceed with configuring monitoring instance and start to configure the server. You can use any instance name in place of techoismmonitor.
# omd create techoismmonitor
Above command will create a new instance on check_mk along with user and group name techoismmonitor. The home directory for the user is /opt/sites/techoismmonitor
# su - techoismmonitoring
# omd start
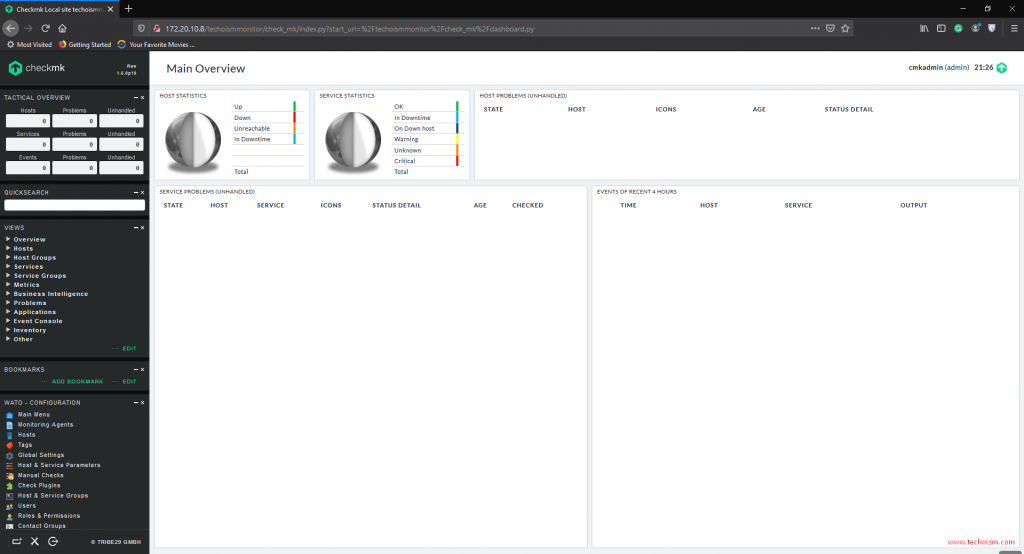
Step 7: Access Check_MK on the web browser
Now you are good to go. You can use the below URL to access the Check_MK monitoring tool.
http://<Server_IP/<Instance_name>
OR
http://<Server_Hostname>/<Instance_name>
http://172.20.10.8/techoismmonitor
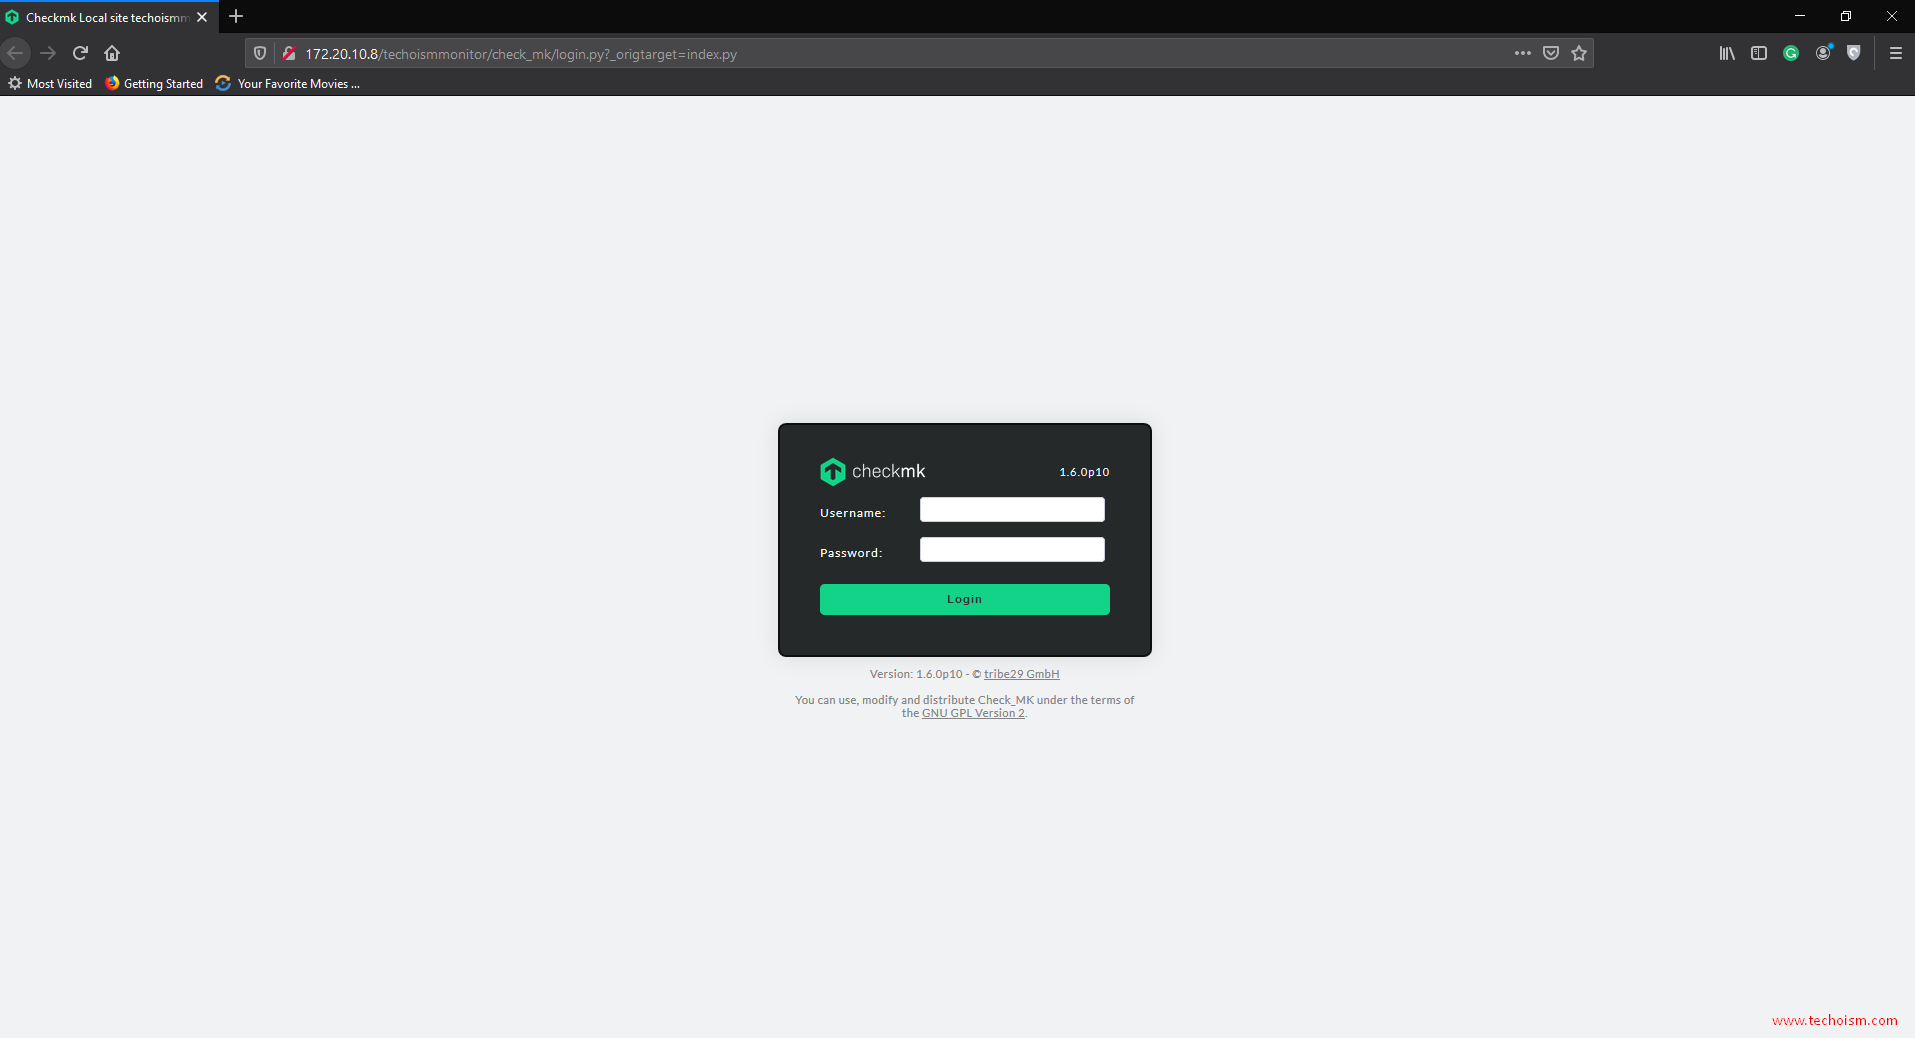
User name as “cmkadmin” and secret password were displayed in command output when you make techoismmonitor instance. In spite of the fact that we can change the password using the mentioned command or you can also use the same password displayed in the command output.
# su - techoismmonitor
# htpasswd -m ~/etc/htpasswd cmkadmin
Note: If you are using the same password disabled in command output then skip above steps.
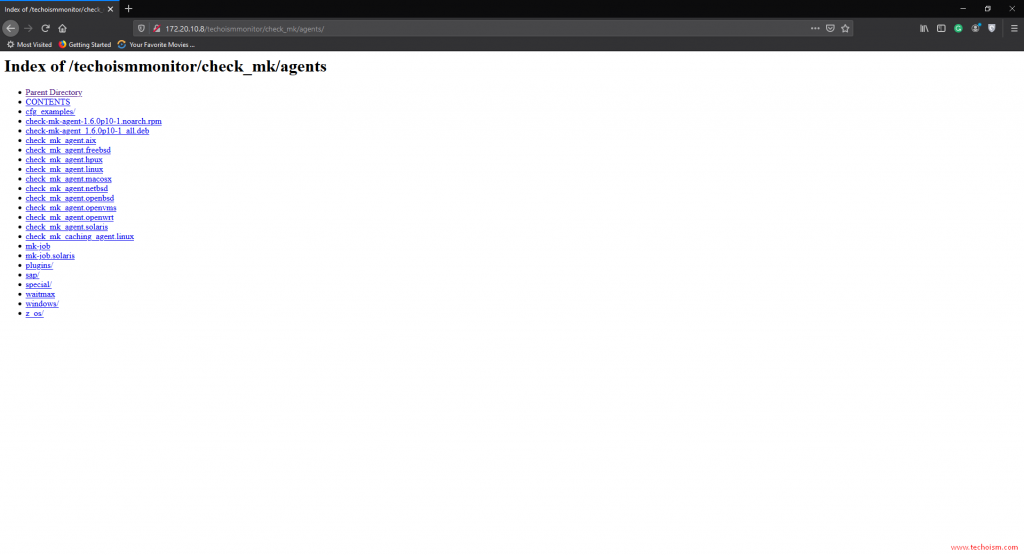
Step 8: Download the Check_Mk agent on Linux
You can download check_mk Agents from the following URL:
http:////check_mk/agents
OR
http:////check_mk/agents
http://172.20.10.8/techoismmonitor/check_mk/agents
Enjoy it!
