Steps to Create Azure Custom VM Image
VM images allow you to have a Windows or Linux server, pre-designed with applications, software, and security. In the corporate environment, administrators use custom images for their OS deployments. These images are generally fine-tuned for corporate requirements. Administrators can make images locally or in the cloud, contingent upon their requirements.
Useful Articles:
- HOW TO CREATE AZURE VIRTUAL MACHINE USING AZURE PORTAL
- AZURE VIRTUAL MACHINE SCALE SET & AUTO SCALING
- STEPS TO CREATE AZURE VIRTUAL MACHINE SCALE SET
- HOW TO TAKE AZURE VIRTUAL MACHINE SNAPSHOTS FOR DISKS
- CREATE NEW VIRTUAL MACHINE USING EXISTING SNAPSHOT
This article will show the steps to create a custom image and how we can use it to deploy new virtual machines.
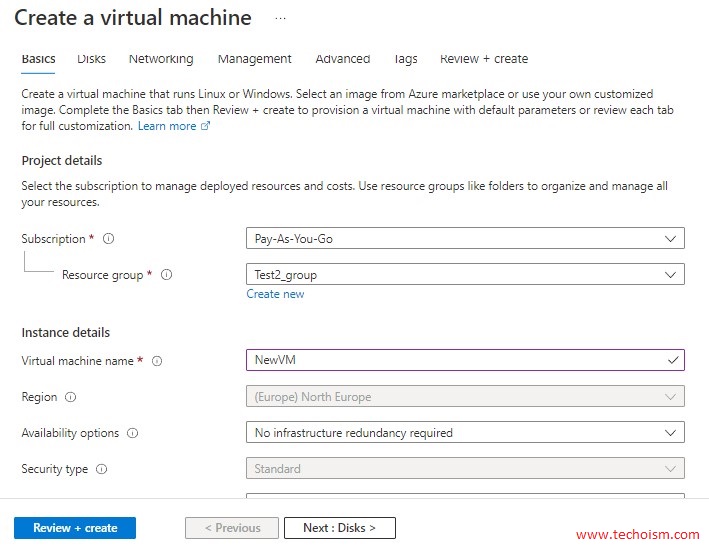
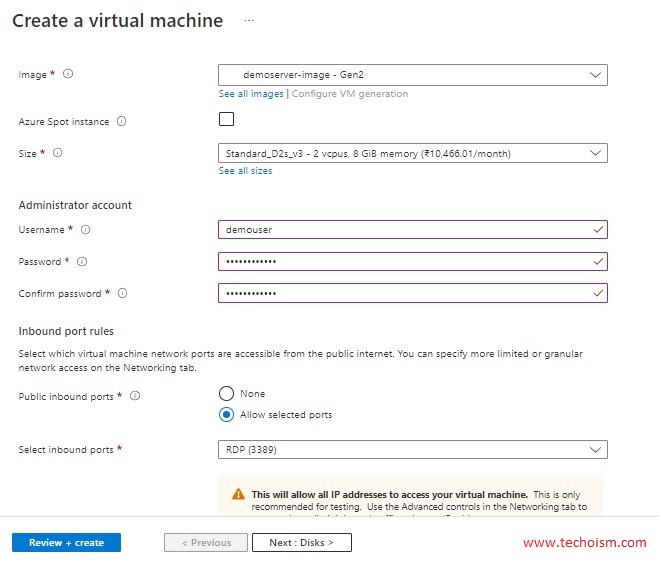
Step 1: Create the Virtual Machine for Image
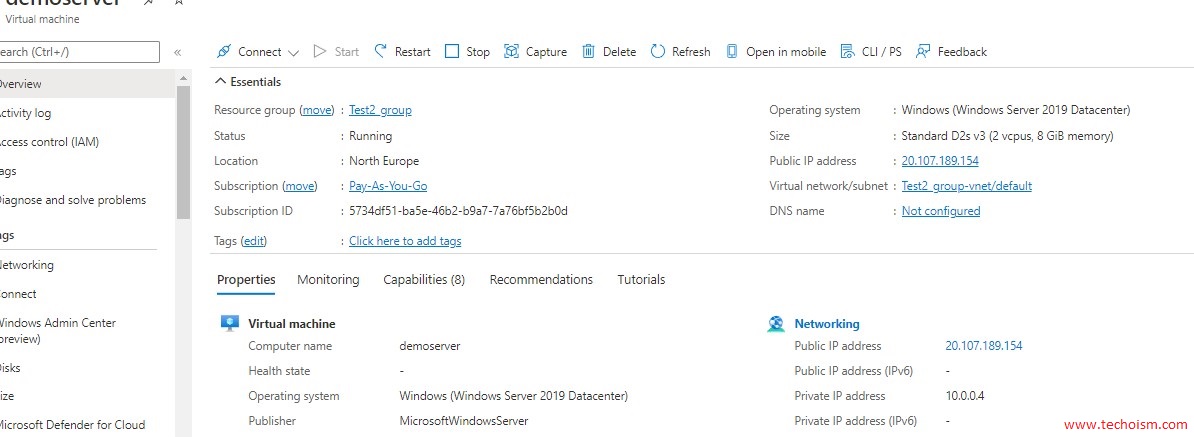
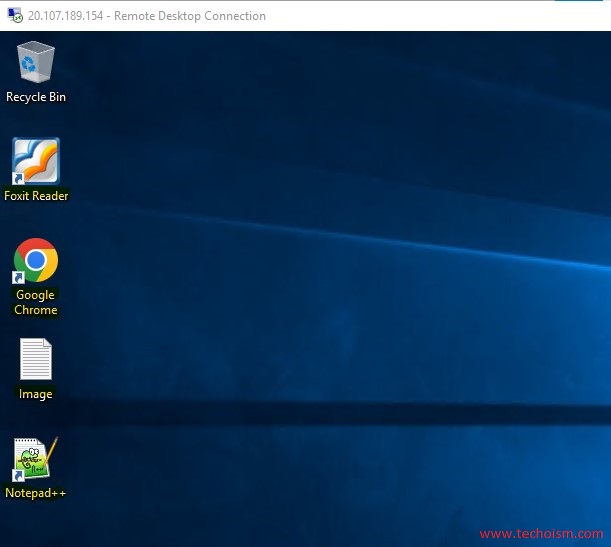
Log in to the Azure portal and create a Virtual Machine. In my article, I am using Windows (Windows Server 2019 Datacenter). I have installed notepad++, Foxit PDF Reader, and google chrome, and created a text file on Desktop (C:\Users\demouser\Desktop) with the name of Image.
Step 2: Use the Windows Sysprep tool
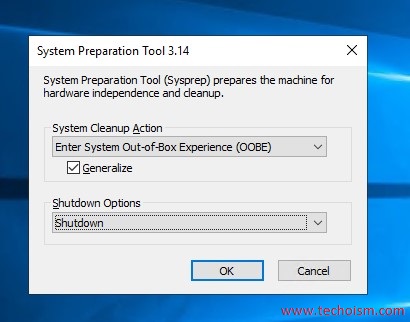
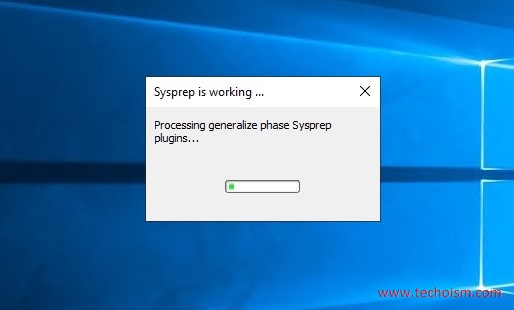
Once you create a Windows VM and configure it, run the windows Sysprep tool as an administrator. Sysprep can be found in %windir%\system32\sysprep\sysprep.exe and run it. The system preparation tool window will pop up, select the System Out-of-Box Experience (OOBE) and Generalize option. Also, for the shutdown option, select Shutdown. This will generate the VM image.
The sysprep process has been started.
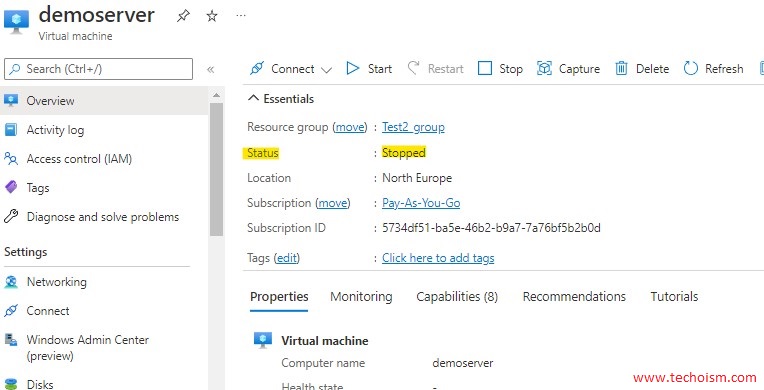
Once the Sysprep process is completed, the system shutdown the VM.
Step 3: Create Azure Custom Image
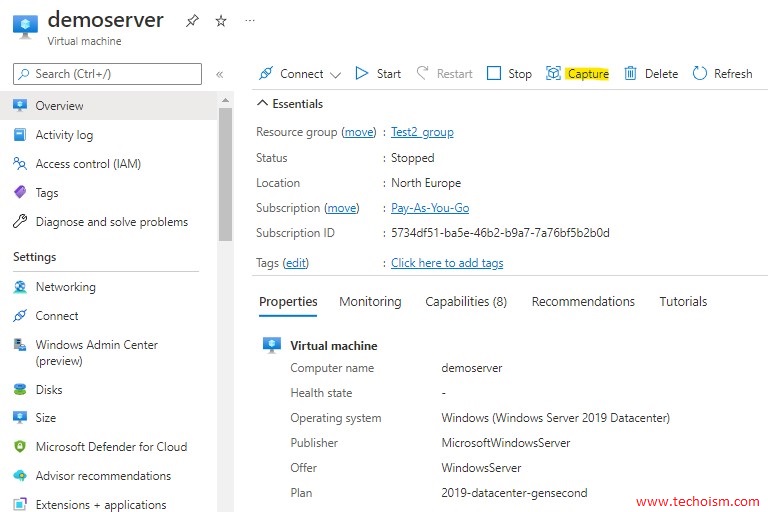
Go to VM properties and click on the Capture icon.
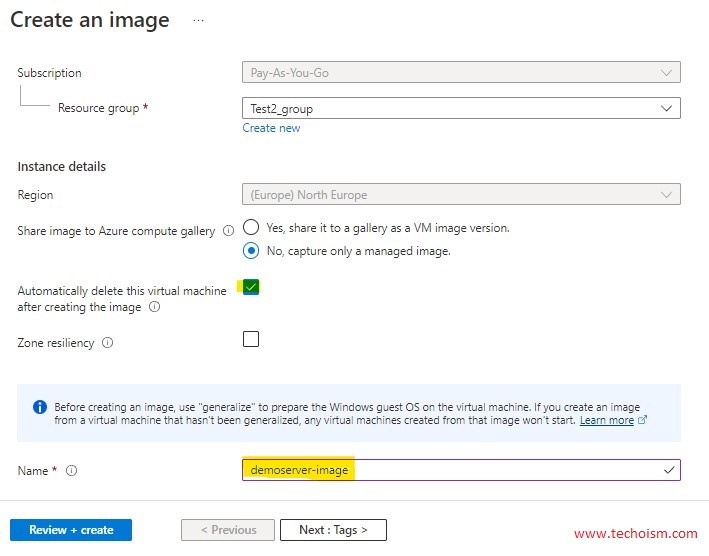
Select a resource group and provide an image name for an image to save the image. Also, select Automatically delete this virtual machine after creating the image If the windows machine is no more needed and then click on Review + Create.
Once Validation is passed click on Create.
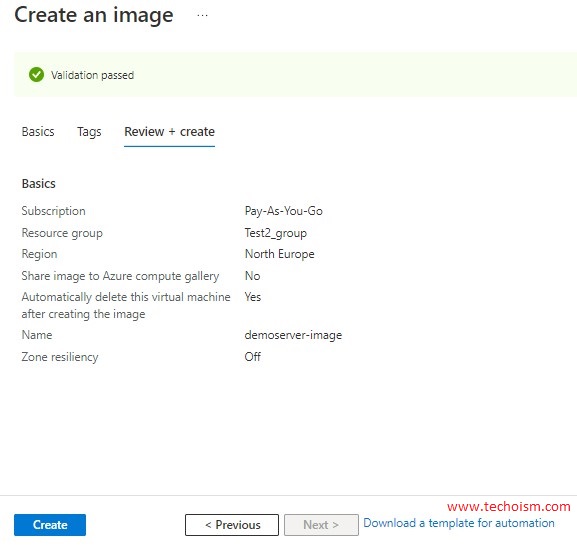
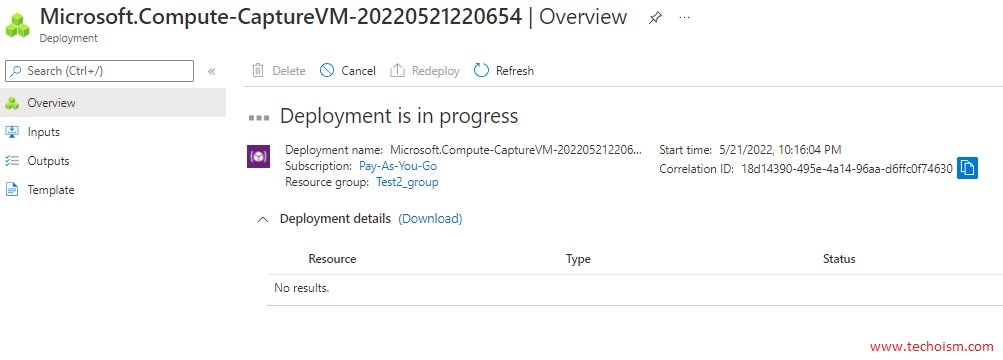
Image creation has been started.
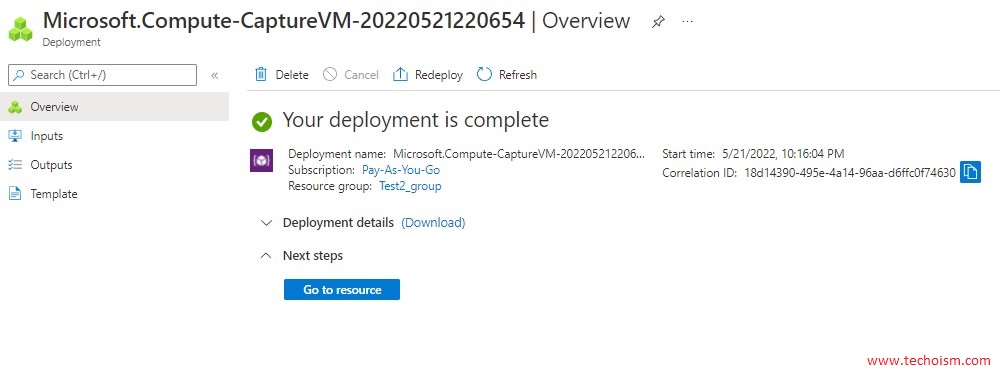
Once deployment is completed, click on Go to resource or go to All Service > Images
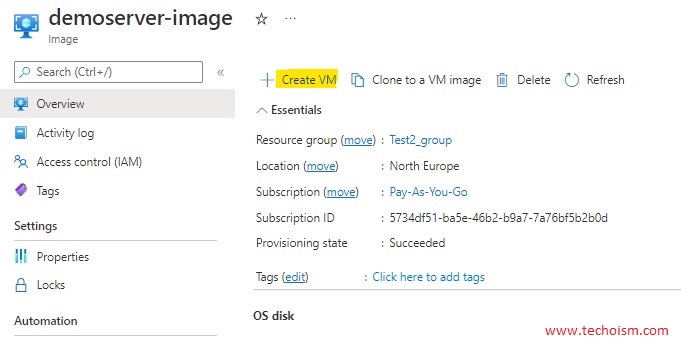
Step 4: Create New VM using Custom Image
Now we will create the VM using a custom image. Then click on Create VM option.
Select the size of the VM and complete the other configuration you need.
Once the VM will be created, let’s log in and see if it’s got all the customization I made.
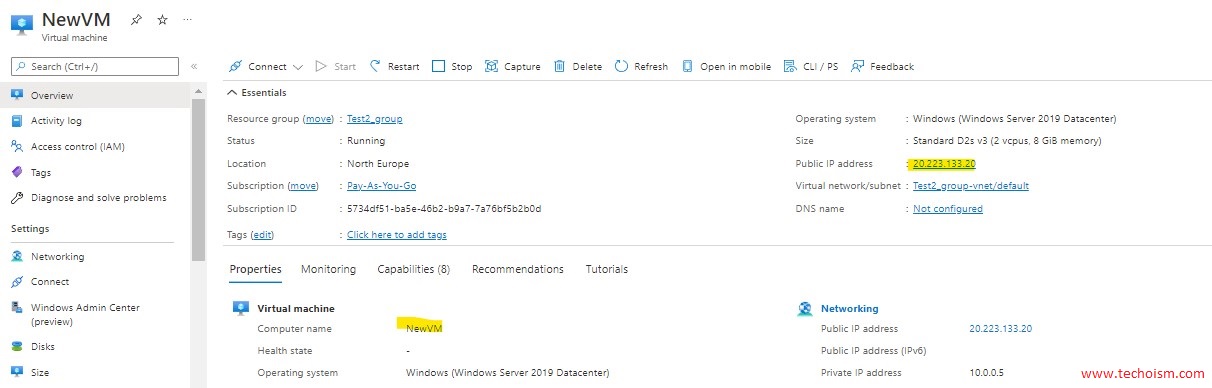
As you can see, all installed software and file is there.

Enjoy it!
