Steps to Install FreeIPA Server on CentOS/RHEL 8
FreeIPA is an open-source integrated Identity and Authentication solution for the Linux systems. It provides an easy way of centrally managing Identity, Policy, and Audit for users and services. FreeIPA uses a combination of multiple components like 389 Directory Server, MIT Kerberos, NTP, DNS, IGC DogTag and many others.
Benefits of using FreeIPA:
- Allows all your users to access all the machines with the same credentials and security settings.
- Uses a high-level grouping mechanism to restrict network access to services and files only to specific users.
- Allows central management of security components like passwords, SSH Public Keys, SUDO rules, Keytabs, and Access Control Rules.
- You can recover data from Active Directory (AD) and join a domain or realm in a standard manner.
- Gives a well-known technique for accomplishing two-factor verification (2FA).
- This allows external Active Directory (AD) users convenient access to resources in the Identity Management domain.
Components of FreeIPA Server:
- 389 Directory Server
- MIT Kerberos
- Dogtag Certificate System
- Bind DNS server
- NTP Server
- Web UI / IPA Command Line tool

Useful Articles:
- HOW TO INSTALL AND CONFIGURE FREEIPA SERVER ON CENTOS/RHEL 7
- CHANGE SERVER HOSTNAME/TIMEZONE/DATE ON RHEL/CENTOS 8/7
- HOW TO CREATE AN AZURE STORAGE ACCOUNT
- DISK STORAGE IN MICROSOFT AZURE
- HOW TO INSTALL PHP 8.1/7.4/5.6 ON UBUNTU 22.04/18.04
In this article, we will discuss the steps you need to install and configure the FreeIPA Server on RHEL/CentOS 8.
Step 1: Set Hostname and Timezone
Set the hostname for your system and the hostname must be fully qualified. The FreeIPA server will also run the NTP service so make sure the server timezone is correct.
CHANGE SERVER HOSTNAME/TIMEZONE/DATE ON RHEL/CENTOS 8/7
Step 2: Add Entry to the host’s File
Next, edit the /etc/hosts file and add your server IP and hostname If you don’t have a DNS server to resolve the server hostname
# vim /etc/hosts
Add the following lines:
20.234.114.115 freeipa.techoism.local
Step 3: Install FreeIPA Server
FreeIPA packages are provided by the Identity Management system module of CentOS 8 AppStream repos. Therefore, you need to enable the idm:DL1 stream by running the command;
# dnf module enable idm:DL1
Run the following command to install the FreeIPA server in your system.
# dnf install ipa-server ipa-server-dns -y
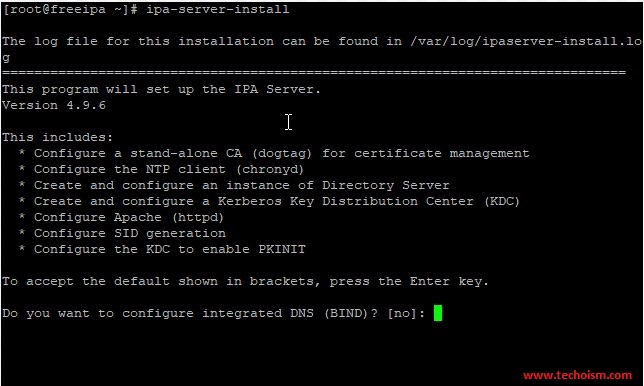
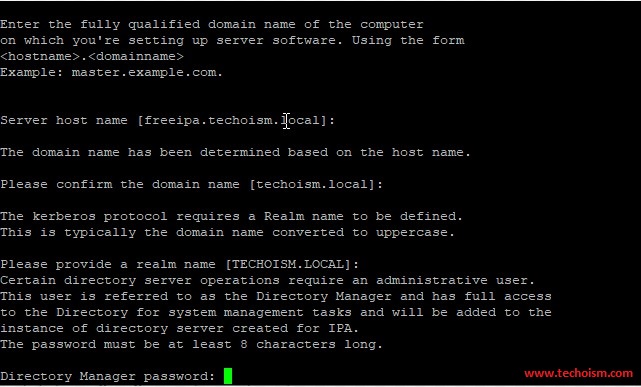
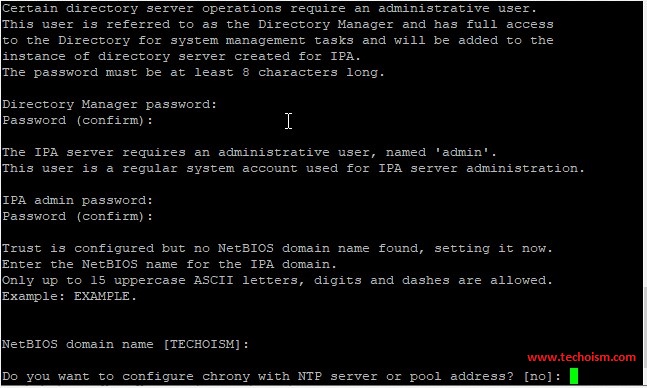
Step 4: Setup FreeIPA Server
Next, you will need to set up the FreeIPA server. We can set up it with the following command:
# ipa-server-install
If you want to configure the DNS service also then use the below command.
# ipa-server-install --setup-dns
This will configure the below components:
- Configure a stand-alone CA (dogtag) for certificate management
- Configure the NTP client (chronyd)
- Create and configure an instance of Directory Server
- Create and configure a Kerberos Key Distribution Center (KDC)
- Configure Apache (httpd)
- Configure the KDC to enable PKINIT
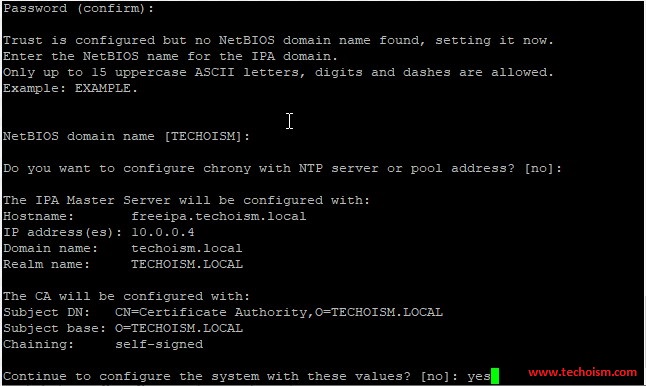
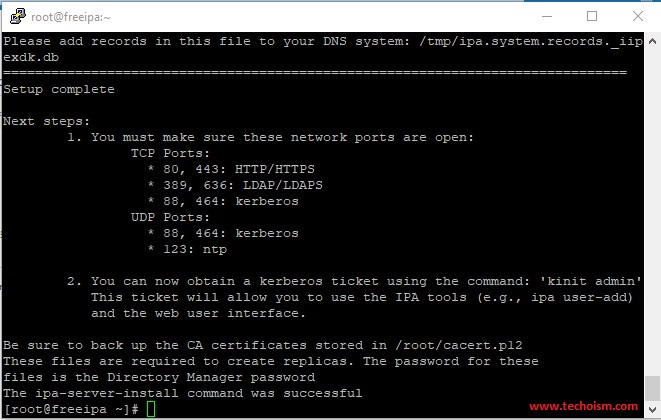
It will take some time to configure your FreeIPA server and once it has been set up successfully then we will get an output something like the below.
Step 5: User’s Home Directory
Run the below command to allow the User’s home directory creation automatically after login.
# authconfig --enablemkhomedir --update
Step 6: Configure Firewalld:
If you have a firewall service running on the server, you need to Open some required ports for FreeIPA services.
TCP Ports:
 *  80, 443: HTTP/HTTPS
 *  389, 636: LDAP/LDAPS
 *  88, 464: kerberos
 UDP Ports:
 *  88, 464: kerberos
 *  123: ntp
Run the below command to enable the ports.
# firewall-cmd --permanent --add-service=ntp
# firewall-cmd --permanent --add-service=http
# firewall-cmd --permanent --add-service=https
# firewall-cmd --permanent --add-service=ldap
# firewall-cmd --permanent --add-service=ldaps
# firewall-cmd --permanent --add-service=kerberos
# firewall-cmd --permanent --add-service=kpasswd
# firewall-cmd --reload
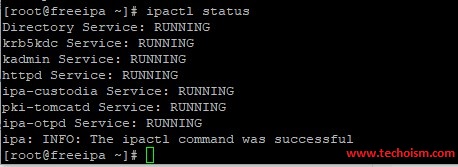
Step 7: Verification FreeIPA
Use the below command to check whether all services of FreeIPA are running or not.
# ipactl status
Step 8: Verify Admin Token
Verify that the Kerberos realm is installed correctly by attempting to initialize a Kerberos token for the admin user.
# kinit admin
# klist

Step 9: Access FreeIPA
Now you can access the FreeIPA using accessing below URL.
https://Hostname/ipa/ui
OR
https://Server-IP/ipa/ui
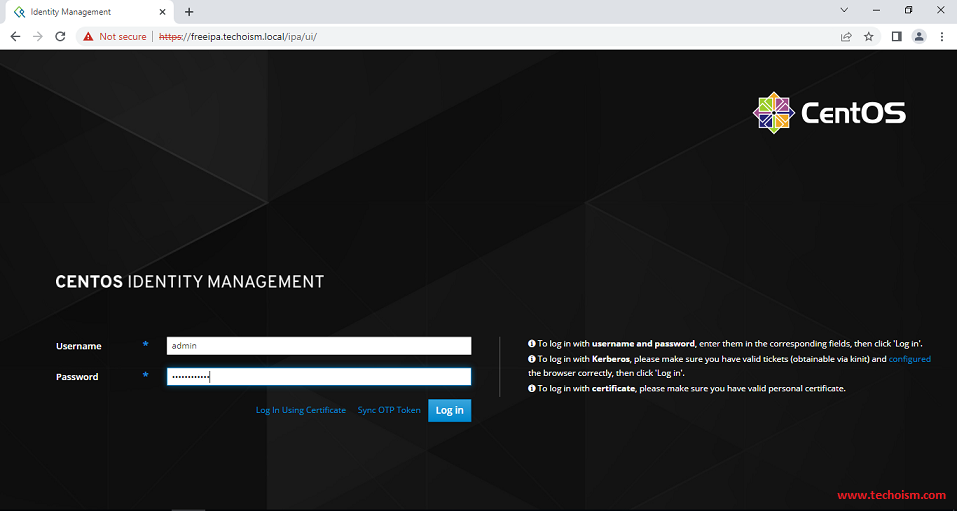
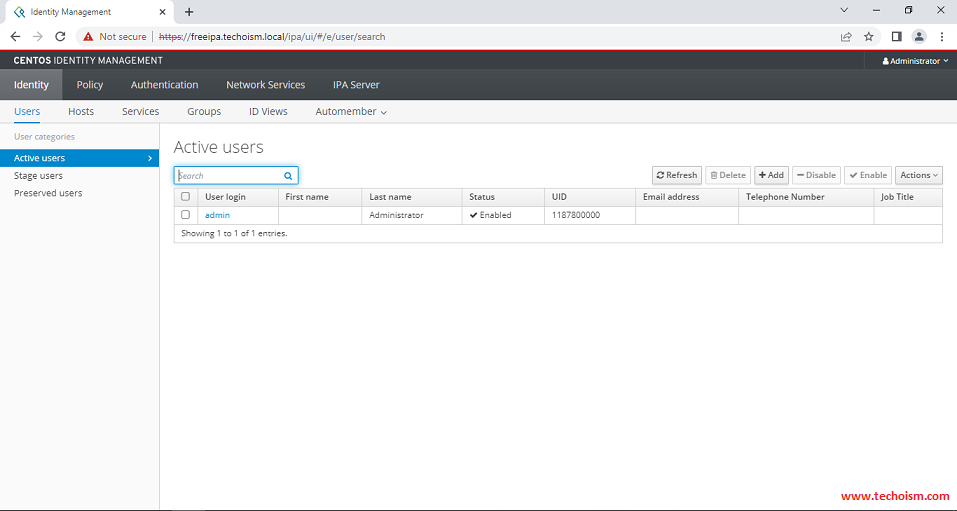
Now you are successfully accessed the FreeIPA.
Reference: https://www.freeipa.org/page/Main_Page
Enjoy it!
