How to Install GLPI [IT Asset Management] on CentOS/RHEL 8
GLPI is a free and open-source IT service management (ITSM) tool for planning and managing assets in IT operations. GLPI asset Management is enabled with features like IT inventory and asset management. It supports multiple IT products like Servers, printers, monitors, software, routers, switches etc.
GLPI main Key functionalities:
- Inventory Management – For Servers, printers, monitors, software, routers, switches etc.
- Incidents, requests, problems and changes in management
- Licenses management
- Management of warranty and financial information like purchase order, warranty and extension
- Asset reservation

Useful Articles:
- HOW TO INSTALL .NET CORE (DOTNET) ON UBUNTU 22.04
- STEPS TO INSTALL FREEIPA SERVER ON CENTOS/RHEL 8
- HOW TO INSTALL CENTOS WEB PANEL ON CENTOS/RHEL 8/7
- HOW TO RESTART NETWORK SERVICE ON CENTOS/RHEL 8
- HOW TO INSTALL APACHE TOMCAT 9 ON CENTOS/RHEL 8
- CREATE CSR FOR SSL CERTIFICATE ON WINDOWS SERVERS
In this article, we will guide you on how to install IT Asset Management.
Step 1: LAMP Installation
First, we need to do the installation to LAMP for GLPI. But first, update the local packages lists as shown.
# dnf update
Install Apache Webserver:
After updating your system install apache using the following command:
# dnf install httpd
Install PHP:
You can install PHP and required PHP modules using the mentioned command:
# dnf module install -y  php:7.4
# dnf install php-{mysqlnd,gd,intl,ldap,apcu,xmlrpc,opcache,zip,xmlrpc}
Instal MariaDB:
Let’s use the following article to install MariaDB in your system.
Step 2: Start MySQL & Apache Service
Now start MySQL and Apache service and enable to start on boot using below commands.
For Apache:
# systemctl enable httpd
# systemctl start httpd
For MariaDB:
# systemctl enable mariadb
# systemctl start mariadb
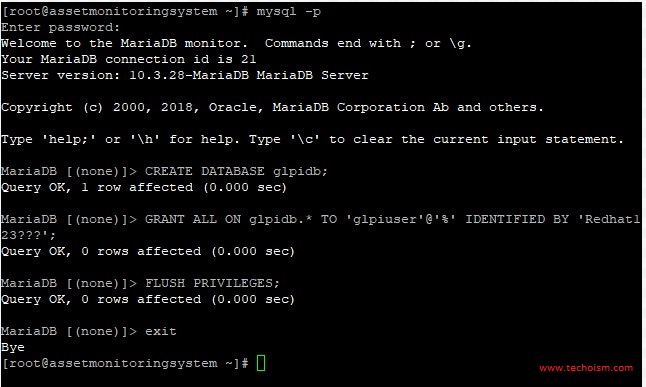
Step 3: Create GLPI Database
Now, create a database and database user and grant all privileges on the database to the user using the following commands:
# mysql -u root -p
MariaDB [(none)]> CREATE DATABASE glpidb;
MariaDB [(none)]> GRANT ALL ON  glpidb.* TO 'glpiuser'@'localhost' IDENTIFIED BY 'Redhat123???';
MariaDB [(none)]> FLUSH PRIVILEGES;
MariaDB [(none)]> EXIT;
Step 4: Download GLPI tarball & Extract it
Now we are ready to download the GLPI installer which contains all the installation files for GLPI. You can download it using wget command.
# wget https://github.com/glpi-project/glpi/releases/download/10.0.0/glpi-10.0.0.tgz
Extract the tarball using the below command:
# tar xvf glpi-10.0.0.tgz
Move glpi directory to Apache web server document root.
# mv glpi /var/www/html
Set directory permissions:
# chmod -R 755 /var/www/html/glpi
# chown -R apache:apache /var/www/html/glpi
Step 5: Create an Apache Configuration
Next, you need to create an Apache configuration file for GLPI.
# vim /etc/httpd/conf.d/glpi.conf
In place of ServerName, you can mention Server IP or FQDN.
   <VirtualHost *:80>
   ServerName 20.238.87.254
   DocumentRoot /var/www/html/glpi

   ErrorLog "/var/log/httpd/glpi_error.log"
   CustomLog "/var/log/httpd/glpi_access.log" combined

   <Directory> /var/www/html/glpi/config>
           AllowOverride None
           Require all denied
   </Directory>

   <Directory> /var/www/html/glpi/files>
           AllowOverride None
           Require all denied
   </Directory>
</VirtualHost>
Restart Apache to reflect the changes.
# systemctl restart httpd
Step 6: Configure GLPI
Now you can access the GLPI web console to complete GLPI installation. You can use the below URL to access the GLPI.
http://ServerIP_or_Hostname
In the first step, select your preferred language, and then hit ‘Ok’.

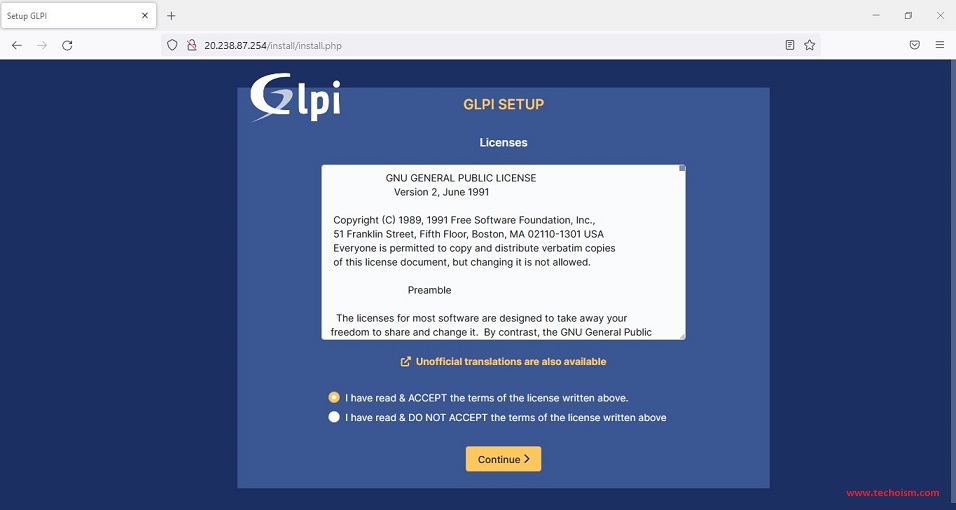
Next, accept the terms of the license and click ‘Continue’.
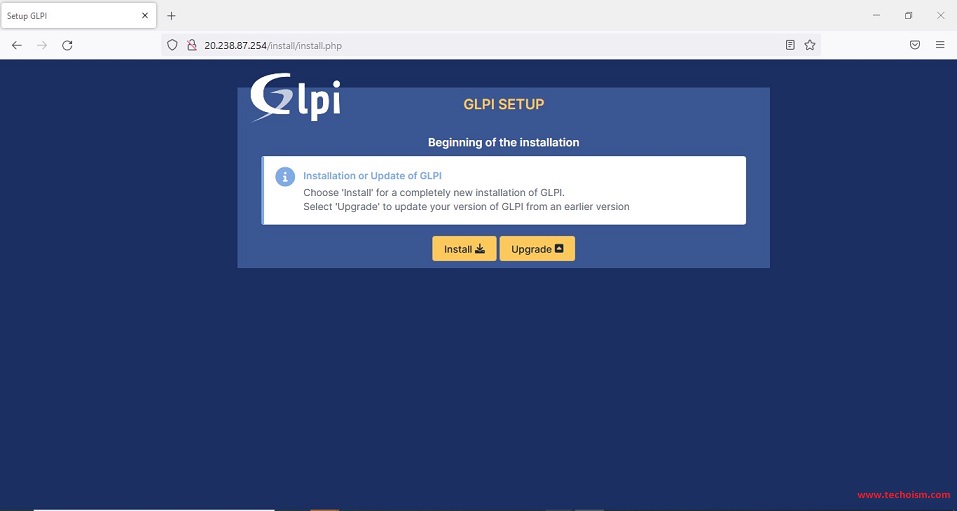
Choose ‘Install’ to begin the installation of GLPI.
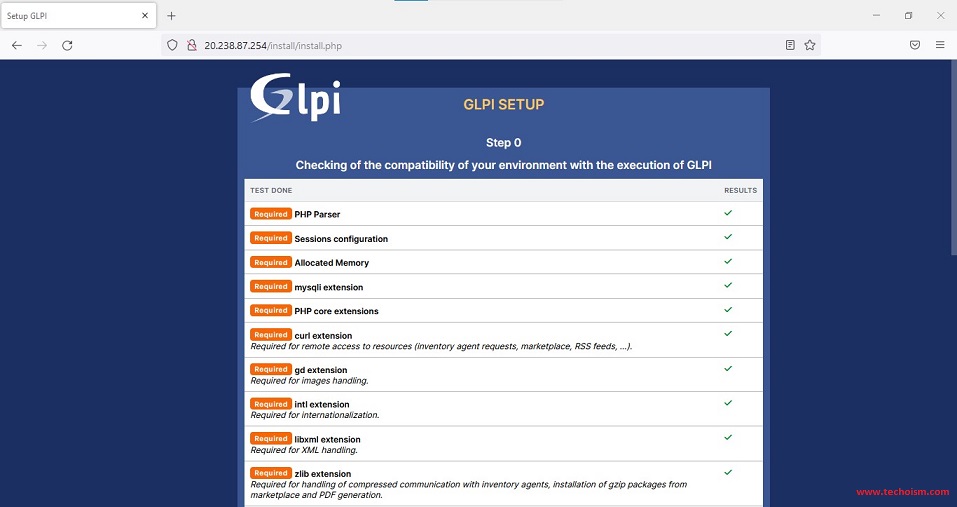
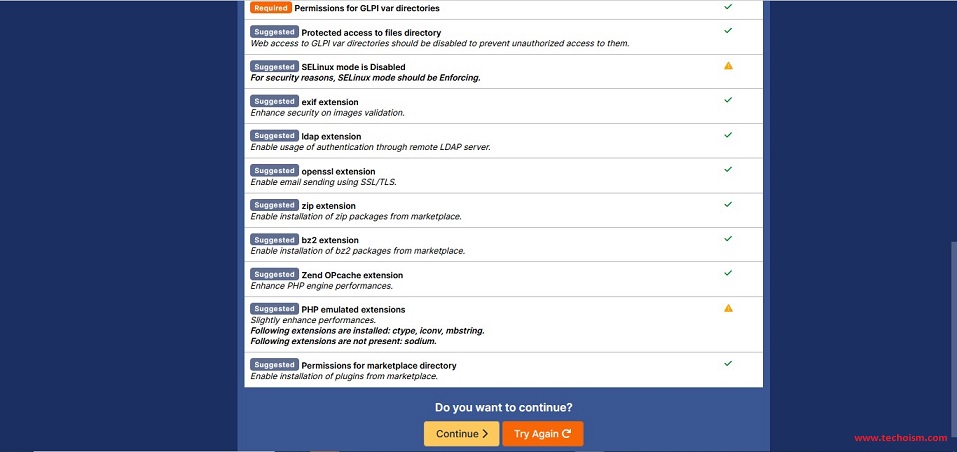
Now it will ensure that all the PHP extensions and libraries are installed and click ‘Continue’.
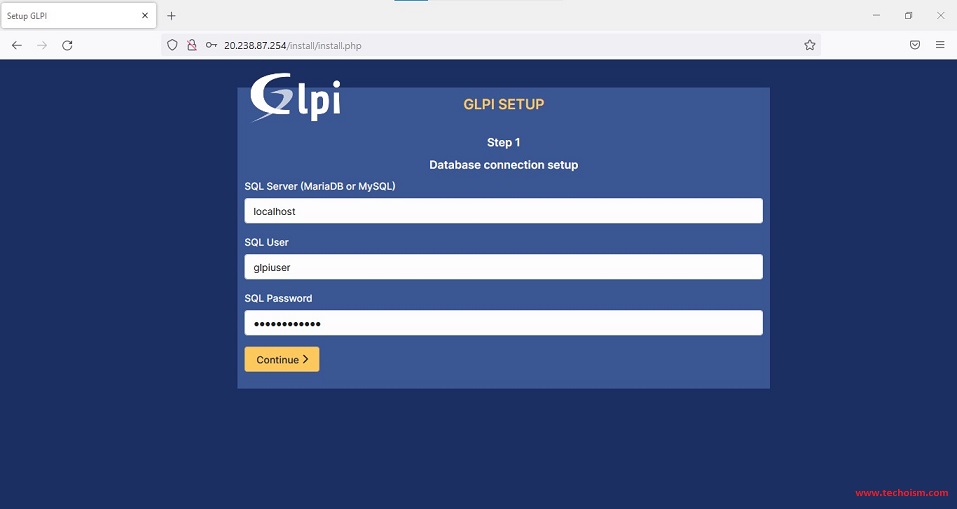
Provide database access credentials and click ‘Continue’.
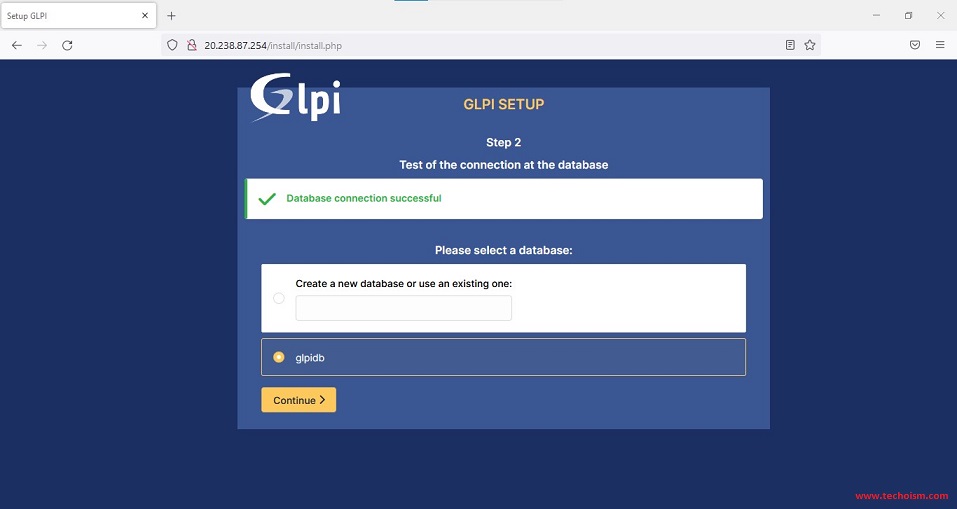
Once the database connection is successful, select the database and click ‘Continue’.
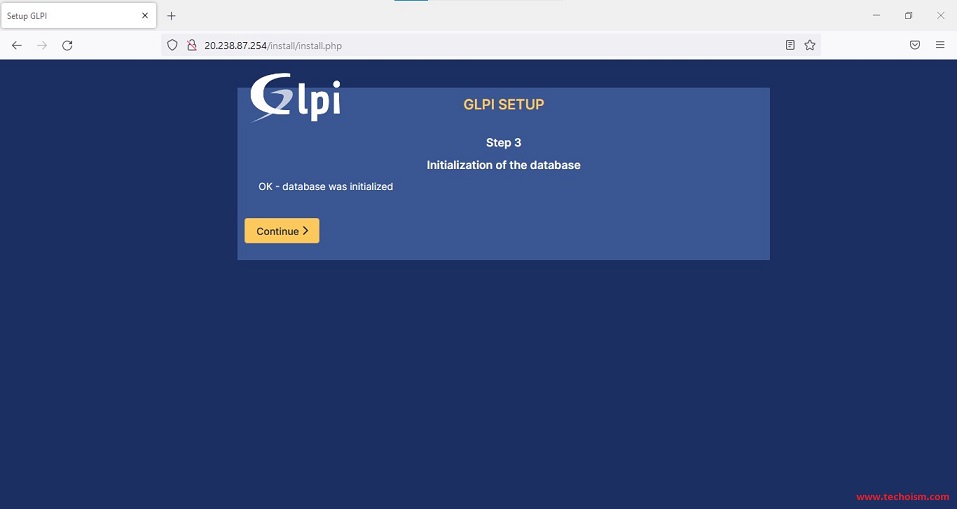
Once the initialization is complete, click ‘Continue’ again.
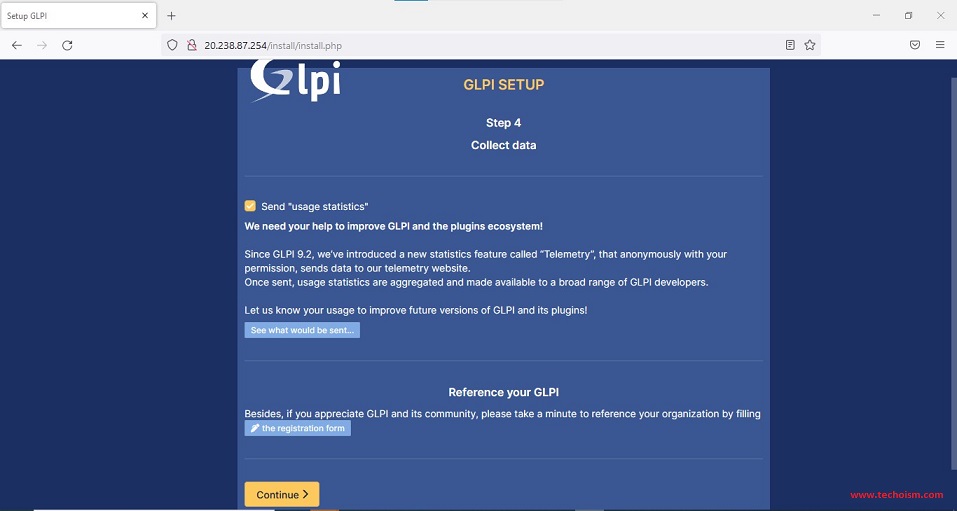
Choose whether to send usage statistics or not and click ‘Continue’.
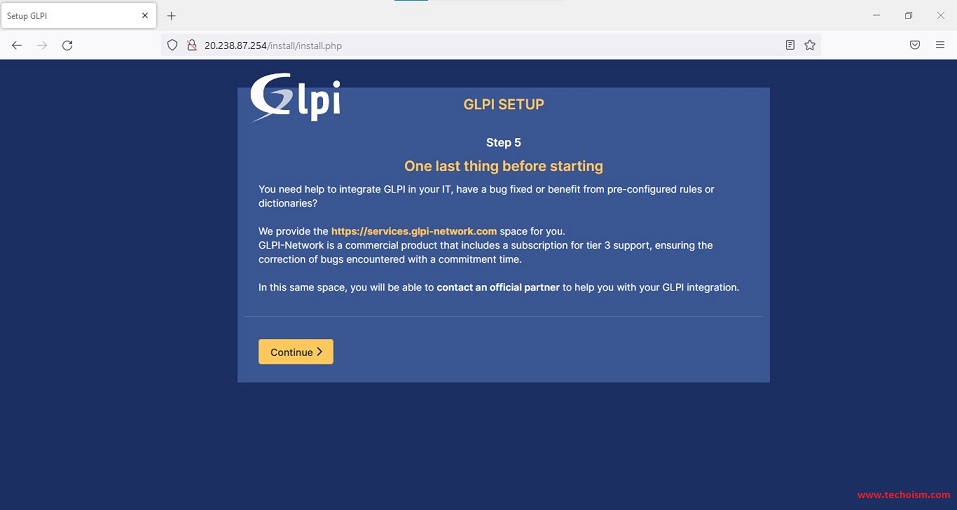
For any kind of assistance with GLPI will be provided. Click ‘Continue’ to proceed.
Now, that the installation has been completed, click on ‘Use GLPI’ to log in.
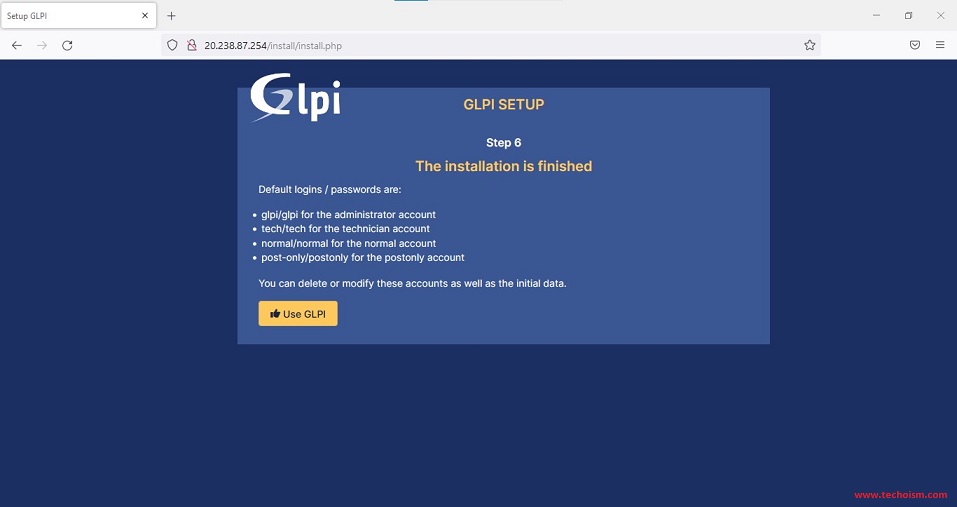
You can delete or modify these accounts as well as the initial data.
Default logins/passwords are:
For the administrator account glpi/glpi
For the technician account tech/tech
For the normal account normal/normal
For the postonly account post-only/postonly
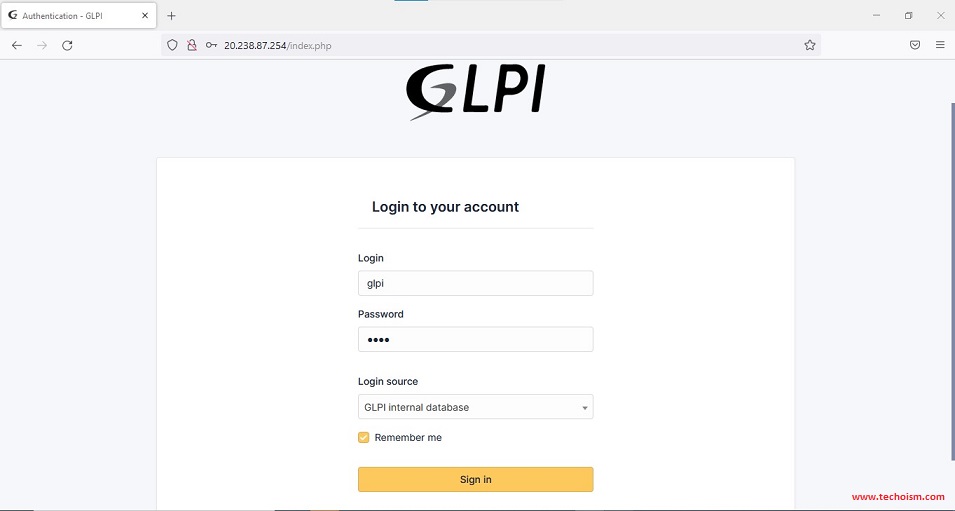
Login in using default login credentials.
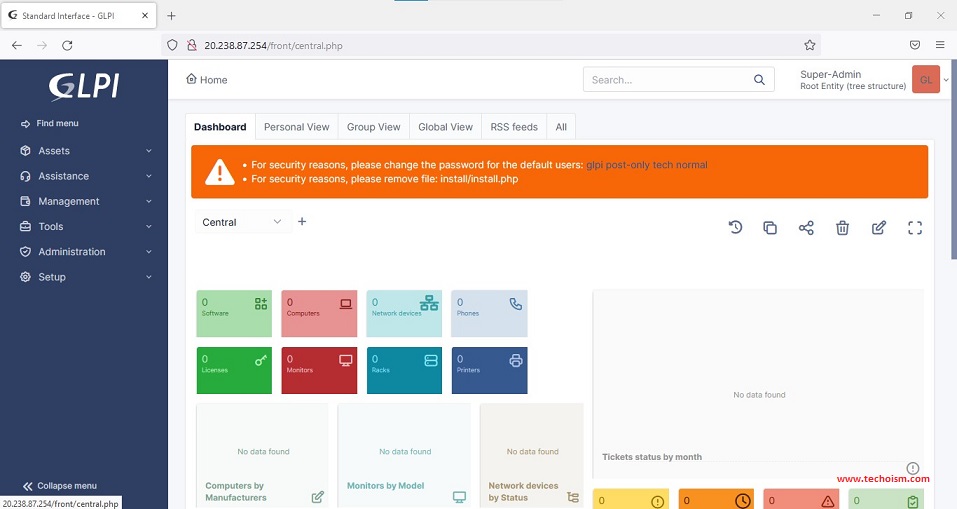
For security reasons, please change the password for all the default users and remove the install/install.php file.
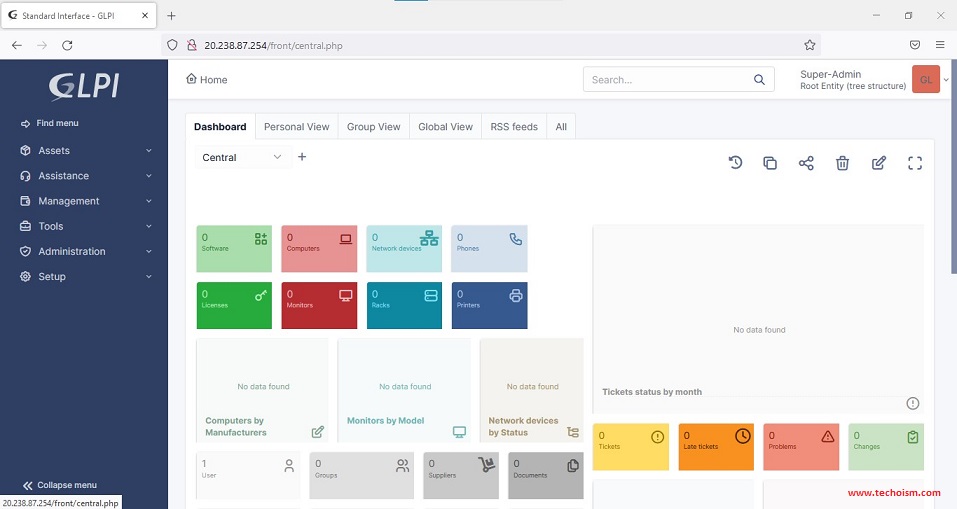
Enjoy it!
